As of 1.3.0, Entities and Service Operations can be secured with Access-points. When an Access-point is assigned to an element, that element can be consumed via Data Services by the users only who has permission to that Access-point. Please refer to Personify Security Guide for more information.
To assign an access point:
1. Check-out the element, if it is not already checked-out.
2. Bring the element to the Canvas, if it is not already on the Canvas.
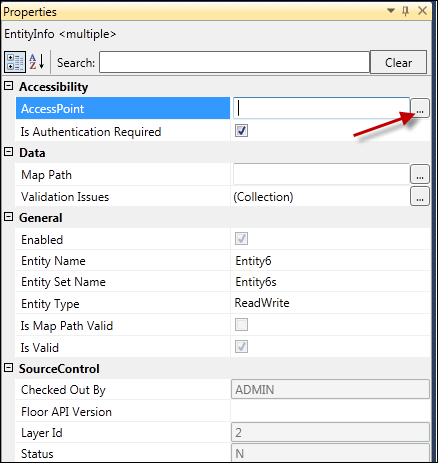
3. Select the element so that the element properties are displayed in the Property Grid.
4. In Properties, select
the ellipsis button on the AccessPoint
line, as highlighted below.
5. Select an Access-point from the Access-point Maintenance Dialog.
To create a new access point:
1. From the
File menu,
select Manage Access-points.
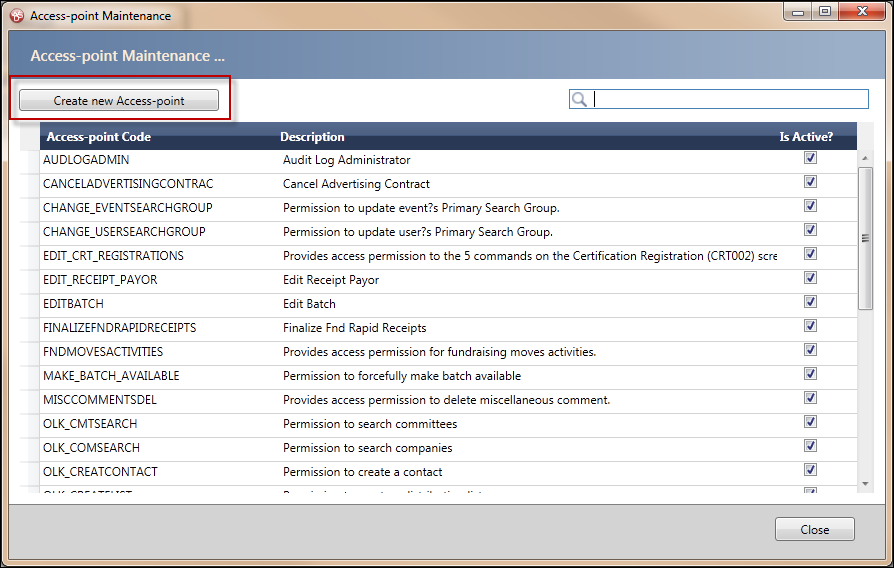
The Access-point Maintenance window displays.
2. Click Create
new Access-point, as highlighted below.
The Create New Access-point window displays, as shown below.
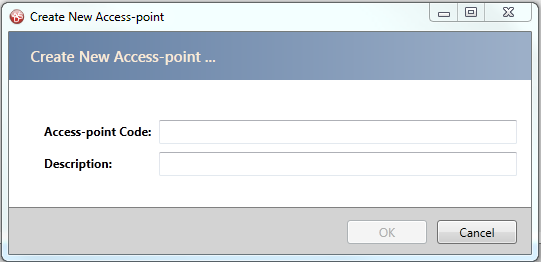
3. Enter the Access-point Code.
4. Enter a Description.
5. Click OK.
6. Click Close.
7. All Access-points you created will be stored in the central source control database.
 With the
current version of Personify (7.4.1 and earlier), these Access-points
will not be automatically synchronized with the Personify database. It
would be the responsibility of the Personify Security Administrator to
manually add these Access-points to the Personify database, via PSM003
screen and assign permissions.
With the
current version of Personify (7.4.1 and earlier), these Access-points
will not be automatically synchronized with the Personify database. It
would be the responsibility of the Personify Security Administrator to
manually add these Access-points to the Personify database, via PSM003
screen and assign permissions.
With Personify
7.4.1 Service Pack 1, Access-points from personify database that are marked
Available for Data Services are available for use in the Access-point
maintenance screen, but they are NOT automatically synchronized with the
Personify database.
With Personify
7.4.2, the new Access-points created in the Access-point maintenance screen
will be automatically synchronized with the Personify database. Personify
Security Administrator would assign permissions as required via PSM003
screen.
Access points will be published as part of the regular publishing routine. Additionally, WSD provides an option to publish only the Access-points without publishing the code. Access-points can be published using the following menu options, as highlighted below:
1. Build and Publish (Local),
2. Check-In, Build and Publish (Server),
3. Publish Access-points Only (Local),
4. Publish
Access-Points (Server).

See also:
· Web Services Designer Behavior
· Starting the Web Services Designer
· Designing Service Elements
o Creating New Read/Write Entities
§ File Uploading via Read/Write Entities
o Creating New Read-Only Entities
o Creating New Service Parameters
o Creating New Service Operations
· Web Services Designer Filtering and Searching Elements
· Web Services Designer Error Handling
· Validating the Service Definitions
· Modifying the Layer Name and Namespace
· Utilizing the Visual Behaviors of the Canvas
· Working with the Element Attributes (Properties Pane)
· Configuring Personify API Validation Issues
· Refreshing the Service Definitions
· Enabling and Disabling Entities
· Exposing Data Services for Data Export / Import