Tablet
Phone
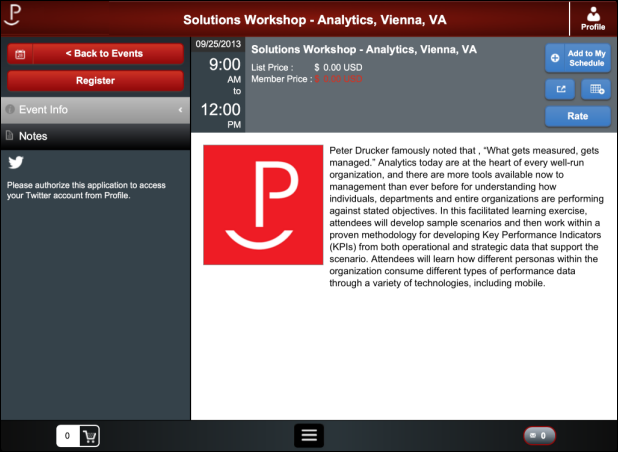
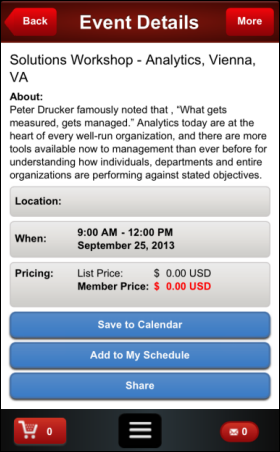
The Event Details screen appears when you select an event from the Events list. This screen can display the time and location, as well as the description and price for the selected event.
· For more information on back office settings, please see Configuring Meeting Products for Mobile.
· For more information on App47 configuration options, please see Configuring the Events Module.
The Event Details screen has the following options:
· Event Description Menu Option
· Sponsors
By default, if a mobile user selects a meeting without sessions from the Events list, the application directs them to an Event Details screen similar to the one displayed below.
Tablet |
Phone |
|---|---|
|
|
If a selected meeting does not have any sessions, as displayed in the image above, the mobile user will be able to register for the event from the Event Detail screen by selecting the Register button. The meeting will then be added to the shopping cart and users will have the opportunity to view the shopping cart on the web and check out, or continue shopping on their mobile device.
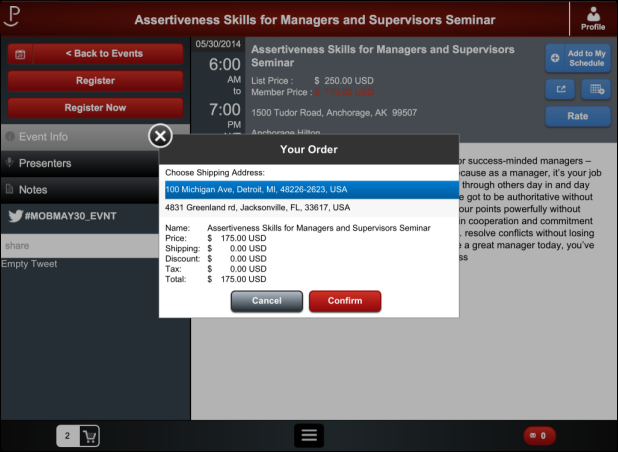
Mobile users could also have the option to Register Now, if the user has a credit card on file. The mobile user will have the opportunity to select a shipping address and review the order before confirming it, as displayed below.
Tablet |
Phone |
|---|---|
|
|
 Users
are not able to register for events with session components using their
mobile device.
Users
are not able to register for events with session components using their
mobile device.
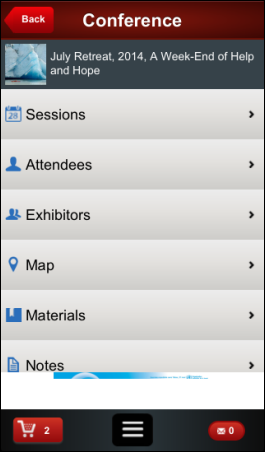
If a meeting does have sessions, there will be more options for users, as displayed below. On the phone version of the mobile application, select More from the Event Details screen to view these options.
Tablet |
Phone |
|---|---|
|
|
The Event Details screen provides users with back office information from the Product Maintenance > General Setup (PRODUCTCENTRAL) screen and the Product Detail section of the Product Central > Mobile Control screen in the back office.
The following actions can be performed on the Event Detail page:
Screen Element |
Tablet Display |
Phone Display |
Description |
|---|---|---|---|
Back [to Events] |
|
|
Users can select this button at any time to return to the Events screen. |
More |
N/A |
|
This icon appears on the phone to allow users to view the menu options available for the meeting. |
Register |
|
|
Users can select this icon to register for the selected event if they are not already registered for the event. The meeting product will be added to the cart and the user will be presented with the option to proceed to checkout or continue shopping. This icon will not appear if the logged in user is already registered for the event. |
Register Now |
|
|
If a user has a credit card saved in the Personify360 database, the Register Now button will appear as well as the Registered button when viewing a simple meeting. The user can select this option to register for this event without leaving the mobile application. This icon will not appear if the logged in user is already registered for the event. |
Add to My Schedule |
|
|
Users can select this button to add the event to his/her personal calendar within the Personify mobile application. |
Remove [Delete from My Schedule] |
|
|
If an event has been added to a user's schedule, they can select this icon to remove it. |
Share |
|
N/A |
Users can select this button to share the event an available social media site on the user's mobile device. |
Add [Save] to Calendar |
|
|
Users can select this option to add the event to an available calendar on the user's mobile device. |
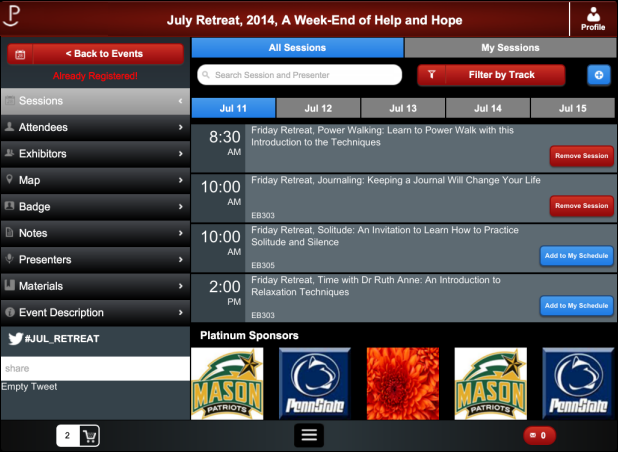
The Session menu option is the first item displayed when you select an event with sessions from the Events screen (or select More on the phone). The Sessions list can display all event sessions by day or by those sessions the user has added to My Schedule. Select View on the phone application to toggle between the two lists.
Members-only
sessions will not display if the user is not a current or graced member.
You can select the Filter by Track button on the tablet to limit the session results that display. If an event has sessions that span multiple days, they will be listed as tabs and users can navigate through the tabs to view sessions by day. From the session list, tablet users can select the Add to My Schedule button or the Remove / Delete from My Schedule button to either add or remove sessions from their personal schedule. Phone users can only add a session to his/her personal schedule after selecting a specific session.
Adding
a session on the session page will only add the session to the user's
personal schedule. Users cannot register for an event or respective sessions
on the mobile application.
Users can select a session from the list to display the Session Details screen.
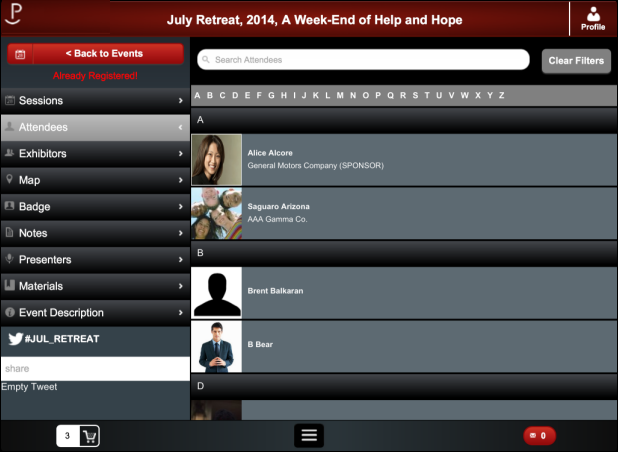
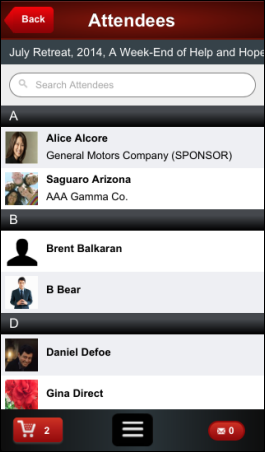
Staff users and users who are registered for a meeting will have access to the Attendees menu option as displayed below. Users display in the list alphabetically by Last Name/Company Name.
Tablet |
Phone |
|---|---|
|
|
Users can search for mobile/web-enabled attendees using keywords in the text field, or skip to a name by selecting the letters above the list. Users can select an attendee to view more information as defined in the back office.
If
you are logged in as a staff member, you will have access to the conference
attendees and exhibitor functionality even if you are not registered for
the event.
 The
attendee list images are automatically resized by the Personify Image
Service. The recommended size is 130 x 130.
The
attendee list images are automatically resized by the Personify Image
Service. The recommended size is 130 x 130.
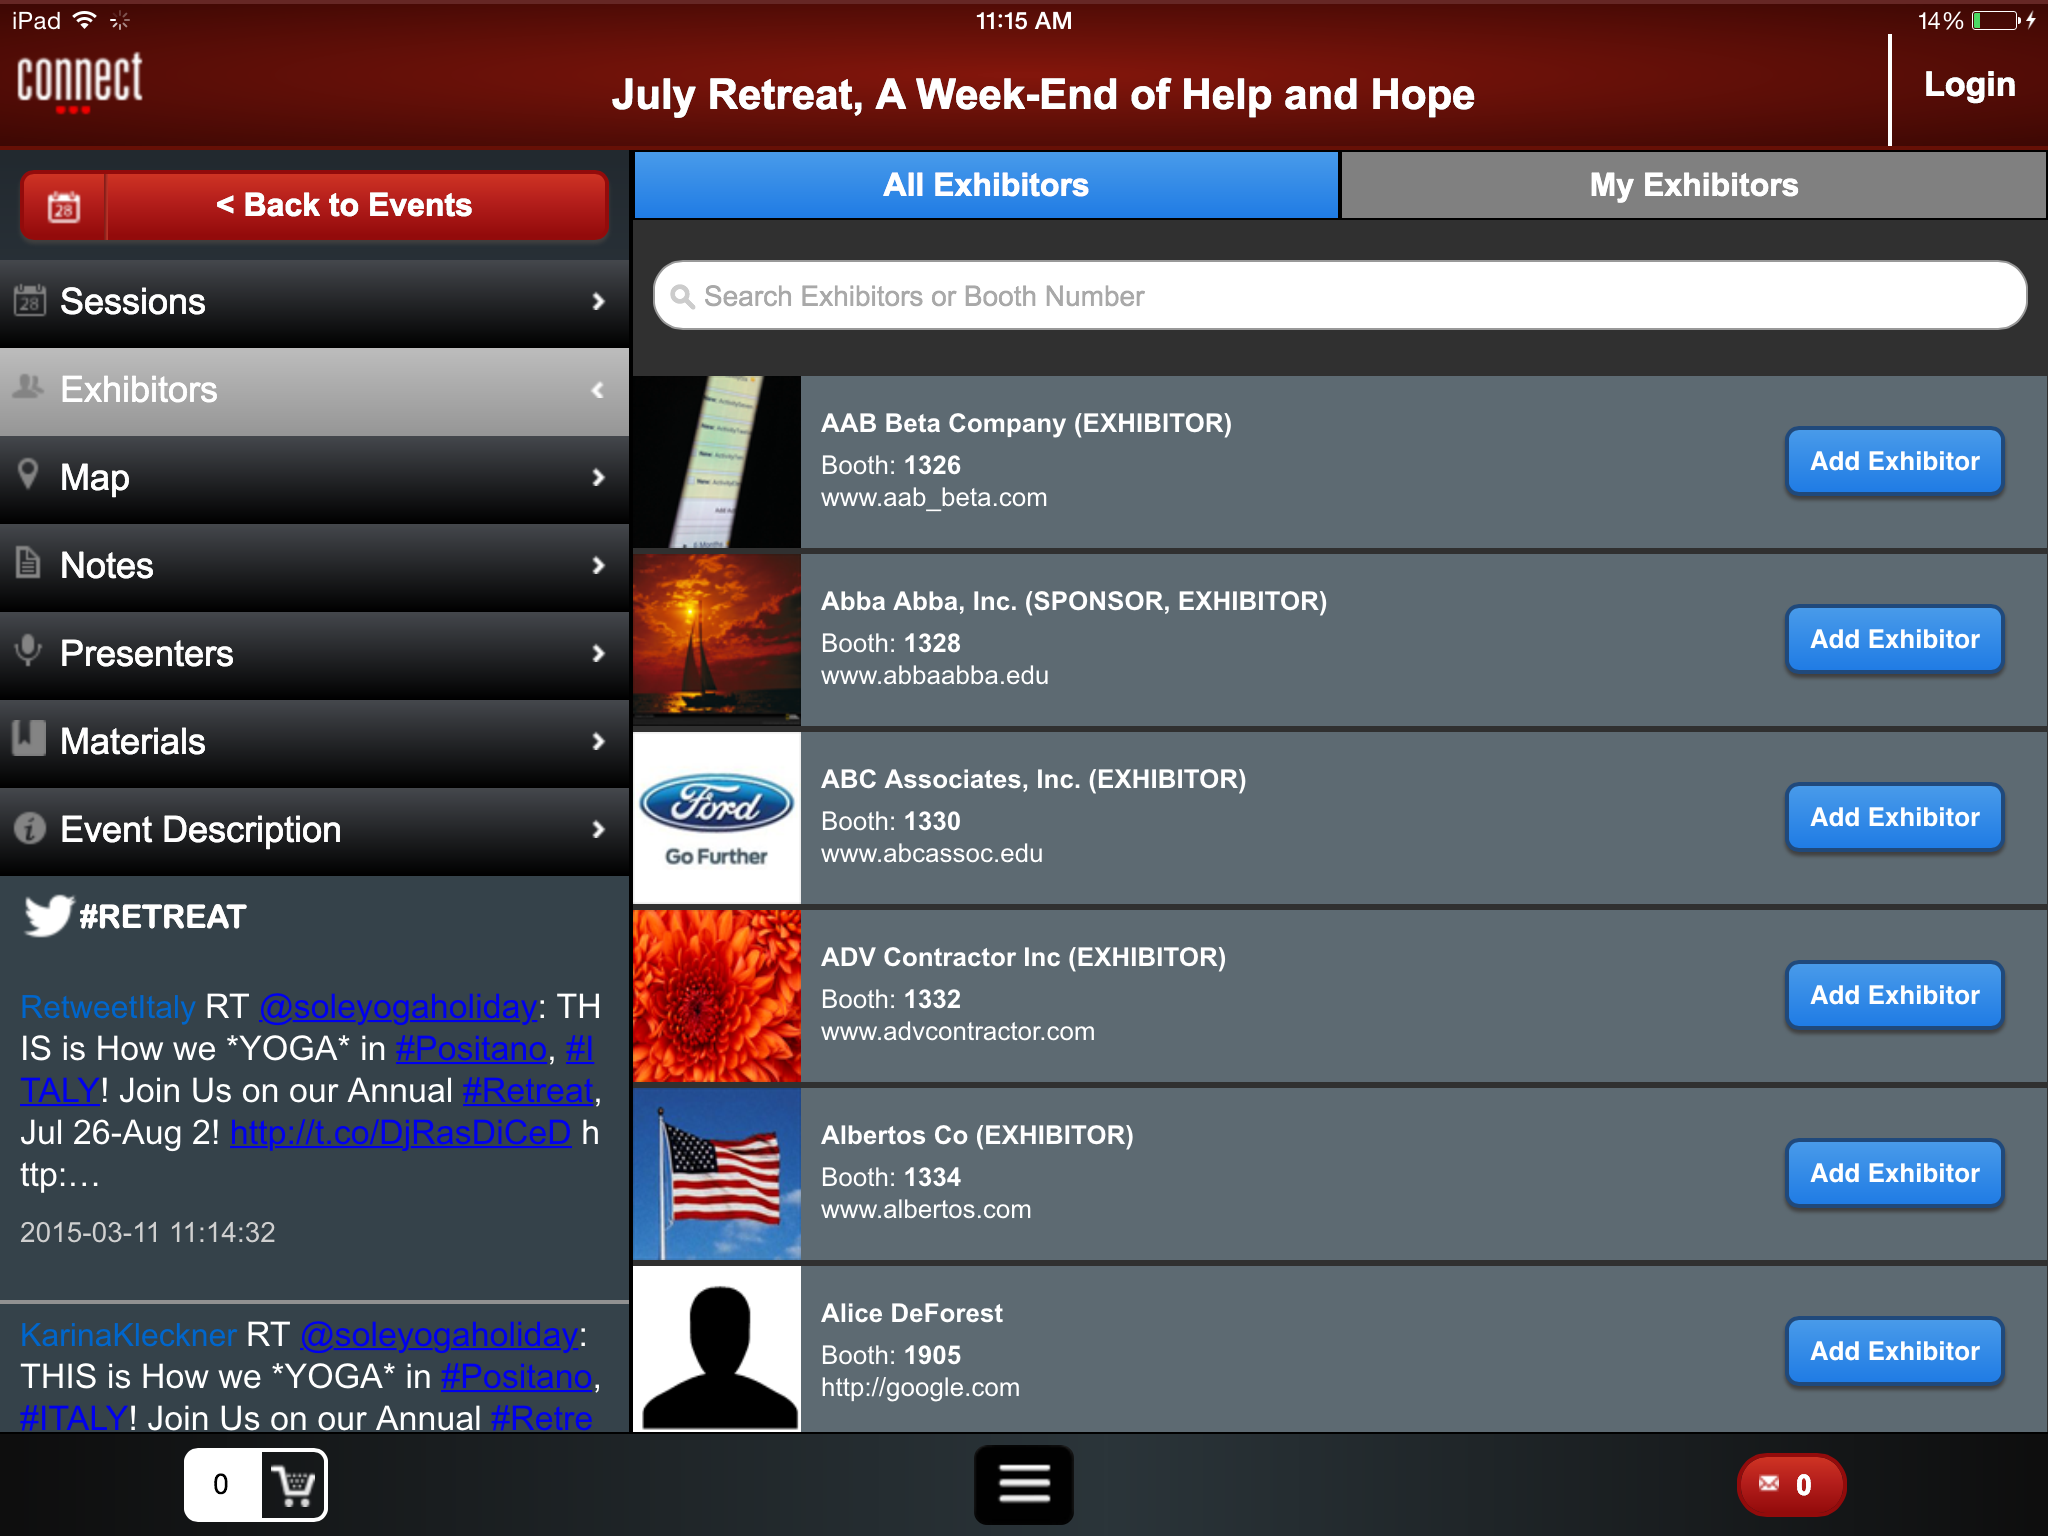
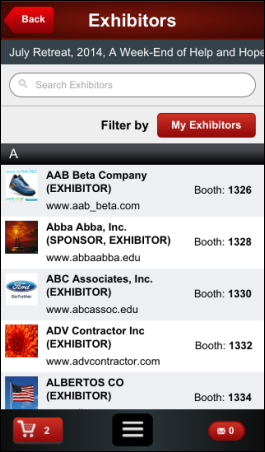
If an exhibitor product is defined for a meeting, mobile users can select the Exhibitors menu option to display the contact and location information defined in the back office, as displayed below. Users display in the list alphabetically by Last Name/Company Name. Mobile users can search for exhibitors by name or by booth number using the text search field. They can also filter the resulting list by the first letter of the exhibitor's name. When a user selects an exhibitor and then selects the Add to My Exhibitor button from the phone application, or selects the Add Exhibitor button next to the listing on the tablet, it will be listed on the My Exhibitors tab. When a mobile user selects the My Exhibitors tab, only exhibitors the user has selected will display.
Mobile users can also view a specific exhibitor’s description, booth number, location on the map, contacts, and products by selecting an exhibitor from the list. For more information, please see Linking an Exhibitor to a Meeting.
The
maximum character length for an individual note for an event, a session,
or an exhibitor within Personify Mobile is 3,000 characters. Once a mobile
user reaches the maximum character length, he/she is unable to continue
typing; no error message is presented to the mobile user. If the mobile
user wishes to continue taking notes, a new note can be created for the
given event.
The
"My Exhibitors" information is NOT stored in the Personify360
database; rather, they are stored in the application data on the specific
device.
Tablet |
Phone |
|---|---|
|
|
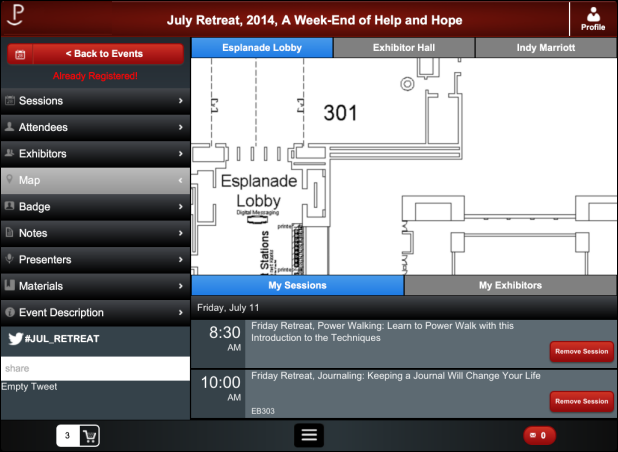
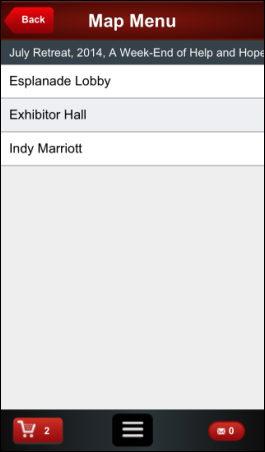
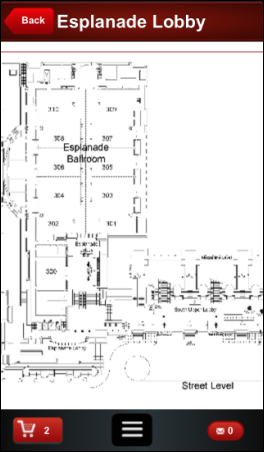
The Map menu option allows users view conference floor and exhibitor floor map/location information. For more information, please see Linking Conference Floor Mappings and Linking Exhibitor Floor Mappings.
If more than one map is associated with a meeting, they will appear in tabs on the tablet for users to switch between. Phone users can select a map from the list to view it. All users can zoom in and out of the map to see more or highlight a specific location. Users can easily view their sessions and exhibitors below the map, and remove them if necessary. Map/location information can also be viewed on the session details screen and the exhibitor detail screen by clicking Map it (tablets) or clicking the Room: or Booth: (phone).
Tablet |
Phone |
|---|---|
|
|
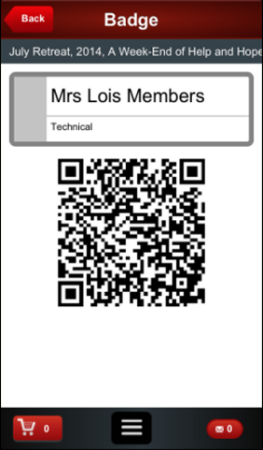
If a mobile user is registered for a meeting, they will see the Badge menu option. This will display any defined badge information and a QR code for the user.
Tablet |
Phone |
|---|---|
|
|
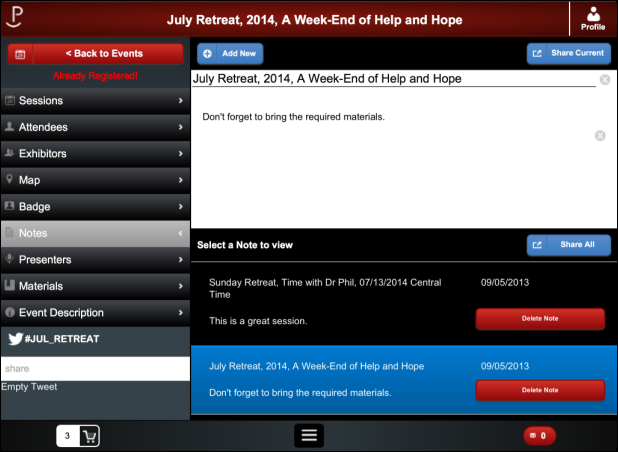
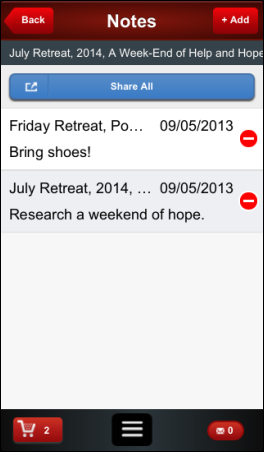
The Notes menu option allows users to add and view notes about an event. These notes are specific to the device, but users can choose to share the note with their social media friends and followers or via text message and email using the Share Current or Share All buttons. Notes can also display on the event, session, and exhibitor screens.
The
maximum character length for an individual note for an event, a session,
or an exhibitor within Personify Mobile is 3,000 characters. Once a mobile
user reaches the maximum character length, he/she is unable to continue
typing; no error message is presented to the mobile user. If the mobile
user wishes to continue taking notes, a new note can be created for the
given event.
Tablet |
Phone |
|---|---|
|
|
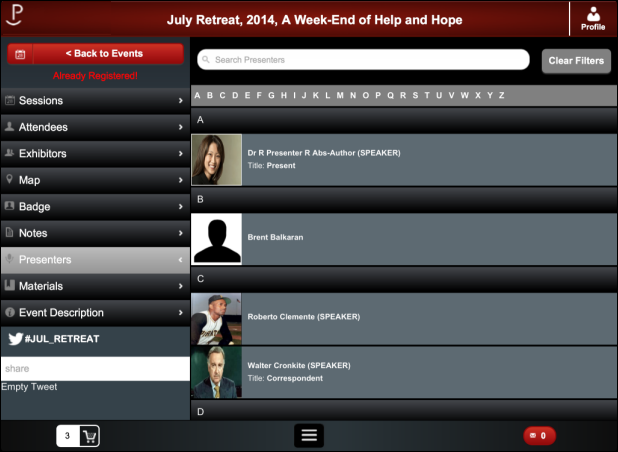
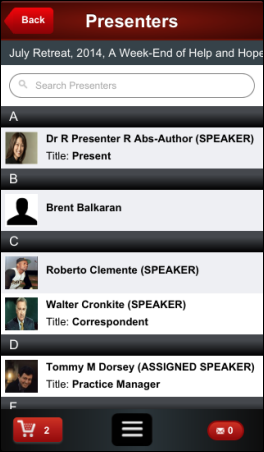
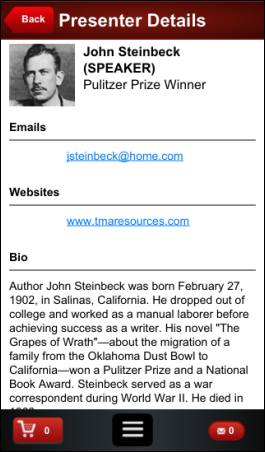
Users can select the Presenters menu option to view a list of meeting product related customers who are defined as presenters, as displayed below. Users display in the list alphabetically by Last Name/Company Name. For steps to add a presenter to a meeting, please see Adding Presenters to Meeting Products.
Tablet |
Phone |
|---|---|
|
|
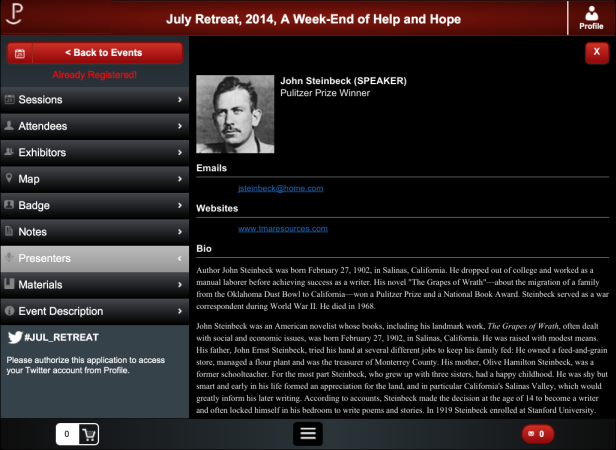
Users can search for presenters by typing their name in the text field. The list is alphabetized by the first letter of the last name. Users can jump to a last name by selecting one of the listed letters. They can select a presenter to view contact info, a website, biography, and session information, as displayed below. For steps to add biographical information to presenters, please see Adding Biographical Information for Presenters.
Tablet |
Phone |
|---|---|
|
|
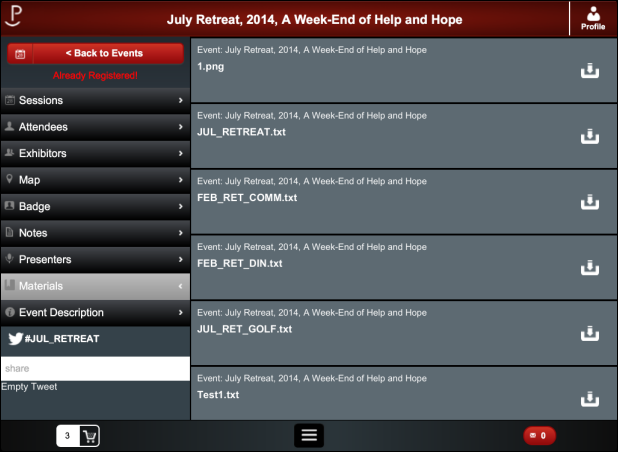
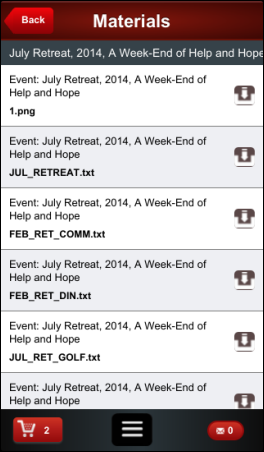
Personify users have the option of attaching files to meeting products. In the Personify mobile application, users can access and download these files right to their mobile device using the Materials menu option. Selecting an item from the materials list presents the user with the option to save and open multiple file types. For more information, please see Adding Materials Information to Meeting Products.
Tablet |
Phone |
|---|---|
|
|
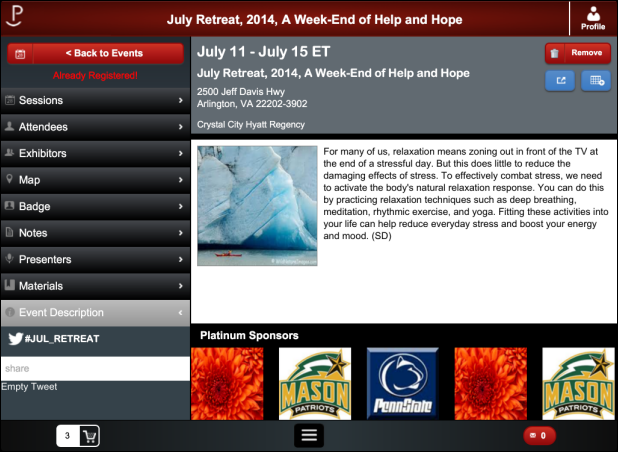
The Event Description displays by default on the phone application, but appears as a menu option on the tablet. It provides the mobile user with more information about an event, as defined during product setup. This information is pulled from the Product Maintenance and the Mobile Short Description in Personify360.
Tablet |
Phone |
|---|---|
|
|
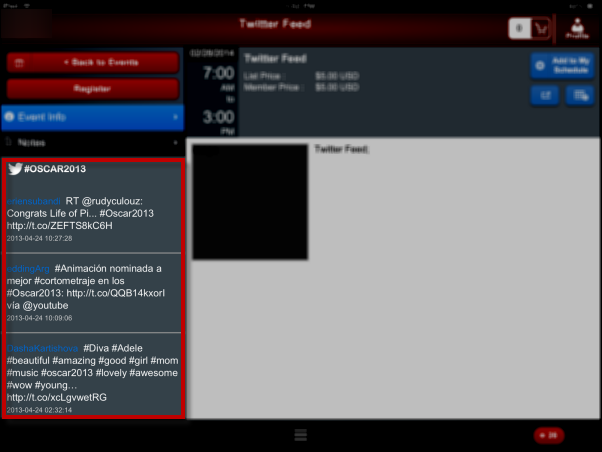
You can link a meeting to a Twitter feed that will display for users. Users can then view the live RSS feed while navigating through the Event menu options.
Tablet |
Phone |
|---|---|
|
N/A |
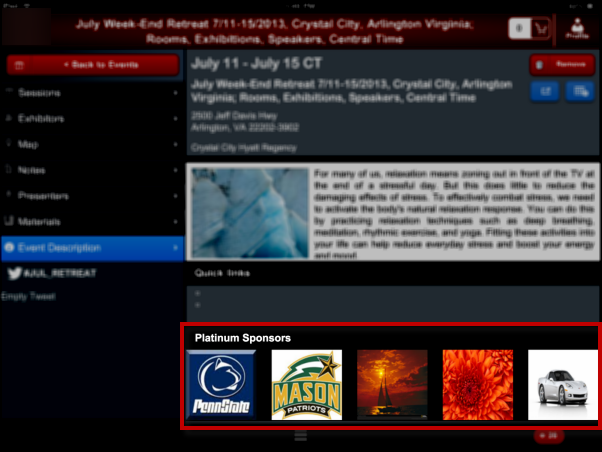
You can define images to display at the parent meeting level to represent your sponsors. Users can scroll through sponsor images while they research sessions and view the event description.
The
recommended size for the event sponsor image is 360 x 45 for the phone
and 120 x 120 for the tablet.
Tablet |
Phone |
|---|---|
|
N/A |