 This
control is different from the Login
Request Control, which is used in conjunction with the New
Customer Registration control to log users in after registration.
This
control is different from the Login
Request Control, which is used in conjunction with the New
Customer Registration control to log users in after registration.The Login web module is necessary for customers, hosts, or administrators to log into your website.
This
control is different from the Login
Request Control, which is used in conjunction with the New
Customer Registration control to log users in after registration.
This web module lets the user enter a valid user name and password to access e-Business. Additionally, you can use this web module to allow users to remember their login for later use through the use of a cookie. Should the user forget their password or username, he/she can recall it using the Forgot Password and Forgot Username links available using the this web module. Finally, if you need to register an account, a link to the Registration web module is also provided via the Login web module.
The Login web module now features an additional security feature called Captcha; when logging on to your site, a rectangle appears with a series of letters and numbers. You must correctly enter the series of characters shown in the rectangle to validate your login. This security feature guarantees that a human is accessing the web-site, and is not a compromise of site security. Captcha is not case-sensitive. The web module also allows newly registered users to activate their account through a link.
As of 7.6.2, you can lock out a user after a number of unsuccessful login attempts. The number of attempts allowed and for how long the lock out lasts is configurable. For more information, please see Step 3: Modifying the Web.Config file.
 Personify's
.NET controls do NOT need any of the DNN system controls to work. See
Using DNN as Your CMS Platform
for more information. However, the Login web module can ONLY be used with
the CMS DNN. If you are using any other CMS (e.g., Ektron, SharePoint,
Sitecore, etc.), you will be unable to use this module, but you can use
SSO to allow users to login to your website. Refer to Single
Sign-On and Identity Management System Integration for more information.
Personify's
.NET controls do NOT need any of the DNN system controls to work. See
Using DNN as Your CMS Platform
for more information. However, the Login web module can ONLY be used with
the CMS DNN. If you are using any other CMS (e.g., Ektron, SharePoint,
Sitecore, etc.), you will be unable to use this module, but you can use
SSO to allow users to login to your website. Refer to Single
Sign-On and Identity Management System Integration for more information.
To configure the Login web module:
1. Log into your site as Host.
2. Navigate to the appropriate page on your site where you want to add the Login web module.
3. Add the
Personify –
Login module to where you want it to be located on your page.
See Adding a
Web Module to the Webpage for more information.
4. From the
pencil icon, select Edit, as shown below.
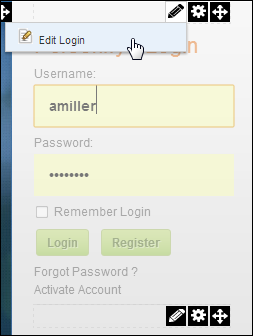
The Edit Login page displays, as shown below:
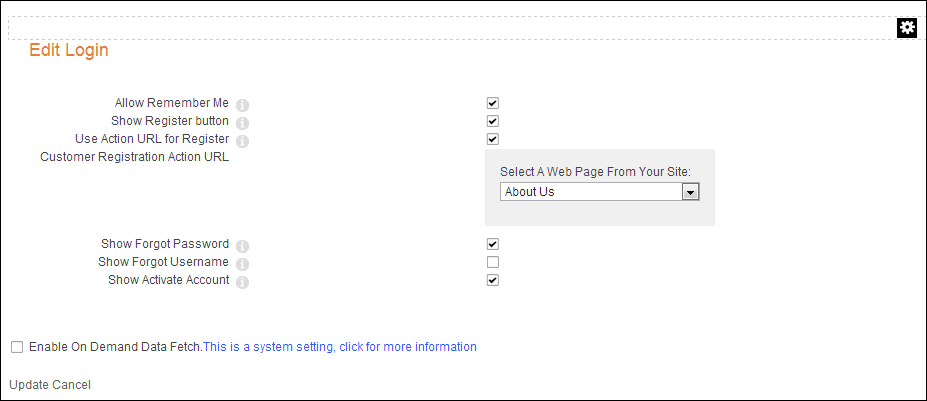
5. Configure the appropriate module settings as described below:
· Allow Remember Me - When checked, a checkbox displays at login, allowing the user to save their login information for future use. e-Business uses a cookie to store your login information for future use. This prevents customers from having to log in each time they wish to use e-Business.
If the user chooses the Remember Me option, the system will not ask the user to log in the next time he/she visits the site. He/she will be automatically logged in each time. If at any point the user decides to log out, the system will no longer remember the user. the site will remember the user if he/she closes the browser without logging out.
 If you are
using a public or work computer, you should not use this feature for security
reasons. This cookie remains in place until the web browser’s cache is
cleared.
If you are
using a public or work computer, you should not use this feature for security
reasons. This cookie remains in place until the web browser’s cache is
cleared.
· Show Register Button - When checked, the Register link displays to the user. This allows unregistered users to create an account.
· Use Action URL for Register - When checked, the user will be directed to the Customer Registration Action URL defined in the next step.
· Customer Registration Action URL - from the "Select A Web Page From Your Site" drop-down, select the page in which you want the user to be redirected to when he/she clicks the Register button.
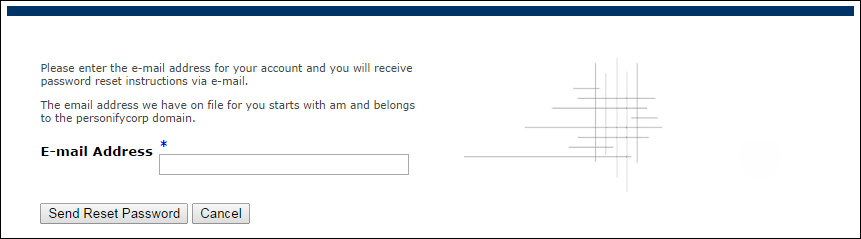
· Show Forgot Password - When checked, this setting
allows you determine whether or not to display the Forgot Password link.
After the user clicks this link, they must enter an email address and
click "Send Reset Password" for the system to send a notification
email with a link to reset their password. Please note that as of 7.6.0,
users are given a hint about their email address on file with the organization.
If there are more than 4 characters before the @ symbol, the system displays
the first two letters of the email address and the domain name. The user
is only allowed 3 attempts at identifying the email address.
As of 7.6.2,
the email that is sent can be figured using the "PasswordResetBodyTemplate"
template delivered with base.
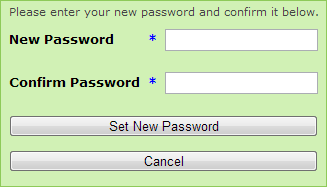
When the user clicks "Click here"
in the notification email, the following page open in their default browser:
See also
Web.Config
Settings for Forgotten Passwords for additional SSO considerations.
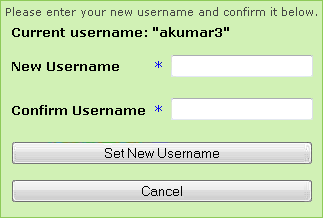
· Show Forgot Username - As of 7.5.1, when checked, this settings allows you to determine whether or not to display the Forgot Username link. After the user clicks this link, they must enter an email address and click "Send Reset Username" for the system to send a notification email with a link to reset their username.
As
of 7.6.2, if you are using REDIRECT mode, the email that is sent can be
figured using the "UserNameResetBodyTemplate" template delivered
with base.
When the user clicks "Click here"
in the notification email, the following page open in their default browser:
· Show Activate Account - This setting allows you determine whether or not to display the Activate Account link.
· Enable On Demand Data Fetch - This setting will only fetch the required columns for the web module. See Enabling On Demand Data Fetch for more Information.
6. Click Update.
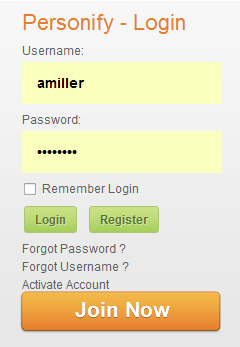
If SSO is set up in "INLINE" mode, the Login web module will display as shown below.
If SSO is set up in "REDIRECT" mode, the Login web module will display as shown below.
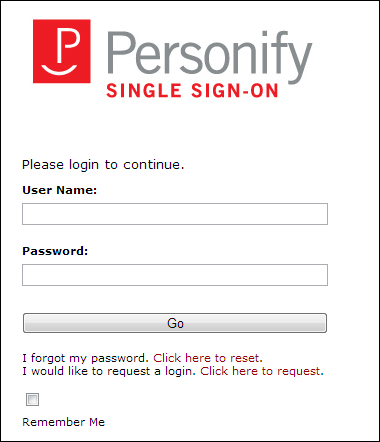
For more information on INLINE vs. REDIRECT mode for SSO, please see Step 3: Modifying the Web.Config File.