Configuring the Back Office Settings for the Events Calendar
This section discusses the back office settings required for meetings
to display properly on the events calendar. There are numerous optional
features that accompany the events calendar and require additional back
office set up. Each of the following options are described below:
After a meeting has been set up, validated
in the back office, web-enabled,
and is active, it will display in the Events Calendar on your website.
There is no additional back office set up required. For more information
on creating meetings in the back office, please see Creating
a Meeting.
If the information in a column has not been defined for a meeting (e.g.,
there are no credits associated with a meeting), the meeting will still
display with no information in that column. You can choose to remove the
column in the control settings, if you do not want it to display. For
more information, please see Configuring
the Web Settings for the Events Calendar.
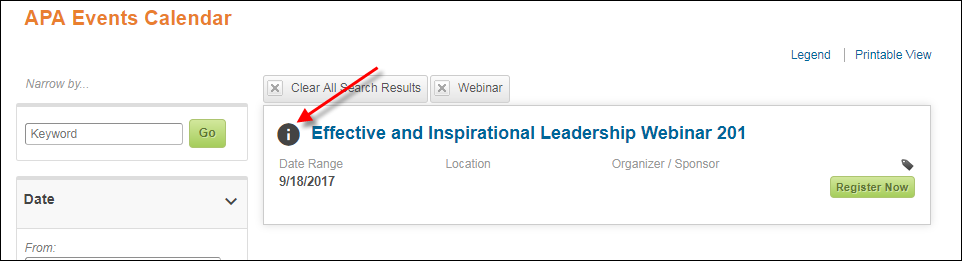
Web users have the option to filter the events that display in the events
calendar using the following filter options:
Keyword
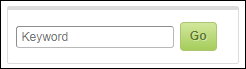
Terms entered in the keyword search field will search against the product
name, description, categories, and defined
keywords for the meeting product.
Dates
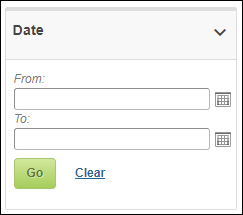
Web users can filter the events calendar by meetings that occur within
a date rage. The Web Display Dates
are defined on the eBusiness
Control screen in the back office.
 Users can
search for meetings that have occurred in the past using the From
date field, as long as the past meeting is still web-enabled (i.e., .
Users can
search for meetings that have occurred in the past using the From
date field, as long as the past meeting is still web-enabled (i.e., .
Organizer/Sponsor
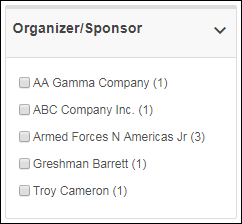
The organizer/sponsor filter will generate a list of meetings that
have a common related customer defined as "sponsor"
in the back office. You can also pre-filter your meeting to display
only events by one organizer or sponsor. For more information, see
Configuring the Web Settings for a Calendar
without the Left Navigation Panel.
Event
Format
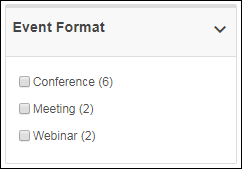
Web users can search for events by the defined Event Format (a new
field in the back
office for meeting setup as of 7.5.0). You can also pre-filter
your meeting to display only events by one format, e.g. you want your
calendar to only display available webinars. For more information,
see Configuring the Web Settings for
a Calendar without the Left Navigation Panel.
Topic
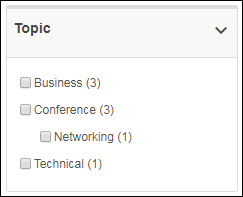
Web users can filter the events displayed by category
and subcategory values defined for the meeting product using the
topic filters.
Credits
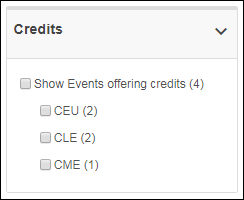
If your organization offers more than one type of continuing education
credit, you can allow web users to filter the calendar by credit
type as defined on the meeting product.
Location
(State)
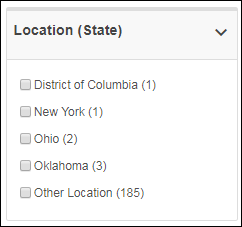
If a meeting is linked to a facility,
web users can filter the events calendar by location (state). Only
the states that have been defined for meetings in the events calendar
will display as options.
Location
(Distance)

Web users can enter a zipcode then define a radius from the location
to filter the events calendar. This functionality requires a Spectrum integration.
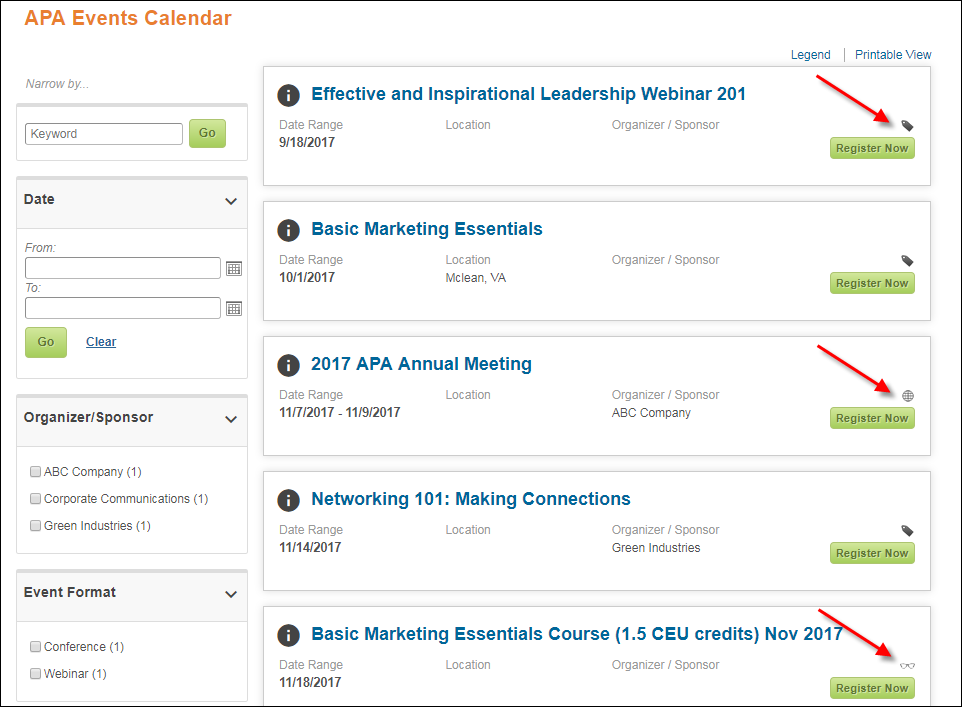
Unique icons can be defined for certain categories of products to display
on your events calendar, as highlighted below.
 As
of 7.5.2, if an icon has NOT been defined for the Product Class of the
meeting product, the system will check to see if a default image has been
defined at the org unit level. If not, a blank, transparent box will display.
For more information on defining the default image at the org unit level,
please see Defining
Organization Unit Meeting Parameters.
As
of 7.5.2, if an icon has NOT been defined for the Product Class of the
meeting product, the system will check to see if a default image has been
defined at the org unit level. If not, a blank, transparent box will display.
For more information on defining the default image at the org unit level,
please see Defining
Organization Unit Meeting Parameters.
If there are any product associated with a meeting, they will display
below the meeting name on the Events Calendar, as highlighted below.
Whether or not a product alert displays is based on product setup. For
information on product alerts, please see Configuring
Product Alerts.
A web user can view more details about a meeting without leaving the
Events Calendar by clicking the magnifying glass next to the event name,
as highlighted below.
When the user clicks the magnifying glass, the following window appears.
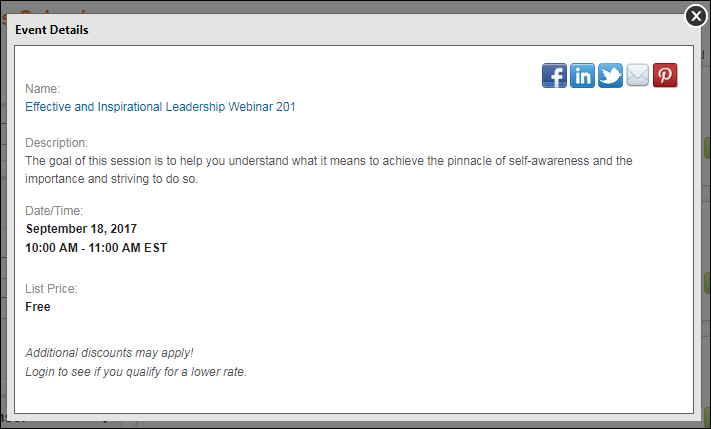
The following information can display on this window if set up in the
back office:
If an eBusiness control has been defined for the meeting product in
the back office, the name of the event will display as a clickable link
that will direct a web user to the Meeting
Details control. See Defining
a Meeting Product to Display on the Web for more information. No additional
back office set up is required for the Event Details window.
You can define an organizer/sponsor to display in the events calendar,
as highlighted below.
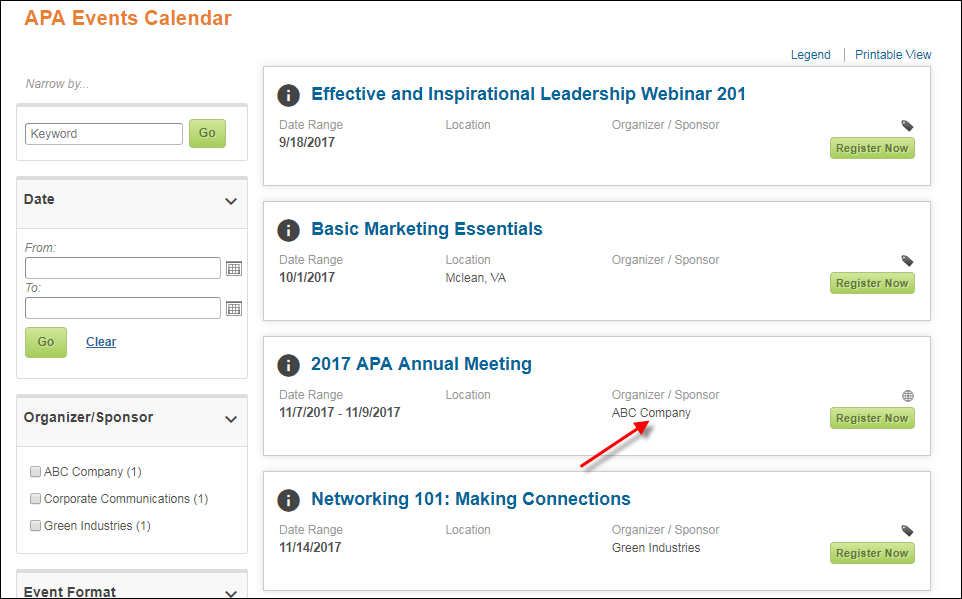
This
column can be renamed to reflect any customer relationship that works
best for your organization via the Organizer/Sponsor
- Pre filter parameter in the control settings. See Configuring
the Web Settings for the Events Calendar for more information.
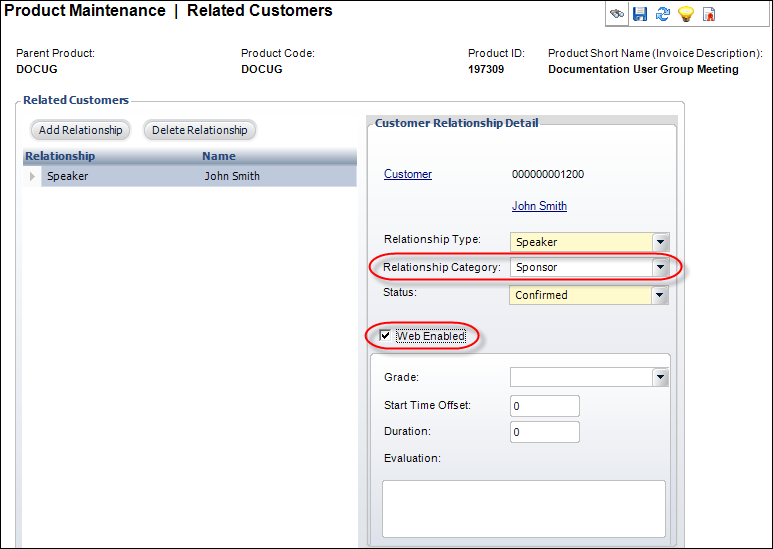
The customers that display in the Organizer/Sponsor column must be defined
in the back office on the Related Customers screen as Web-Enabled
and with a Relationship Category
of "Sponsor" as highlighted below.
The name of the organizer or sponsor will display as a link if a website
has been defined on the customer record, as displayed below. For more
information, please see Adding
New Web/Social Media Information to a Constituent's Record in CRM360.

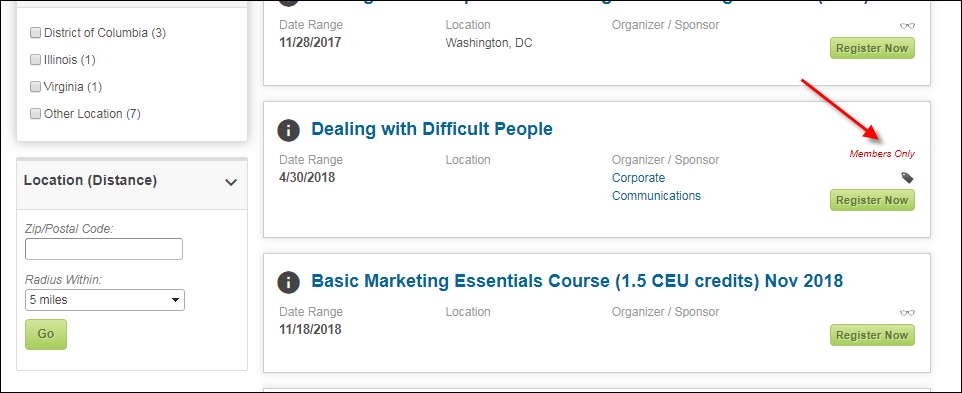
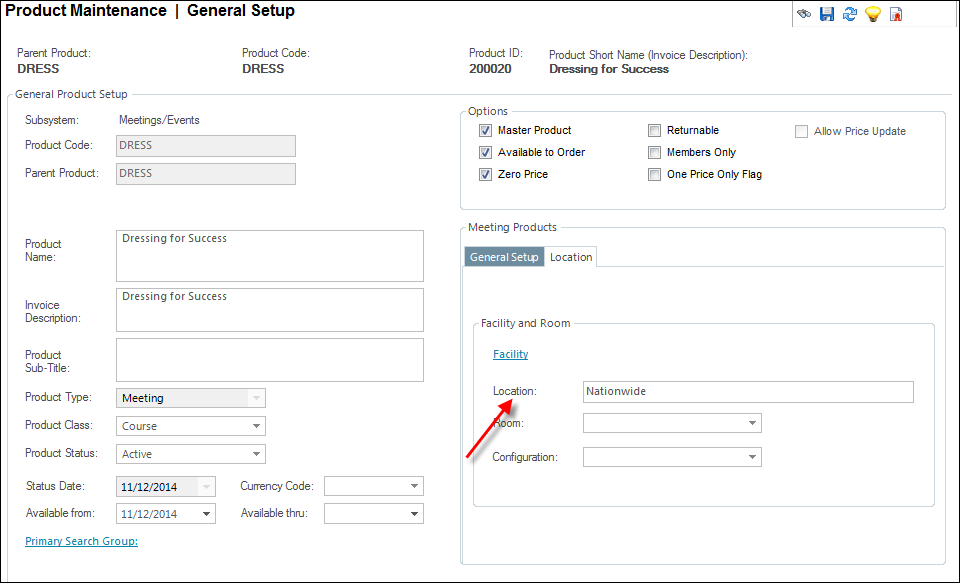
You can define a location to display in the events calendar, as highlighted
below.
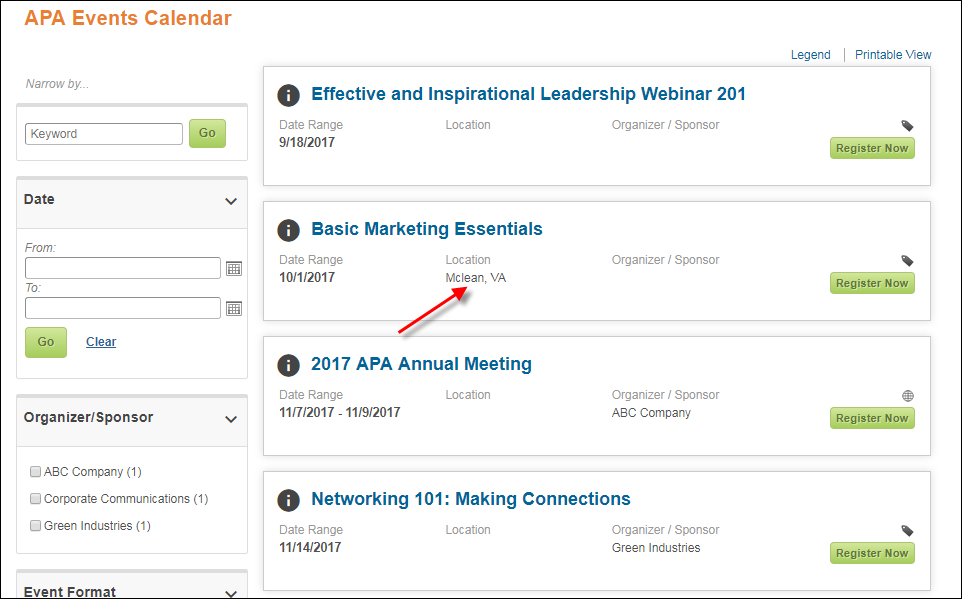
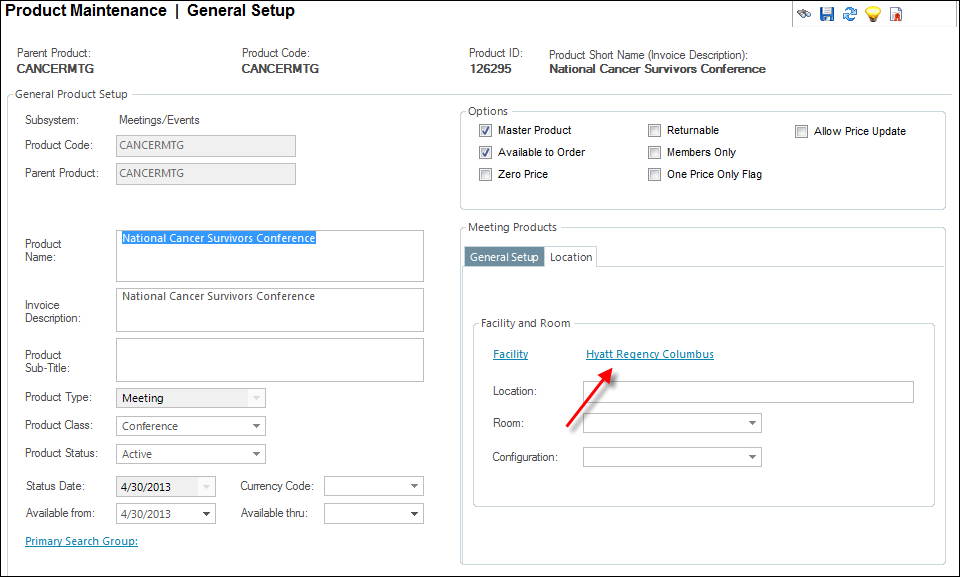
If a Facility location is defined
for the event, the City and State of the facility customer record's primary
address will display in the Location
column.
Alternatively, if a facility is NOT defined for the event, the Location defined for the event will
display in the Location column.
As of 7.5.0, meeting creators have the ability to display credits that
are associated with meetings on the events calendar, as highlighted below.
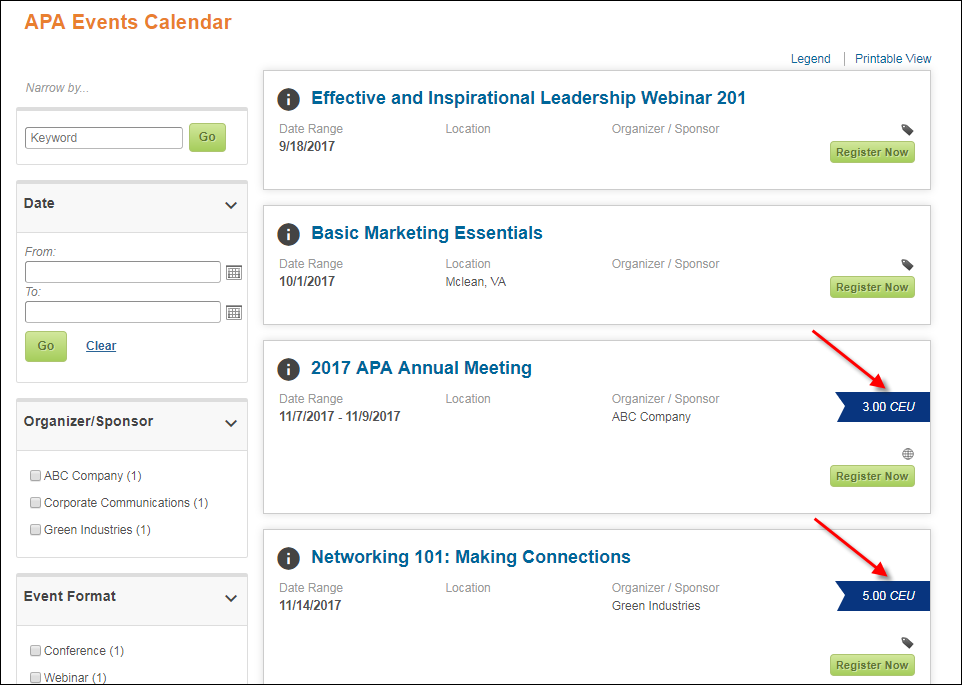
Credits
that are associated with related sessions will not display on the events
calendar. To view credits associated with sessions, users should navigate
to the session details page.
As of 7.7, the Event Calendar and Event
Detail controls display CE credits that are linked directly to the
meeting product AND CE credits that are linked to a transcript programs
which are linked to the meeting product. If more than one CE credit is
defined, the system will display the credit that has the lowest display
order in System
Types and Codes first. If you want to identify a default, you must
enter a higher Display Order for
the other defined credits. For instructions on how to assign credits to
a meeting, please see Defining
Meeting Product Related Transcript Information.
If
no meetings in the calendar have continuing education credits defined,
the Credits filter will not display.
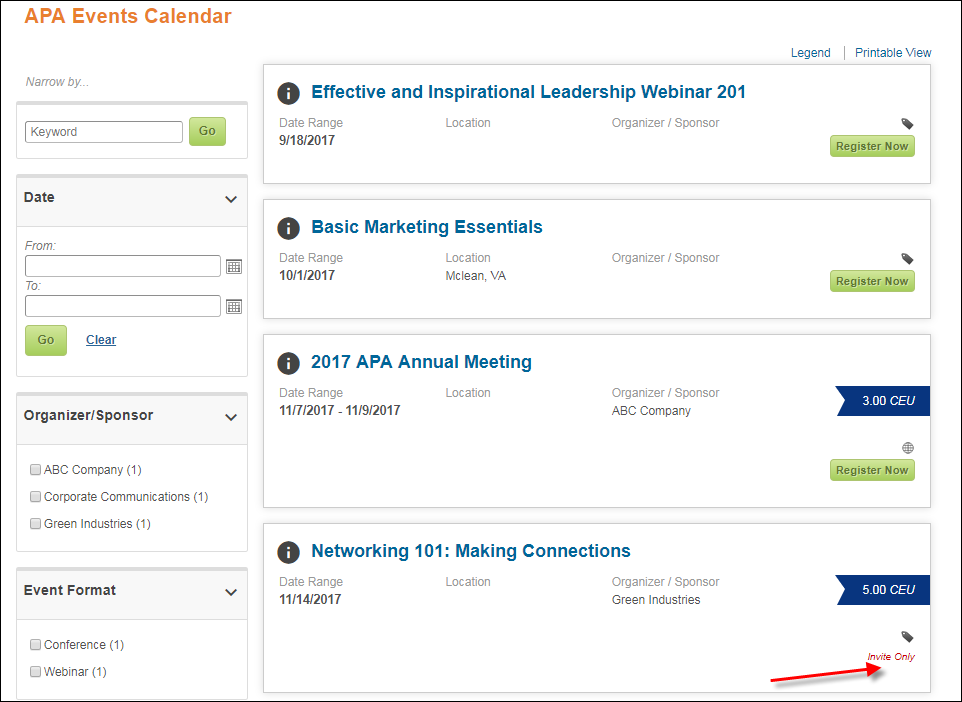
As of 7.6.1, invite-only meetings (as defined by the Invite
Only checked on the General
Setup screen in Product Maintenance) will display in the Event Calendar
ONLY if the Exclude 'Invite Only' Meetings
web
setting is NOT enabled. If this option is NOT enabled, "Invite
Only" will display in the Actions column.