The following are the .NET controls that display and use chapter/subgroup functionality on the web:
· Meetings
· Calendar
Similarly, a manager can add or update contact information on the web using the Profile .NET controls. The following are some examples of how the subgroup information displays on the web using the different Profile controls:
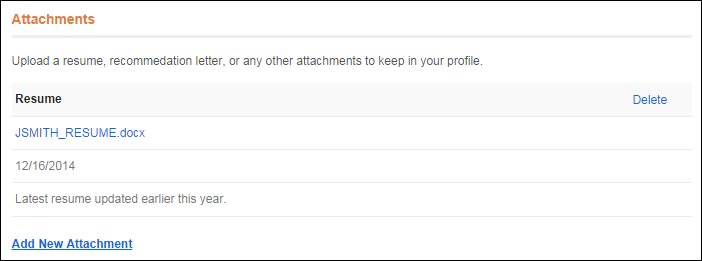
You can add attachments (e.g., chapter/subgroup minutes, references, resumes, etc.) for chapter/subgroups on the web using the Attachments control, as shown below. See Configuring the Back Office Settings for the Attachment Control for more information. When the web user clicks Add New Attachment, the Add Attachment window displays. The values populated in the Document Type drop-down, are defined for the non-fixed CUS "CUSTOMER_DOCS" system type in the back office. This information is stored on the Resume/Related Documents screen in the back office. See Attaching Files for more information.
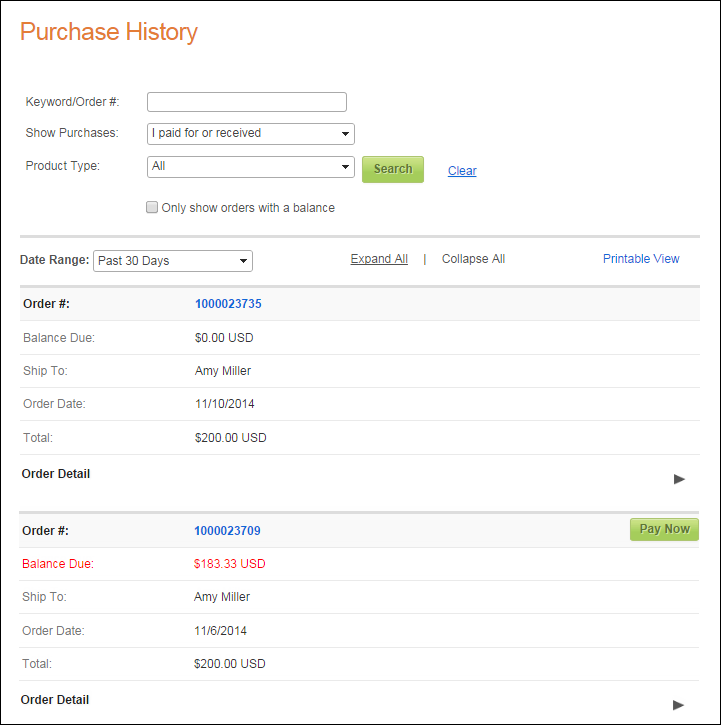
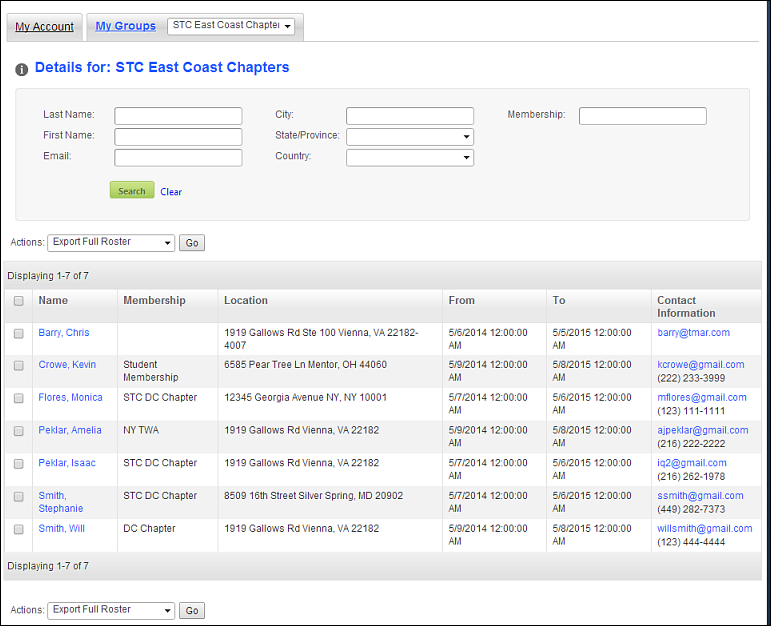
Group Managers are able to view/print the purchase history for the subgroup using the Purchase History control, as shown below. See Purchase History Control Overview for more information.
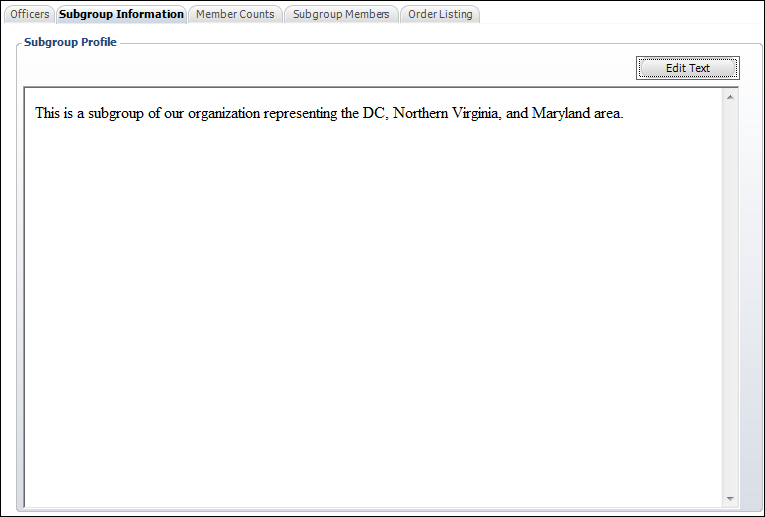
You can enter subgroup profile information on the web using either the Biography control and Biography Summary control, as shown below.

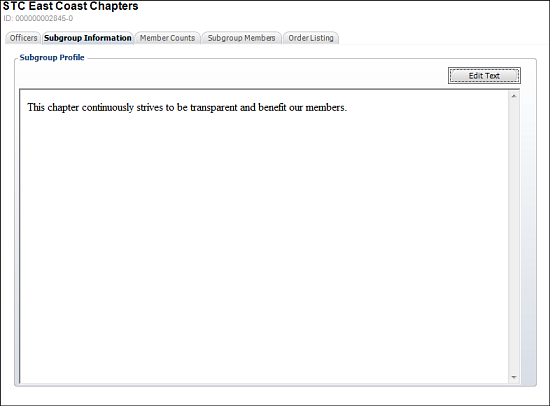
This is information is stored in the Subgroup Central screen on the Subgroup Information tab, as shown below. See Adding a Subgroup Profile for more information.
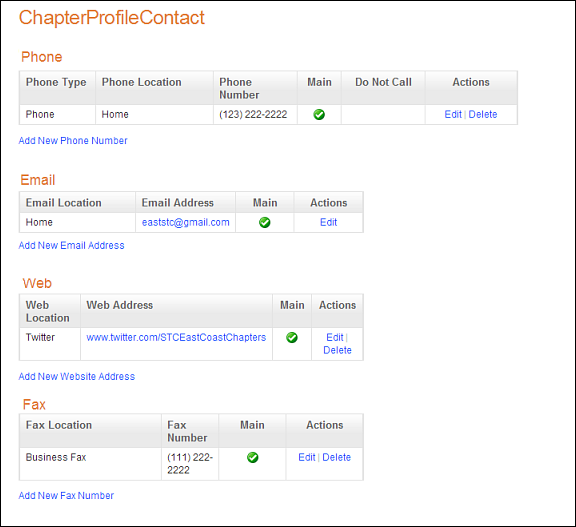
Group managers chapter can update the chapter's contact information using either the Address, Email, Fax, My Account Contact Address, My Account Contact Email, My Contact Information, Phone, or Web/Social Media controls. The image below is an example of the Phone, Email, Web/Social Media, and Fax controls dropped onto the same page displaying the chapter's contact information.
As Personify works to develop next generation e-business capabilities, one of the areas of importance is the ability for one constituent to manage the demographics, relationships, and transactions for other constituents that are part of a group. This is known as group management. As of 7.5.2, group management was expanded to include chapter/subgroup management, as shown below. See Group Management for more information.
 On the web, group managers are only able to run MBR1015 if a chapter has a corresponding officers committee. In order to create a corresponding officers committee, on the Officers tab in Subgroup Central, you click the Linked Committee for Officers link and select/create a committee. If no related committee has been indicated, this report will not be visible to group managers online. See Configuring the Report Control for Officers- MBR1015 for more information.
 If you are using Chapter Management on the web and you need to change the ship-to line on a membership order midway through the cycle, do NOT simply change the ship-to line customer ID. This would NOT result in a true picture of what happened for a chapter manager. Rather, the proper process is to cancel the first customer’s order line and create a new line. Any payment on the first line can be transferred to the new line if desired. See Viewing a Constituent's Order and Donation History in CRM360 for more information.
As of 7.5.0, subgroup profile information displays on the Meeting's Product Detail Page on the Sponsor Information window, as shown below,or the Author Information window. Where the subgroup displays on the web is determined by your configuration settings. See Configuring the Back Office Settings for the Meeting Detail Control for more information.

In the back office it displays as shown below. See Adding a Subgroup Profile for more information.
In order for text to display on the Meeting Detail Control on the web, the "Include Sub-Group Profile in Web/Mobile Directory" checkbox must be checked, as highlighted below. See Changing a Subgroup Name for more information.

You can create a calendar for chapter members to see chapter-only events.
To create a calendar for chapter-only events:
1. Create a calendar and filter it by a specific product class or sponsor. See Creating an Events Calendar for more information.
2. Set up an IMS role for the chapter members and restricting the calendar page to only members of that group. See Creating a New IMS Role for more information.
3. Send that calendar’s URL to chapter members to encourage them to register.
See Also:
· For the different actions you can perform after setting up a chapter/subgroup, refer to Working with Chapters in Chapter Central.
· For the list of reports you can run for a chapter/subgroup, see Chapter Reports.
· For more information on how to create a new chapter/subgroup, refer to Creating a New Chapter.