 This is a standalone control, which means that it has its own individual value and does not require another control in order for it to function. For more information, refer to the Standalone .NET Web Controls section.
This section discusses the web settings required to add the Awards Program Detail control to your website.
· For an overview of the Awards Program Detail page, please see Awards Program Detail.
· The type of information that displays in the awards listing is based on the back office setup. For more information, please see Configuring the Back Office Settings for the Awards Program Detail.
This is a standalone control, which means that it has its own individual value and does not require another control in order for it to function. For more information, refer to the Standalone .NET Web Controls section.
To configure the web settings for the Awards Program Detail control:
1. Add the "AwardsProgramDetailControl" control to the desired page. For more information, please see Adding a .NET Web Control to a Page.
The Control Settings for this control display, as shown below.
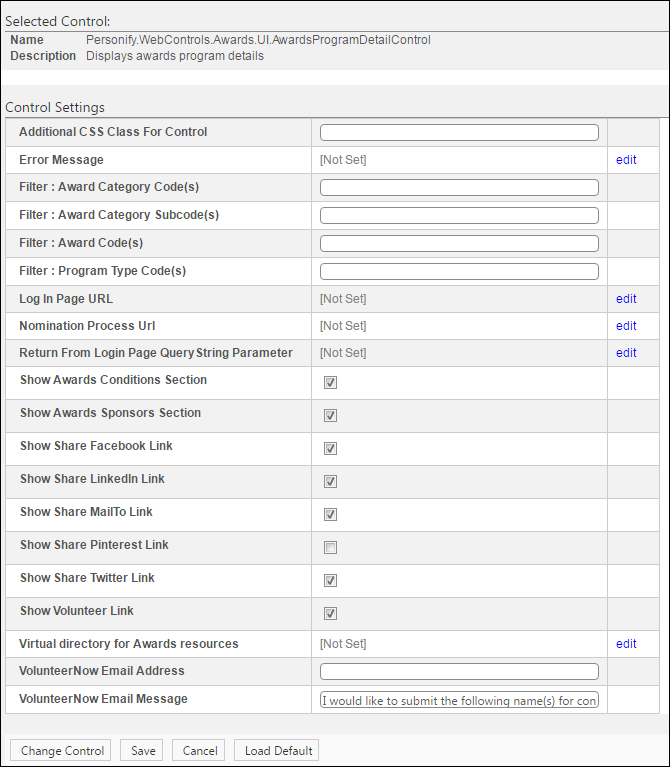
2. In the Additional CSS Class for Control field, enter the CSS class, if necessary.
This option allows you to add additional layout to the skin by developing a new style, which requires an advanced understanding of HTML and CSS. See Configuring Pages, Modules, and Skin Settings for more information.
3. If necessary, select or create a new Error Message.
The error message will display on the control for the action that was being performed at the time of the error.
a. If left blank, the default error message, "An error occurred while performing [Insert Action]. If the problem persists, please contact the site administrator", will display. [Insert Action] will be substituted with the action the control was performing at the time of the error.
b. If you wish to change the default error message, customize it with a PWF parameter. See Setting up PWF Parameters for more information.
4. The awards program detail page is configurable so that organizations can have a particular set of filters applied to display only a specific award using the following parameters:
 Although these filters work similarly to those of the Awards Program Listing and Awards Program Navigation controls, the filters for this particular control are used as an extra level of security. For example, if a web user manually passes the award ID in the query string for an award that does not pass the filter, the system will display an error.
· Filter: Award Category Code(s): Enter one or more award category codes (comma separated) to display the award only if the award has the category code(s) entered.
· Filter: Award Category Subcode(s): Enter one or more award category subcodes (comma separated) to display the award only if the award has the subcategory code(s) entered.
· Filter: Award Code(s): Enter one or more award codes (comma separated) to display the award only if the award has the award code(s) entered.
· Filter: Program Type Code(s): Enter one or more program type codes (comma separated) to display the award only if the award has the program type code(s) entered.
5. From Log In Page Url, click edit.
The Select/Edit Personify Web Parameter screen displays.
a. Click the select link next to the appropriate PWF parameter that will take the web user to the page where he/she can log into your website.
If this PWF parameter does not exist or you would like to create a new one, see Setting up PWF Parameters for more information.
6. From Nomination Process Url, click edit.
The Select/Edit Personify Web Parameter screen displays.
a. Click the select link next to the appropriate PWF parameter that will take the web user to the page where he/she can nominate someone for an award.
If this PWF parameter does not exist or you would like to create a new one, see Setting up PWF Parameters for more information.
7. From the Return From Login Page Query String Parameter line, click edit.
The Select/Edit Personify Web Parameter screen displays.
a. Click the select link next to the appropriate PWF parameter that will return the web user to awards program listing page after he/she logs into your website.
8. Select whether or not to Show Awards Conditions Section.
If this checkbox is checked and conditions have been defined for the award (see Adding Award Conditions), the conditions section will display on the award detail page, as shown below.
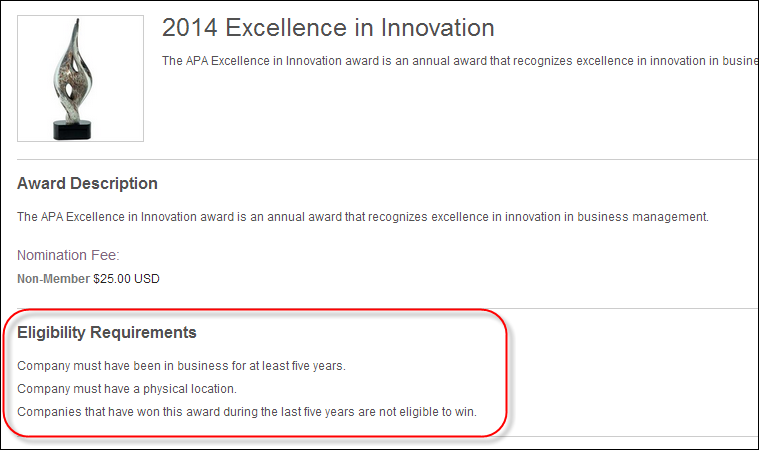
The name of this section is defined by the Condition Header field on the Web Setup tab on the Manage Awards Program screen in the back office. For more information, please see Defining Award Web Setup.
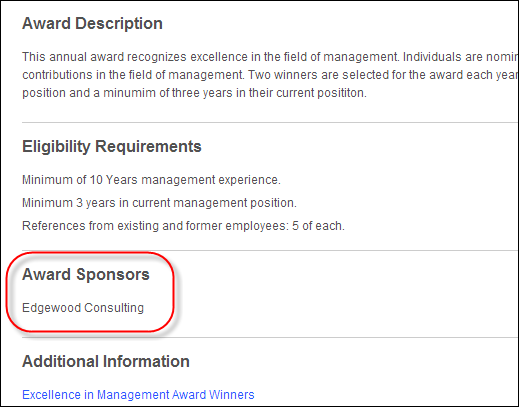
9. Select whether or not to Show Awards Sponsors Section.
If this checkbox is checked, the award has been defined as a sponsored award (see Adding Award Details), and a sponsor has been added to the award (see Adding Award Program Sponsors), the Award Sponsors section will display on the award detail page, as shown below.
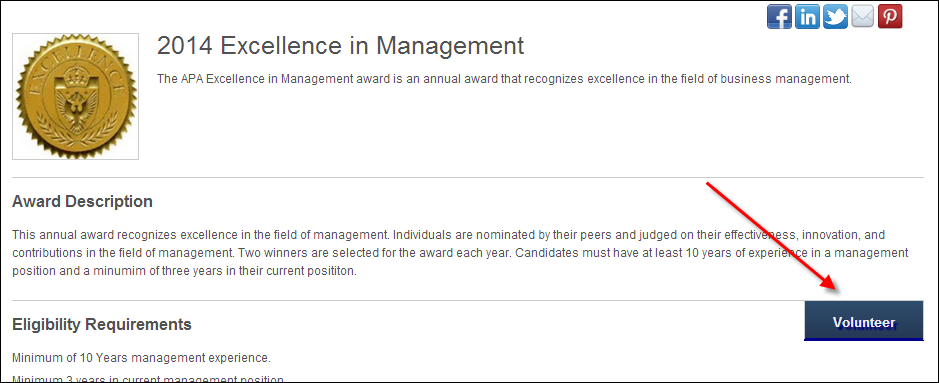
10. Select whether or not to Show Share Facebook Link.
If this checkbox is checked, the Facebook "Recommend" button will display on the award detail page, as shown below. Web users can click on this button and share the award details with their Facebook friends. When the web user clicks this button, he or she will be required to log into Facebook with his/her credentials.

11. Select whether or not to Show Share LinkedIn Link.
If this checkbox is checked, the Linkedin button will display on the award detail page, as shown below. Web users can click on this button and share the award details with their LinkedIn contacts. When the web user clicks this button, he or she will be required to log into LinkedIn with his/her credentials.

12. Select whether or not to Show Share MailTo Link.
If this checkbox is checked, the mail icon will display on the award detail page, as shown below. Web users can click on this icon and mail the award details to whomever they want. This will open a new email in the web user’s default email system. By default, the award name will populate in the Subject field and the body of the email will default to the text defined in the "MailTo Email Text" parameter (discussed above).

13. Select whether or not to Show Share Twitter Link.
If this checkbox is checked, the Twitter "Tweet" button will display on the award detail page, as shown below. Web users can click on this button and share the award details with their Twitter followers. When the web user clicks this button, he or she will be required to log into Twitter with his/her credentials.

14. Check the Show Volunteer Link if you want the "Volunteer" button to display on the award detail page, as shown below.
Logged in web users can click this button to open the Volunteer Now window, as shown below.
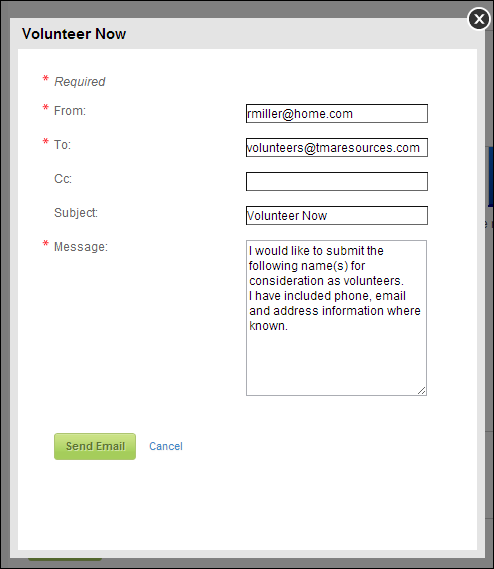
The To field defaults to the email address defined in the VolunteerNow Email Address field and the Message field defaults to the message defined in the VolunteerNow Email Message field in the control settings.
15. For the Virtual directory for Awards resources setting, select the virtual directory that exposes awards resources, such as program images and related files.
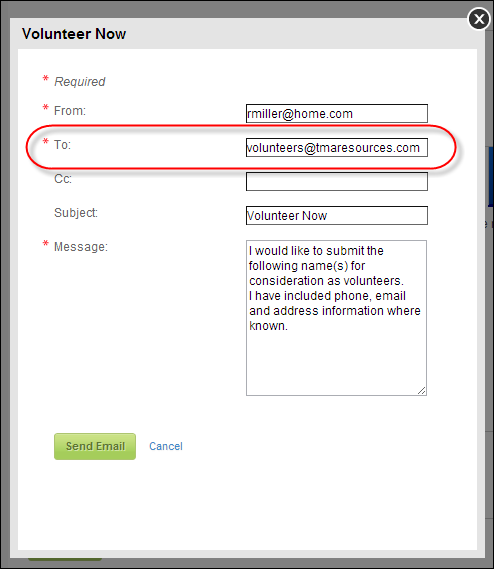
16. If necessary, enter the VolunteerNow Email Address.
This allows you to specify an email address of a staff person to whom the “Volunteer Now” email should be sent, as highlighted below. Please note that the Volunteer Now window will only display if the Show Volunteer Link checkbox is checked.
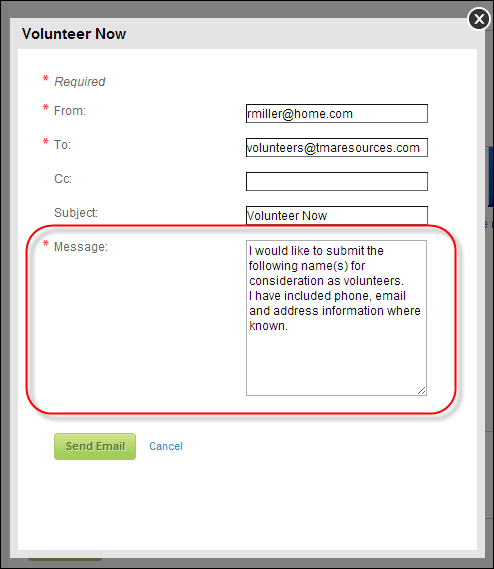
17. If necessary, enter the VolunteerNow Email Message.
This configuration item allows you to define the text of the email message, as highlighted below. For example, “I would like to submit the following name(s) for consideration as volunteers. I have included phone, email ,and address information where known.” Please note that the Volunteer Now window will only display if the Show Volunteer Link checkbox is checked.
18. Click Save.