Populating Purchasing Groups
As of Personify360 version 7.7.0, a new workflow has been created to
populate purchasing groups. Using Data Analyzer, organizations will be
able to generate a simple or complex marketing list to populate a purchasing
group in bulk, saving time and making purchases more accessible to more
constituents.
There are four steps to populate a purchasing group in bulk:
1. Create
a Data Analyzer query
2. Create
a marketing list
3. Create
a purchasing group
4. (Optional)
Run PGR100 manually
Step One: Create
a Data Analyzer Query
Data Analyzer gives you the option to create your own reports based
on a specific query you create in the application. The reports can then
be saved to one of your personal folders, known as My Folders, or to one
of the Public Folders.
To view the steps to create a Data Analyzer query, please see Creating
a Webi Report.
Step Two: Create a
Marketing List
Marketing lists can be populated with customer records based on a predefined
Data Analyzer query created using existing Personify360 data. This functionality
is only available if “Data Analyzer Query” is selected as the Creation
Method for the marketing list. The results returned by the Data Analyzer
query will create the customers on the marketing list.
To view the steps to create a marketing list, please see Creating
a List from a Data Analyzer Query.
Step Three: Create
a Purchasing Group
To view the steps to create a purchasing group, please see Creating
a Purchasing Group.
As of Personify360 version 7.7.0, you can populate a purchasing group
using a marketing list.
To add customers to the purchasing group using a marketing list:
1. From the Personify360
main toolbar, select Products > Rates, Discounts,
Coupons > Purchasing
Group Definition.
The Purchasing Groups Maintenance search screen displays.
2. Click
Create New.
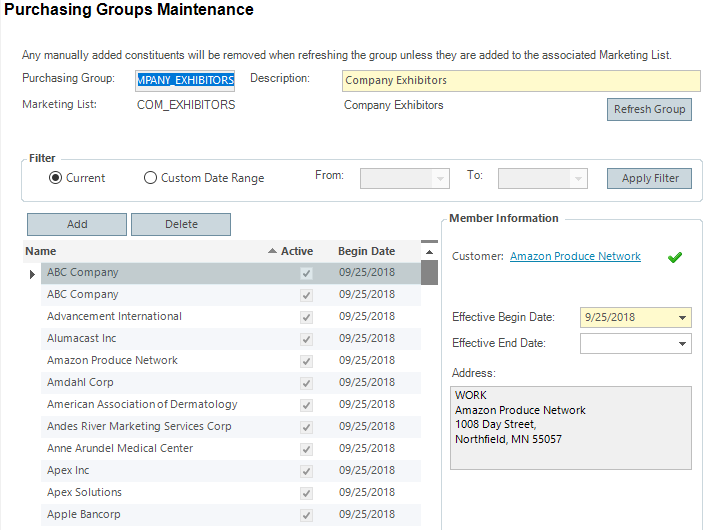
The Purchasing Groups Maintenance screen displays.
3. Enter
the Purchasing Group name.
4. Enter
a Description of the purchasing
group.
 If
you want to create the purchasing group and then run PGR100 manually,
skip to (Optional) Step Four:
Run PGR100 Manually at this point. If you want to create the purchasing
group and populate using the PGR100 default settings, continue to select
the Marketing List.
If
you want to create the purchasing group and then run PGR100 manually,
skip to (Optional) Step Four:
Run PGR100 Manually at this point. If you want to create the purchasing
group and populate using the PGR100 default settings, continue to select
the Marketing List.
5. Select the Marketing
List hyperlink.
The List Code Chooser displays, as shown below.
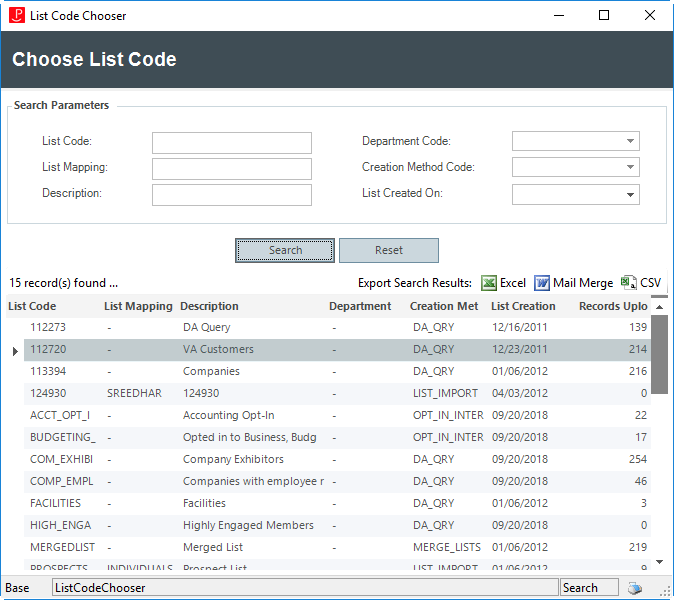
6. Search for and select
the marketing list you wish to populate.
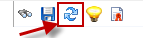
7. Click the Refresh
Group button.
A message displays asking you to save your changes. Click Yes.
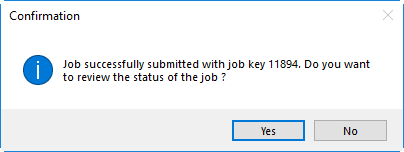
A confirmation message displays with your job ID. Click Yes
to view the status of the PGR100 job.
8. Once the job is finished
running, refresh the purchasing group screen.
The customers from the marketing list are added to the purchasing group.
(Optional) Step Four:
Run PGR100 Manually
If you wish to populate the purchasing group with options different
from the default setup, you can run PGR100 manually.
1. From the menu bar at
the top of the application, select Reporting
> Batch Job Submission.
2. Search for and select
the PGR100 process.
3. From the Job Submission
screen, select the parameters you wish to use. For more information on
these parameters, please see PGR100
- Maintain Purchasing Group Process.
4. Run
the report.
Refreshing the Purchasing Group
If you make changes to the marketing list, you must refresh the group
using the Refresh Group button on the Purchasing Group Maintenance screen
or by running the PGR100 process to update the purchasing group.
The following logic applies when refreshing the purchasing group:
· For customers that
are still on the marketing list, the begin date remains the same; existing
rows are not modified
· For customers that
are no longer on the marketing list, the end date is updated to the system
date or to the date selected as the Effective Begin Date on the PGR100
process
· For customers that
have been added to the marketing list, they are added with a begin date
set to the system date or to the date selected as the Effective Begin
Date on the PGR100 process
· For customers that
were removed from the marketing list and now have an end date in the past
within the purchasing group, if they are re-added to the marketing list
they will be added to the purchasing group for a second time.
If you add the wrong list accidentally and
wish to clear the list, right click the list name and select Clear. 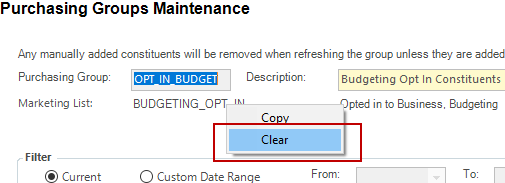
A warning
message will display. Choosing the Clear option will completely remove
all customers added to the purchasing group and will not retain any history.
This is recommended to be used only in the case of accidentally adding
the wrong list to the purchasing group.