The Purchasing Groups Maintenance screen displays, as shown below.

For an overview of purchasing groups, please see the Purchasing Group Overview.
To define a purchasing group:
1. From the
Personify360 main toolbar, select Products > Rates,
Discounts, Coupons >
Purchasing Group Definition.
The Purchasing Groups Maintenance search screen displays.
2. Click
Create New Order Purchasing Group.
The Purchasing Groups Maintenance screen displays, as shown below.
3. Enter the Purchasing Group name.
4. Enter a Description of the purchasing group.
5. Customers
are added to purchasing groups so that the customer qualifies for a rate
structure or discount when the customer places an order.
To add specific customers to the purchasing group, perform the following:
a. Click
Add.
The Customer Chooser screen displays.
b. Search for and select a constituent to add as a member to the group.
 If a committee
is selected as the constituent, the committee members will NOT be added
to the purchasing group. However, if the committee is the constituent
on an order, the purchasing group rates or discounts will apply.
If a committee
is selected as the constituent, the committee members will NOT be added
to the purchasing group. However, if the committee is the constituent
on an order, the purchasing group rates or discounts will apply.
c. By default, the Effective Begin Date is set to today. Change this if necessary.
d. If necessary,
select an Effective End Date.
Keep in mind that if the Effective End Date is less than the current date,
the Active checkbox in the grid will be unchecked, a red "X"
will display next to the Customer link in the Member Information section,
and this action may result in recalculation of existing order.
6. As
of Personify360 version 7.7.0, you can populate a purchasing group using
a marketing list. For more information, please see Populating
Purchasing Groups.
To add customers to the purchasing group using a marketing list:
a. Select
the Marketing List hyperlink.
The List Code Chooser displays, as shown below.
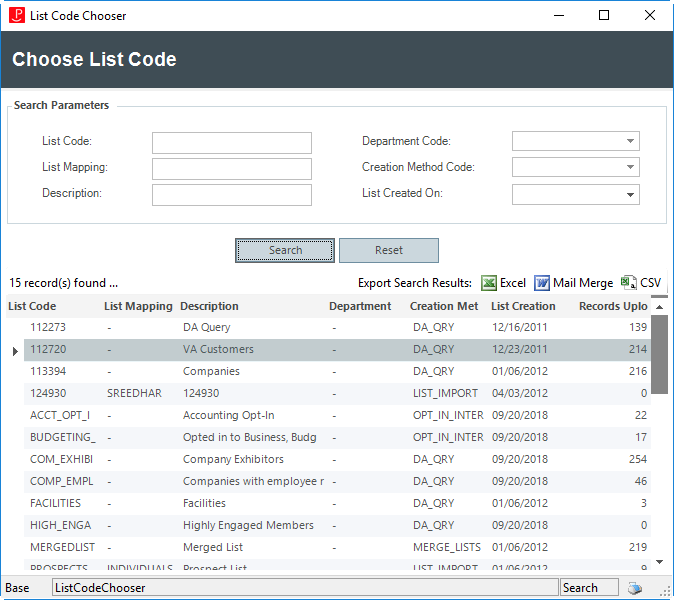
b. Search
for and select the marketing list you wish to populate.
To populate the customers after selecting the marketing list, you must
run the PGR100 process. For more information, please see PGR100
- Maintain Purchasing Group Process.
7. Click Save.
8. Proceed to create a discount for the purchasing group. For more information, please see Creating a New Discount.
See also: Deleting a Purchasing Group.