Each user needs to configure their own login information. This information should only have to be entered once per user, unless the user is accessing multiple databases.
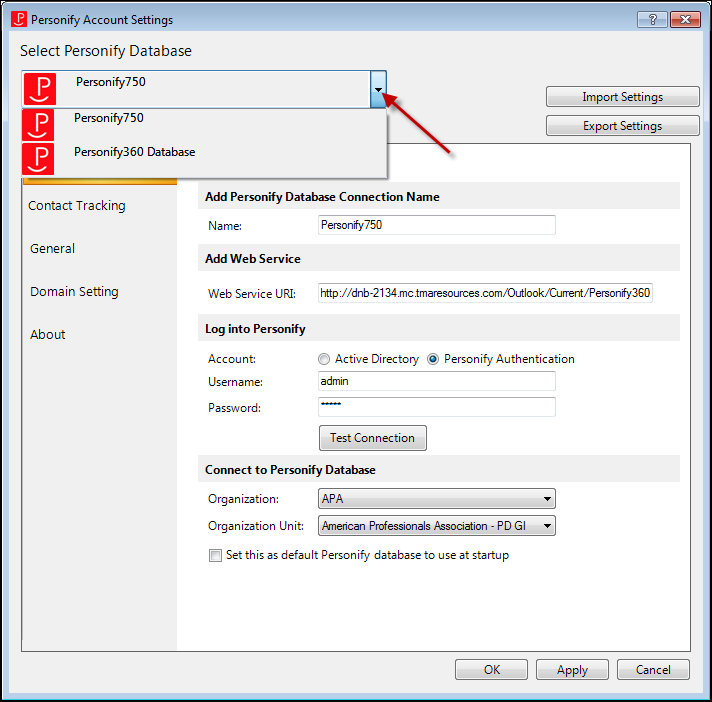
If you work with multiple databases, once you have configured the appropriate
Personify360 Outlook Plug-In account settings, you can switch between
the databases by selecting the appropriate database from the Select
Personify360 Database drop-down on the Account Settings screen,
as highlighted below.
To configure the options on the Login tab:
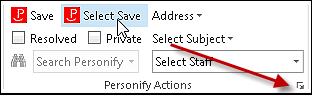
1. From the
Personify360 Outlook Plug-in, select the drop-down arrow, as highlighted
below.
The Account Settings screen displays, as shown below.
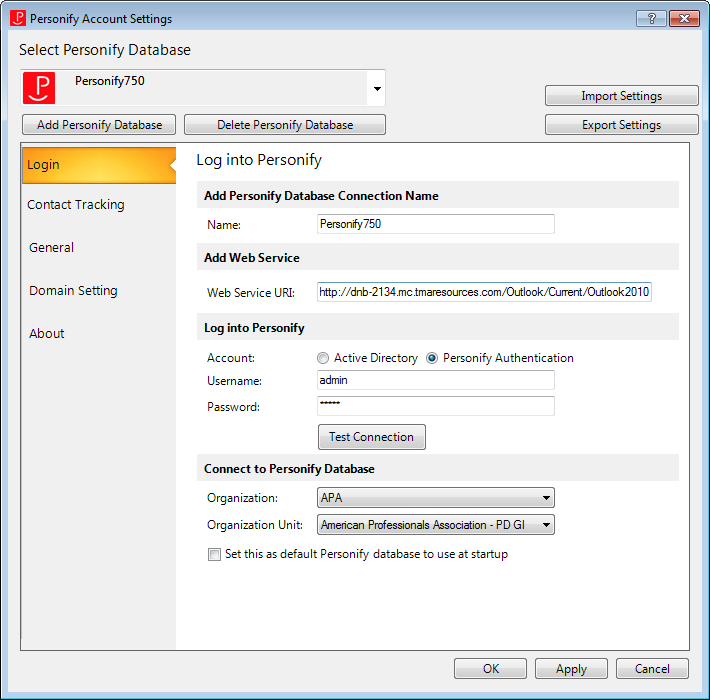
2. If you work with multiple databases, select the Add Personify Database button.
 In order
to add the Personif360 database to the Outlook plug-in for the first time,
you do NOT need to select the Add Personify
Database button. Only select this button if you want to add more
than one Personify360 database to the Outlook Plug-in.
In order
to add the Personif360 database to the Outlook plug-in for the first time,
you do NOT need to select the Add Personify
Database button. Only select this button if you want to add more
than one Personify360 database to the Outlook Plug-in.
3. If necessary, select the Delete Personify Database button. See Deleting a Database for more information.
4. From the Add Personify Database Connection Name section, enter the Name of the database.
5. From the Add Web Service section, enter the Web Service URI (Uniform Resource Identifier).
 Your web
administrator can provide the correct path. For example, if the server
name in which the Personify360 Outlook Web Service was installed is serv1 and the default installation steps
are followed, the URI would be http://serv1/Personify360OutlookWebService/Personify360Outlook.asmx.
Your web
administrator can provide the correct path. For example, if the server
name in which the Personify360 Outlook Web Service was installed is serv1 and the default installation steps
are followed, the URI would be http://serv1/Personify360OutlookWebService/Personify360Outlook.asmx.
6. From the Log into Personify section, select to connect to Personify360 by one of the following two options:
a. To connect to Personify360 via Active Directory, select the Active Directory radio button. See Creating a New Network User for more information.
i. Enter your active directory Username and Password.
b. To connect to Personify360 using your Personify360 login authentication, select the Personify Authentication radio button.
i. Enter your Personify360 Username and Password.
Your system
administrator should provide you with your Active Directory or Personify
Authentication username and password.
7. Click
Test Connection to make sure the URI was entered
correctly.
If the connection works, “Connection successful” displays.
8. From the Connect to Personify360 Database section, select the appropriate Organization and Organization Unit. Please note that these fields will be empty until you click Test Connection.
9. If necessary, check the Set this as default Personify360 database to use at startup checkbox.
10. Click Apply.
11. If necessary, you can use these screens to define the following settings that only applies to your Outlook settings:
· General
12. If necessary, repeat steps 2-9 to create additional databases. The plug-in allows you to configure and work with more than one database. If you work with multiple databases, once you have configured the appropriate Personify360 Outlook Plug-In account settings, you can switch between the databases by selecting the appropriate database from the Select Personify360 Database drop-down.
13. To close the Log into Personify screen, click OK.
To delete a database:
1. If you work
with multiple databases, from the Select Personify360
Database drop-down, select the database you want to delete, as
highlighted below.
2. Click the Delete
Personify Database button.
The database has been removed from the plug-in.