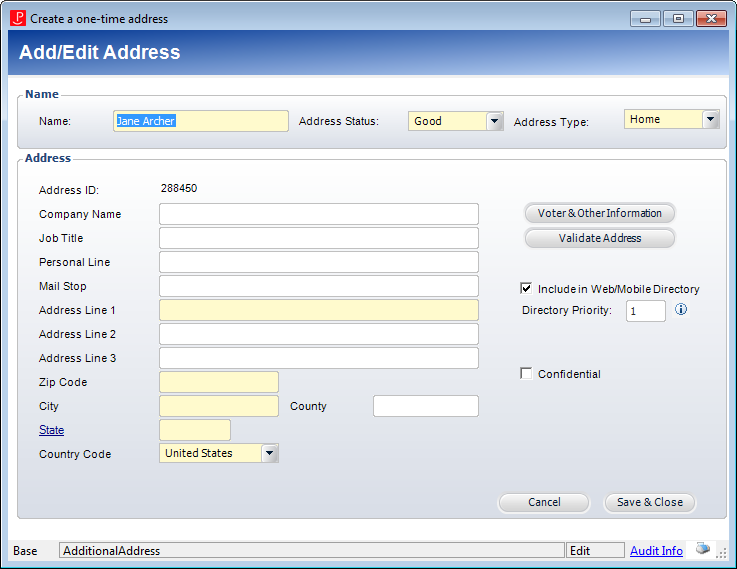
The Create a one-time address screen displays, as shown below.
The Order Entry screen allows you to create an address that is meant to be used only once for a specific order.
To create a one-time address:
1. From the Order Entry screen, click Create One-time Address from the Work with Line Items task category.
The Create a one-time address screen displays, as shown below.
2. Enter the Name of the customer.
3. Select the Address Status from the drop-down.
Values in the drop-down are populated based on the codes defined for the non-fixed CUS "ADDRESS_STATUS" system type.
 Although the ADDRESS_STATUS system type is non-fixed, the system will NOT allow you to set the Address Status to any value other than "Good" or "Bad".
4. Select the Address Type from the drop-down.
Values in the drop-down are populated based on the codes defined for the non-fixed CUS "ADDRESS_TYPE" system type.
 As a best practice, if you're creating a "Work" address for the customer, you should use the Parent Customer section to link the constituent to their employer's work address. Therefore, when the employer's address is changed, the constituent's address will also be updated. If the constituent work address needs to be changed in the future, you can mark the address as bad and a new address.
When deciding whether to use the "Business" or "Work" code for an address, please keep in mind that there is specific logic in the system related to the "Work" system type code, such as keeping the Job Title on the customer's address in sync with the Primary Job Title on the Demographics screen. For more information, please see Business vs. Work Addresses.
5. From the Address section, enter the constituent's Company Name, if necessary.
6. Enter the constituent's Job Title, if necessary.
7. Enter a Personal Line and/or Mail Stop , if necessary.
8. Enter the constituent's Address Line 1.
Although the address fields are required, if you selected the Address Type "BLANK", the system will allow you to save the new constituent without entering an address.
9. Enter Address Line 2, Address Line 3, and/or Address Line 4 , if necessary.
10. Enter the constituent's Zip Code.
If more than one city exists for the entered zip code, a pop-up will display from which you can select the appropriate city.
11. If the system found the zip code entered, the City and State fields will be automatically populated. Otherwise, enter the City and click the State link to search for and select the appropriate state.
12. Enter the County, if necessary.
13. Select the Country Code from the drop-down.
 When an address is created for a constituent that owns the address, an entry is created in the CUS_Address_Details table and the CUS_Address table. When a linked address is created for a constituent, an entry is created in the CUS_Address_Details table. You cannot link an address for an individual once an unlinked address is saved because the CUS_Address table will not be properly updated.
As of 7.6.1, countries with the lowest Display Order (defined on the Country and State Code Maintenance screen) will be listed first and then alphabetically by country name.
14. If the new constituent's information should be published in any base directory reports published on the Web (e.g., XBT1202), select the Include in Print Directory and/or Include in Web/Mobile Directory checkbox.
When unchecked, the e-Business Member Directory web part excludes this new customer information.
15. Enter the Directory Priority field.
This field identifies an address as primary or non-primary. The primary address has a directory priority of 0. The primary address is usually the address selected for all non-order-related activities. Every customer is required to have one address where Cus_Address_Detail.PRIORITY_SEQ = 0, so the first address created for a customer is always created with a directory priority of 0. Only one address per customer can be set as the primary address.
16. If the new constituent does NOT want their address to display on base roster reports (e.g., MBR1212PE), check the Confidential checkbox.
17. If necessary, click Voter & Other Information to add voter information.
For more information, please see Adding Voter Information for a New Constituent.
18. Click Validate Address.
The Address Validation screen displays with the status of the validation. Click Accept. See Validating a Customer Address for more information.
19. Click Save & Close.