Please note that if you want this document to contain any dynamic fields from a view, there are additional steps that need to be taken. For more information, please see Creating a Mail Merge Standard Letter.
For example:

Standard letters can be used as a basic template for communicating with customers. For more information on standard letters, please see the Standard Letters Overview. Alternatively, you can create a standard letter that included dynamic merge fields. For more information, please see Creating a Mail Merge Standard Letter.
To create a new standard letter:
1. Create a generic letter or form in the Microsoft Word format that will be used for the standard letter.
Please note that if you want this document to contain any dynamic fields from a view, there are additional steps that need to be taken. For more information, please see Creating a Mail Merge Standard Letter.
For example:
2. From the Personify360 main toolbar, select CRM/Orders > Call Center Setup > Standard Letter Setup.
The Standard Letters Maintenance search screen displays.
3. Create New Standard Letter.
The Standard Letters Maintenance screen displays, as shown below.
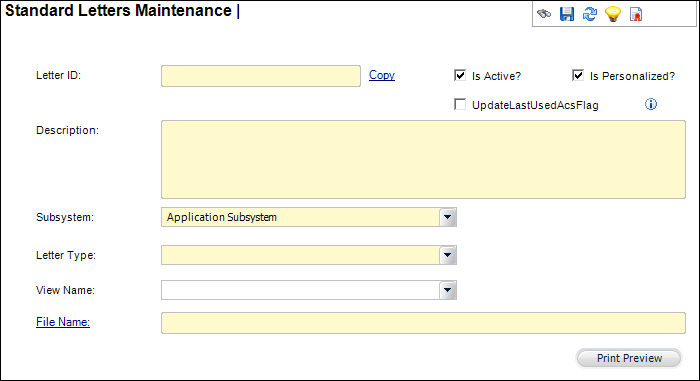
4. Enter a unique Letter ID.
If necessary, click the Copy link to copy the Letter ID.
5. Enter a Description of the standard letter.
6. Select the appropriate Subsystem from the drop-down.
7. Based on the selected subsystem, select the appropriate Letter Type from the drop-down.
Values in the drop-down are populated based on the non-fixed codes defined for the "LETTER_TYPE" system type. Please note that the LETTER_TYPE system type is available for each subsystem, which is why the Letter Type drop-down is populated based on the selected subsystem.
8. Select the appropriate View Name.
Options in the drop-down are populated based on the views defined on the Manage Application Views screen. For more information, please see Setting Up Application Views.
9. Click the File Name link to search for and select the generic letter created in step 1.
10. Select whether or not the new standard letter Is Active?
11. If your organization is using the USPS "Address Change Service", and if you are doing a mailing to the selected customers, check the UpdateLastUsedAcsFlag checkbox and the system will update the "Last Used" date on the addresses selected for the mailing. Your mailing should include an Intelligent Mail Barcode so that the USPS can notify you if a customer's address has changed.
12. Select whether or not the new standard letter Is Personalized?
This checkbox indicates that the standard letter contains mail merge data. For more information, please see Creating a Mail Merge Standard Letter.
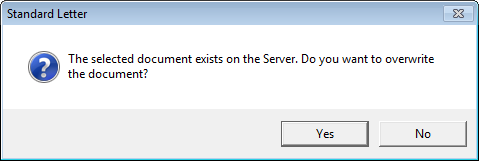
13. Click the File Name link. Search for and select the document you created in step 1.
If a document exists on the app server with the same name, the system displays the message shown below. Click Yes to overwrite the document on the server.
14. Click Save.
15. Click Print Preview to view the new standard letter in Microsoft Word, if necessary.
See Also:
· Creating a Mail Merge Standard Letter
· Generating a Standard Letter for a Customer