The Manage Application Views screen displays, as shown below.
As of 7.5.2, the Manage Application Views screen allows you to add additional views to be displayed in the View Name drop-down on the Standard Letters Maintenance screen to be used when creating a new standard letter. For more information, please see Creating a Standard Letter.
To add a new application view:
1. From the Personify360 main toolbar, select System Admin > System Setup > Manage Application Views.
The search screen displays.
2. Click Add View.
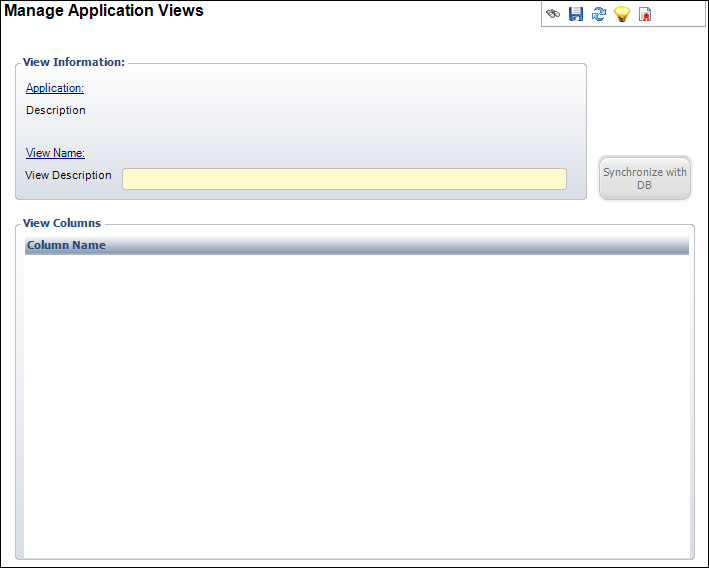
The Manage Application Views screen displays, as shown below.
3. Click the Application link to select the application (typically, screen name) with which the view will be used.
This field is used to restrict the applications for which views can be added. Please note that this chooser only displays applications in which the "Allow User-Specified SQL View" checkbox is checked on the Application Security Setup screen. Currently, the only application for which this is being supported is the MRM004.
4. Click the View Name link the name of the view being selected for use with the application.
The View Columns grid automatically populates with all columns in the selected view.
5. Enter a View Description.
6. Click Synchronize with DB to refresh the columns of the selected view as per the current view definition present in the database.
This can be used to keep the data up-to-date in APP_META_VIEW column if there is a change in the view in the database.
7. Click Save.
The system will insert data in APP_META_VIEW with the values present in APPLICATION and VIEW_NAME and VIEW_DESCR. It will also create records in App_Meta_View_Column for all columns in the selected view and the APPLICATION. It will insert a record for each row present in the grid for the columns in the view. If the Synchronize with DB is clicked for an existing record, the system will refresh the columns grid with latest columns. On clicking save, this data will be updated in APP_META_VIEW_COLUMN table for the view selected.