 The available fields on the Product Specifics tab differ depending on the type of product selected.
The Line Item Details screen provides additional information on the selected order line. From here, you can view or edit line item pricing and product specifics.
The available fields on the Product Specifics tab differ depending on the type of product selected.
The Address Change Date now displays in the lower-left corner of the Line Detail and Pricing tab. This displays the date the address was modified.
To view line item details:
1. On the Order Entry screen, perform one of the following:
a. Right-click an order line and select Show Line Item Details.
b. Click Show Full Line Item Detail from the Work with Line Items task category.
The Line Item Details screen displays, as shown below.
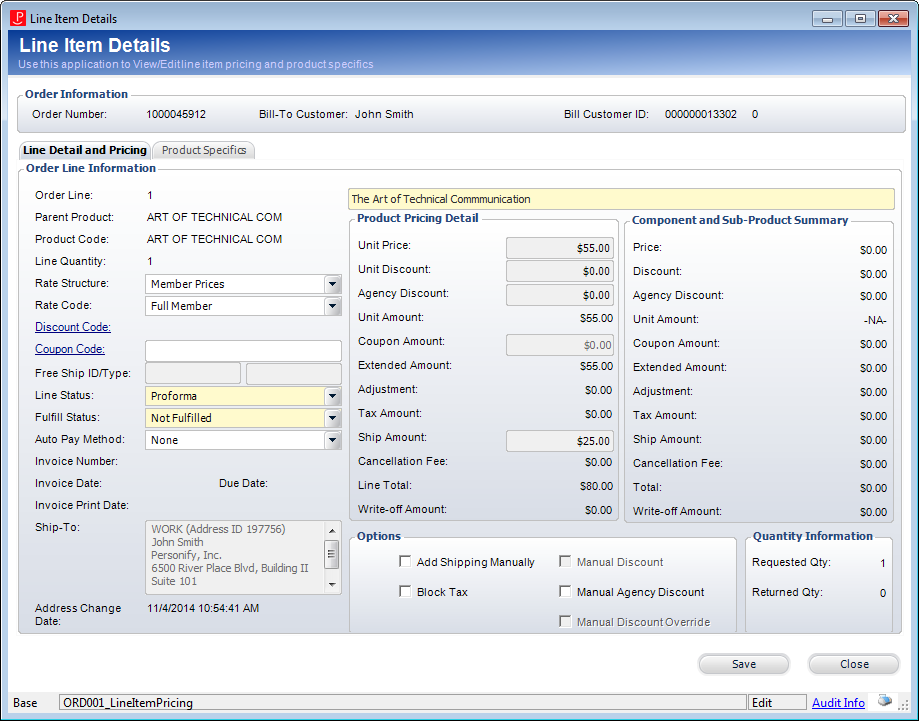
2. On the Line Detail and Pricing tab, review the information and change any fields, if necessary.
The options include:
· Description
· Rate Structure
· Rate Code
· Discount Code - When defining discount codes, the discount should apply to only the line you apply it to. Discounts work on a per-line basis.
· Coupon Code
· Line Status – populated based on the fixed Line_Status system type.
· Fulfill Status – populated based on the fixed Fulfill_Status system type.
· Auto Pay Method
· Unit Discount
· Agency Discount – only enabled if the Manual Agency Discount checkbox is checked.
· Options section
o Add Shipping Manually – the Ship Via must be defined before you can select this checkbox. When checked, you can edit the default shipping amount. The shipping amount cannot be negative.
o Manual Discount – when checked, indicates that an manual discount was applied to the order.
o Manual Agency Discount – when checked, the Agency Discount field enables and you can manually enter an Agency Discount amount instead of using a percentage. As of the 7.2.1 release, agency discount amounts can now be manually added to advertising orders. Discounts will only be applied to the selected detail line.
o Block Tax – if a customer forgets to tell you that they are tax-exempt at the time the order is placed, you can come back to the order and check this checkbox to remove tax from the order.
o Manual Discount Override – As of 7.5.2, this checkbox is read-only and set by the system. For more information, please see Calculating Discounts on an Order.
3. On the Product Specifics tab (shown below), review the information and change any fields, if necessary.
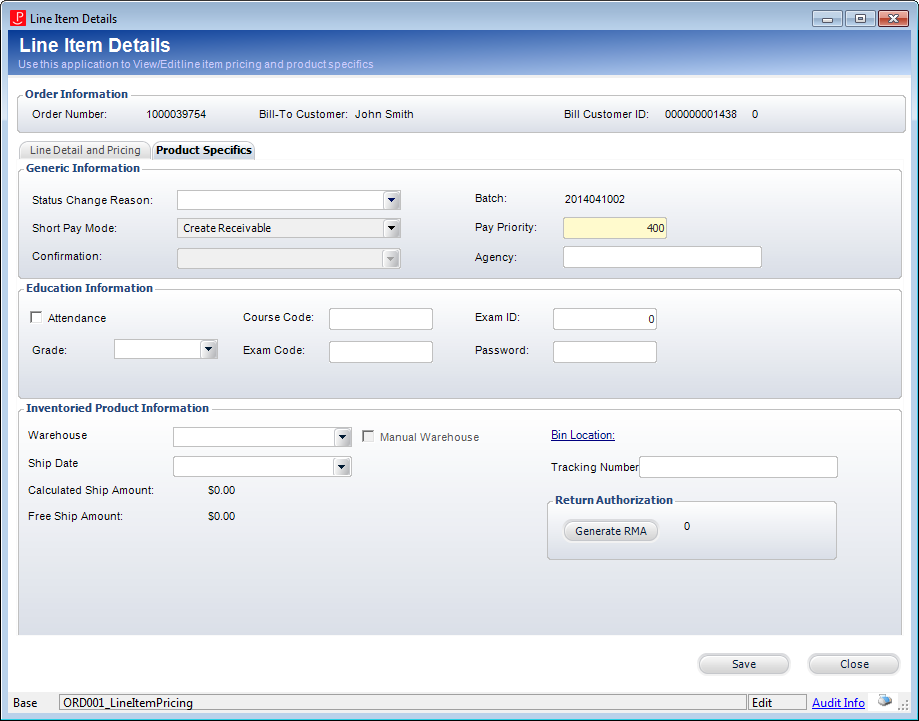
The options include:
· Status Change Reason - identifies the reason for the line item status being changed. Values in the drop-down are populated based on the non-fixed codes defined for the ORD "LINE_STATUS_REASON" system type.
· Short Pay Mode
· Confirmation
· Batch
· Pay Priority
· Agency - Organizations may hire third-party companies to help sell the organization's products and services, and it is the third-party company that is recorded here. This should not be used for advertising agencies.
· Attendance (For meeting products, this will default to checked)
· Grade
· Course Code
· Exam Code
· Exam ID
· Password
The last section on the Product Specifics tab is specific to the type of order line you selected. The information contained in that section will be specific to the subsystem. For example, in the image above, the Inventoried Product Information section is displayed because an inventoried product line item was selected on the Order Entry screen. For more information on these subsystem specific sections, see the appropriate section of the Help.
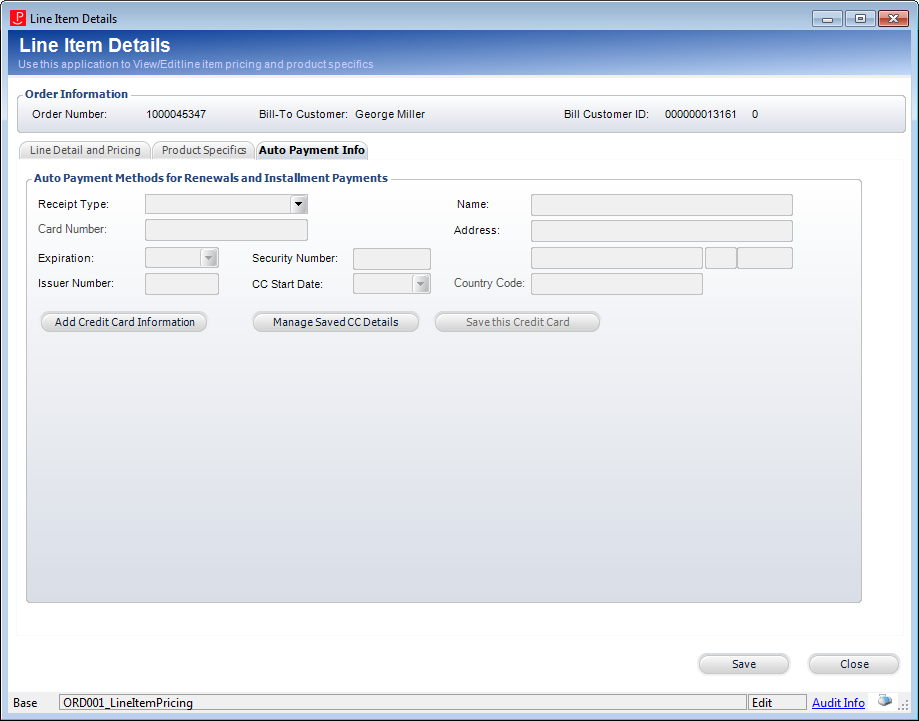
4. On the Auto Payment Info tab (shown below), you can setup automatic payment information, typically for membership orders. For more information, please see Setting Up a Membership Order to Automatically Renew.
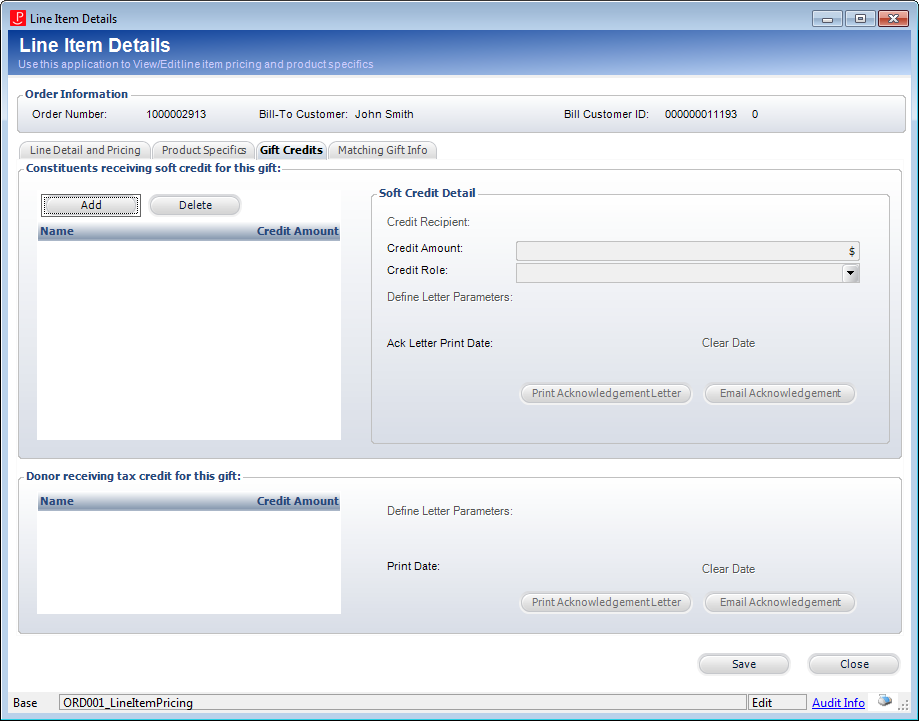
5. On the Gift Information tab (shown below), review the information and change any fields, if necessary. For more information, please see Adding Gift Credits to a Donation.
This tab only displays for Fundraising line items.
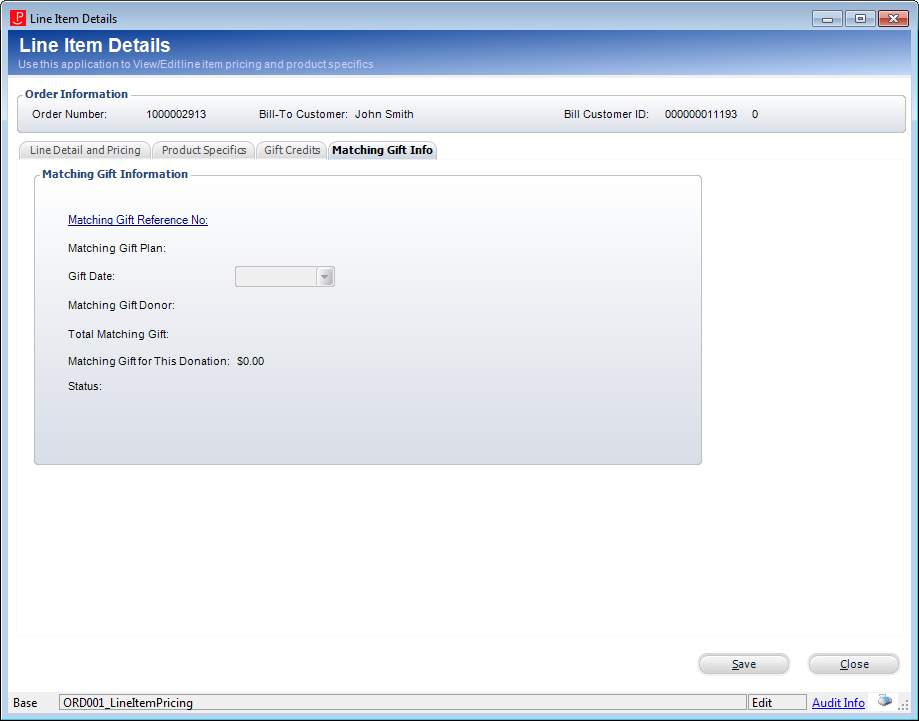
6. On the Matching Gift Info tab (shown below), review the information and change any fields, if necessary. For more information, please see Viewing a Donation's Matching Gift Info.
This tab only displays for Fundraising line items.
7. Click Save.