 Before installing the plug-in
files, verify that if you had a previous version of the Personify360
Outlook Plug-In installed on your machine, you uninstalled it.
Before installing the plug-in
files, verify that if you had a previous version of the Personify360
Outlook Plug-In installed on your machine, you uninstalled it.This task should be performed by a system administrator.
Before installing the plug-in
files, verify that if you had a previous version of the Personify360
Outlook Plug-In installed on your machine, you uninstalled it.
1. If this is the first time that the plug-in is being installed on the client's machine, you need to install the add-in prerequisites before installing the plug-in. Refer to Step 1: Installing the Add-In Prerequisites for more information.
2. Create a new folder, such Outlook PlugIn Install, on your local machine where you will extract ALL the installation files.
3. Navigate
to the following path: ..\AddOn\OutLook\1.4.0\End Users.
The following two zip files display:
· Personify360Outlook2010AddIn_Installers
· Personify360Outlook2013AddIn_Installers
4. Depending on the version of Microsoft Outlook installed on your computer, perform the following:
a. If 2010 is installed on your computer, extract the files from the Personify360Outlook2010AddIn_Installers to the new folder you created in step 2. Otherwise, proceed to step 4b.
b. If 2013 is installed on your computer, extract the files from the Personify360Outlook2013AddIn_Installers to the new folder you created in step 2.
5. From the folder you
created on your local machine containing the installation files, depending
on the machine, open the appropriate folder: 32-bit
or 64-bit.
Please note that if you try to install a bit that is NOT compatible, an
error message will display letting you know that you are trying to install
the wrong bit. Refer to Prerequisites:
Platform of Office for more information on finding which version of
Office you are using.
6. Double-click the setup.exe file.
The Personify360 Add-In for Outlook screen displays similar to what is
shown below.
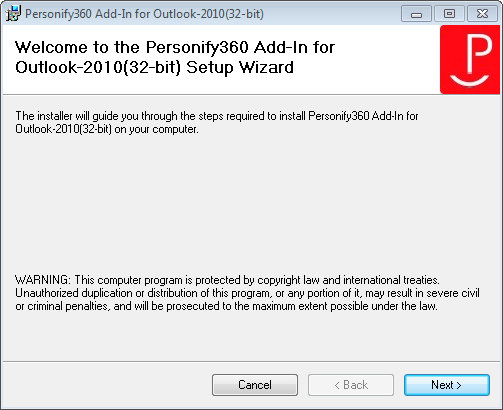
7. Click Next.
The Select Installation Folder screen displays similar to what is shown
below.
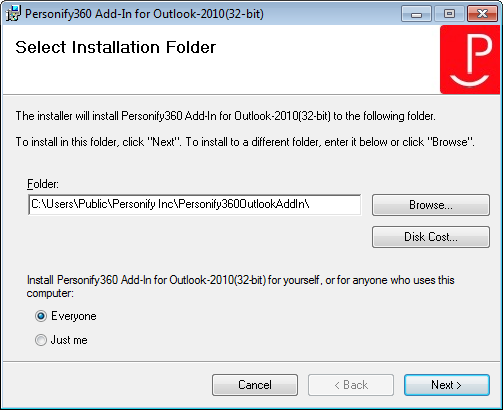
8. Enter the Folder path of where you would like to install the plug-in.
9. Select either the Everyone radio button if you would like to install the plug-in for anyone who uses this computer or the Just Me radio button if you would like to install the plug-in for yourself.
10. Click Next.
The Select Configuration File screen displays similar to what is shown
below.
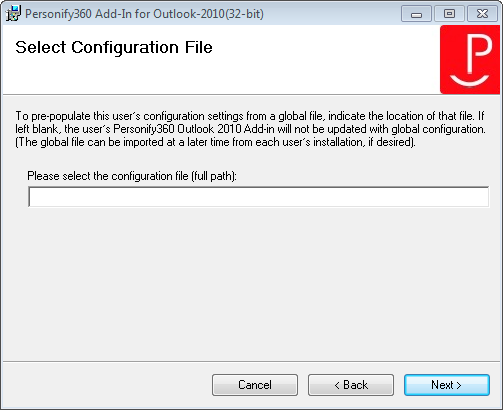
11. Optional:
to pre-populate the user’s configuration settings from a global file (e.g.,
PersonifyOutlookAddin1.xml), in the Please
select the configuration file (full path) field, enter the location
of that file. Please refer to the Installing
Global Group Policy Configurations section for additional information
on modifying this configuration file.
If left blank, the user’s Personify360 Outlook Plug-in will not be updated
with the global configurations. The global file can be imported at a later
time using "Import Settings" button on Personify Account Setting
screen. Please refer to the Import/Export
section for additional information.
If
you leave the configuration file
field blank, the default files carry over the settings.
12. Click Next.
The Confirm Installation screen displays similar to what is shown below.
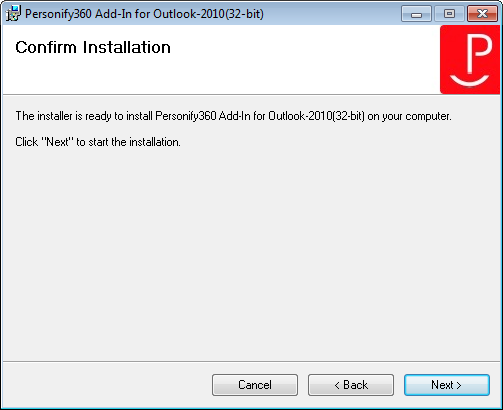
13. Click Next.
The Personify360 Outlook Plug-In will begin to install. If the plug-in
was installed successfully, the Installation Complete screen displays
similar to what is shown below.
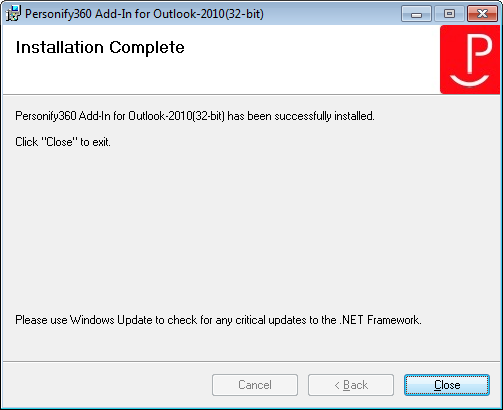
14. Click Close to exit the installation wizard.
15. Now you can proceed to restarting Outlook.