Configuring the Web Settings for the New Customer Registration Page
The Registration control
and Login Request control
need to be dropped onto a web page to provide your web user's the ability
to register with the site. It is up to you to determine the appropriate
location of this page. The section below details how to set up the control
on your website. The instructions are intended for a user with web admin/host
privileges.
In addition, these are NOT standalone controls. For more information,
refer to the Standalone .NET Web Controls
section.
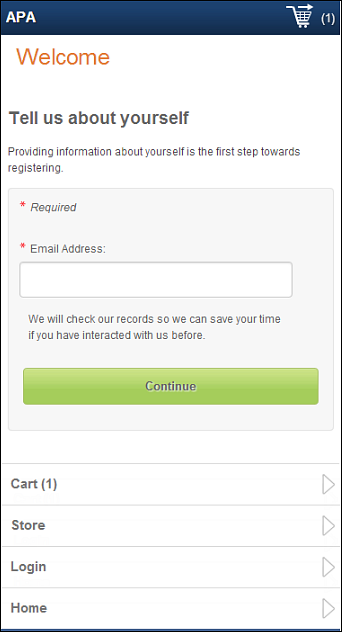
 This control can be configured to be
responsive to mobile users.
After adding the responsive CSS to this page, your mobile phone user will
see the control on the responsive page similar to the one shown below.
For more information
about using this control on a responsive page, please see Making
a Page Responsive.
This control can be configured to be
responsive to mobile users.
After adding the responsive CSS to this page, your mobile phone user will
see the control on the responsive page similar to the one shown below.
For more information
about using this control on a responsive page, please see Making
a Page Responsive.
To configure the web settings for the New Customer
Registration page:
1. Add the "RegistrationControl" to
the desired page and configure the control's settings. For more information,
please refer to Registration
control.
2. Navigate to the page
where you added the Registration control.
3. Add the "LoginRequestControl"
to this page. For more information, please refer to Login
Request Control.
4. Create a new page on
your website called "Redirect Customer". See Adding
a Page to Your Site Using DNN for more information.
See Configuring Pages, Modules, and Skin Settings for information
on how to add a page to your website.
5. Do NOT
drop any modules on this page.
6. From the menu bar,
select Admin>Site Settings, as highlighted
below.
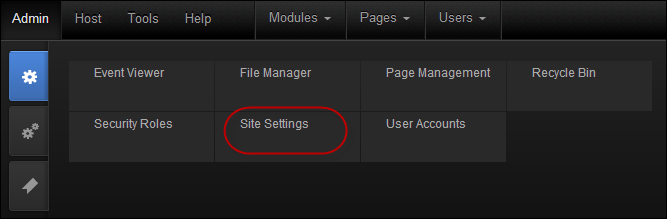
The Site Settings page displays, as shown below.

7. Select the Advanced
Settings tab, as highlighted below.

8. In the Page Management
section, from the Registration Page drop-down,
select the Redirect Customer page.
9. Navigate to the page
on your website where the Login control is located and complete the following
for each page on your website that has the Login control on it:
a. Select
the Edit Login option from the pencil icon,
as highlighted below.
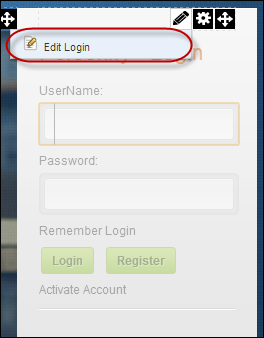
The Edit Login page displays, as shown below.

b. From the
Customer Registration Action URL drop-down,
select the Redirect Customer page, as highlighted below.
c. Click
Update.
 Make sure
to repeat the above steps for every page that has the Login control on
it.
Make sure
to repeat the above steps for every page that has the Login control on
it.
10. Navigate to the Redirect
Customer page.
11. From the toolbar, select
Edit Page> Page Setting, as highlighted below.
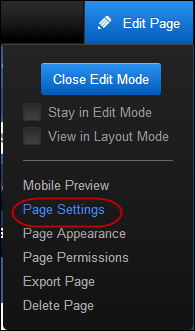
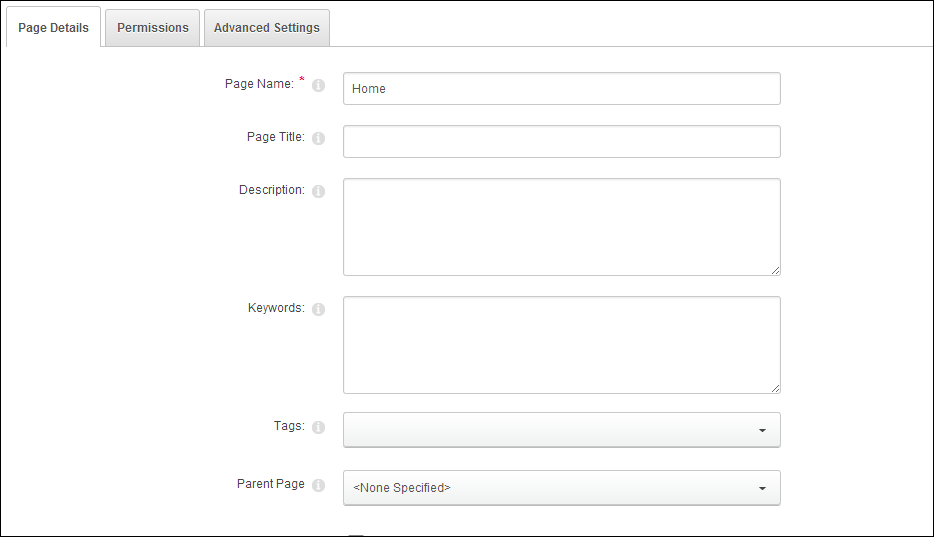
The Page Details screen displays, as shown below.
12. Select the Advanced
Settings tab, as highlighted below.

13. Expand the Other
Settings section, as shown below.

14. From the Link URL field,
select the Page (A Page on Your Site) radio
button as the Link Type, as highlighted below.

The Select A Web Page From Your Site drop-down displays.
15. From the Select
A Web Page From Your Site drop-down, select the Register Customer
page.
16. Click Update.
The
interim Redirect page is a work around to avoid this error and this page
will redirect the user to the Registration Page.