 To see a video demonstrating the roster features for chapter management, refer to Video Demo.
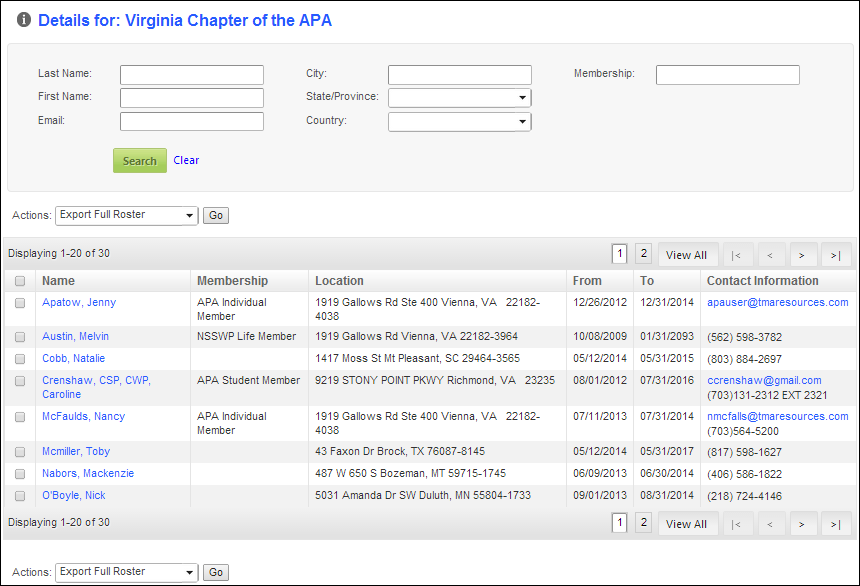
After setting up the Roster control, your chapter managers will see the control similar to the one displayed below. The names on the roster are sorted by last name (A - Z).
For the Chapter Management workflow, group managers are unable to add/remove individuals from their group. In order for group managers to view the most up-to-date roster, a staff member must perform the following:
1. Run MBR900 to update the fulfill status of membership orders and to populate a reporting table called Cus_Current_Membership_Info.
2. Run CUS603 to maintain the segment based on who is currently in the subgroup.
To see a video demonstrating the roster features for chapter management, refer to Video Demo.

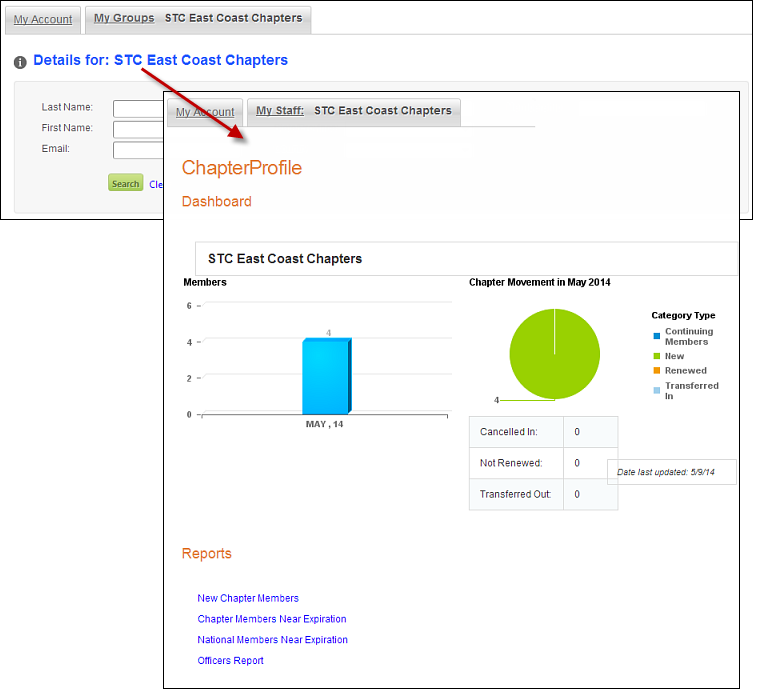
If the Edit Group Profile checkbox is checked on the Organization Segmentation screen in the back office, the chapter's name displays on the Roster page as a link. When the chapter manager clicks the chapter name link, as highlighted below, he/she is redirected to the chapter's profile page. The information that the chapter manager can edit/view is based on the profile controls you drop on the chapter's profile section (e.g., contact information, addresses, pay open orders, etc.). See Chapter's Profile Page for more information on setting up this page.
Since the solution is built around the chapter detail page, the Edit Group Profile checkbox should always be checked on the Organization Segmentation screen in the back office for a chapter manager. See Setting up a Group Manager's Permissions for more information.
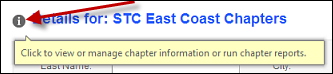
When your chapter manager hovers over the information icon, as highlighted below, a message displays that lets the chapter manager know what happens if he/she selects the chapter's name. The message is configured in the control's settings. See Configuring the Roster Control for more information.
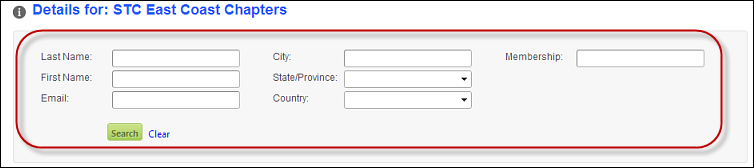
Chapter managers can use these search fields in order to find the chapter member(s) that they want to work with, as highlighted below. In order for values to display in the State/Province and Country drop-downs, the appropriate country and state codes need to be defined in the back office. For more information, please see Adding Country and State Codes.
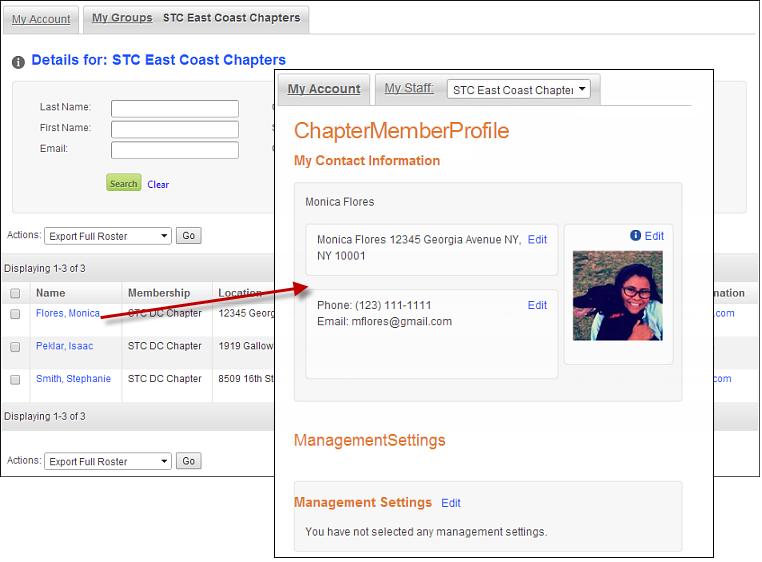
This column displays the names of individuals that belong to this chapter. If chapter mangers have the correct permission's assigned to him/her, the chapter members' names display on the Roster page as a link. When the chapter manager clicks a group member's name, as highlighted below, he/she is redirected to the chapter member's profile page. The information that the chapter manager can edit/view is based on the profile controls you drop on the chapter member's profile section (e.g., contact information, addresses, pay open orders, etc.). See Chapter Member's Profile Page for more information on setting up this page.
By default, the names on the Roster page are sorted alphabetically by last name.
If the Edit Individual Profile checkbox is NOT checked on the Organization Segmentation screen in the back office, the chapter manager is unable to edit the information of the members on his/her roster. The names will NOT display as hyperlinks.
This column indicates the chapter member's type of primary membership. This displays the value entered in the Description field on the General Setup screen, as highlighted below. In order for this information to display, the following conditions MUST be met in the back office:
1. On the General Setup screen:
a. From the Parent Product drop-down, select a Membership Group that was defined as "Primary" on the Membership Structure Maintenance screen.
b. From the Level 1 drop-down, select "National Membership".
c. Enter a Description. This is the name that displays in the Membership column.

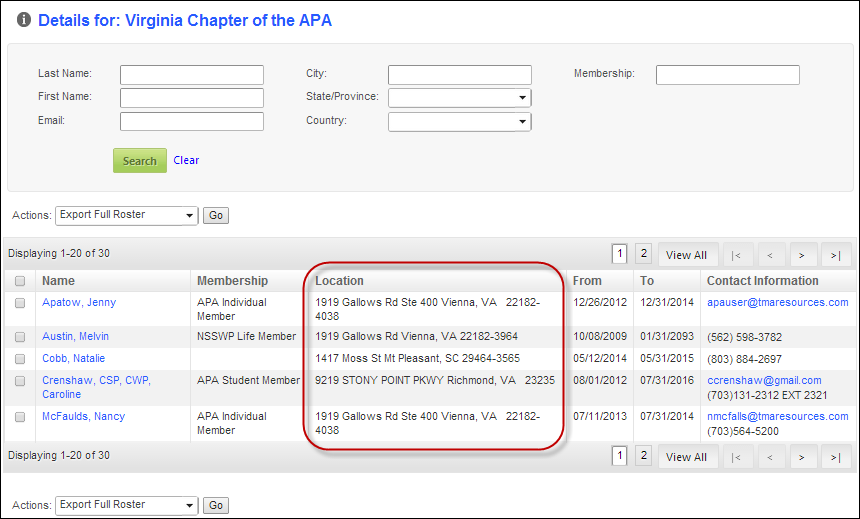
The Location column displays the primary address for a chapter member. This value is defined on the Contact Information screen in the back office or on the web, using the Address control by either the chapter member or chapter manager (if he/she has the correct permissions).
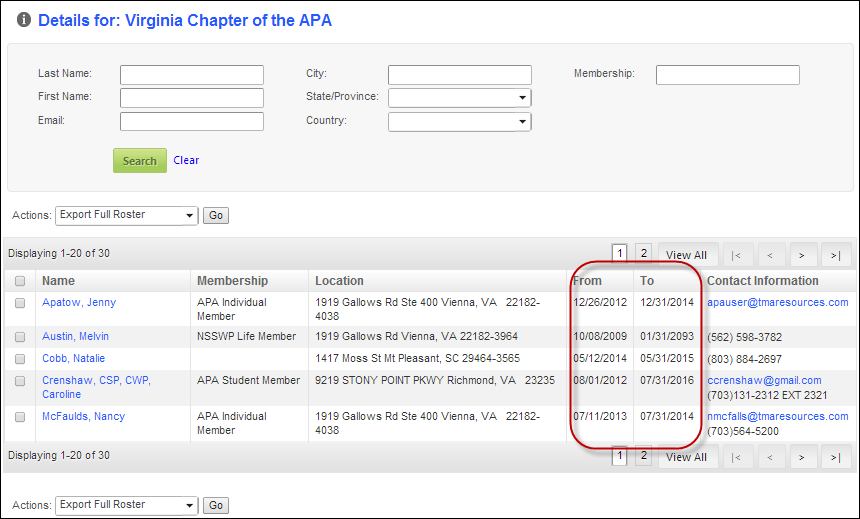
The From/To columns displays the chapter members' start/end date for chapter membership. In addition, the from date is not for this year/term, but the INITIAL date that they joined the chapter.
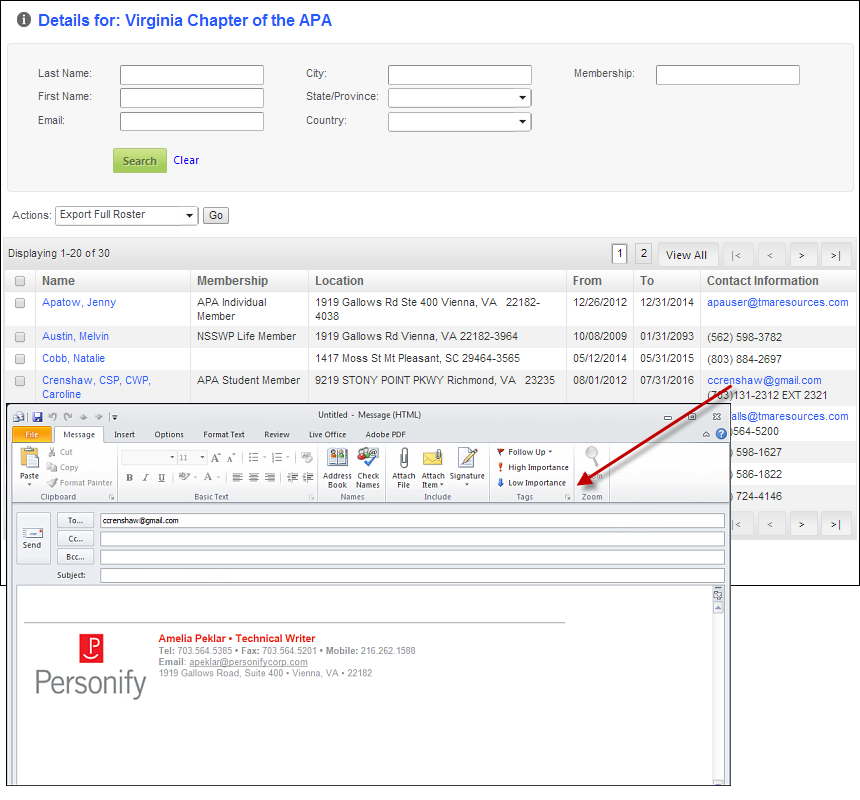
The Contact Information column displays the primary email and phone number for a chapter member, as highlighted below. These values are defined on the Contact Information screen in the back office or on the web, using either the Email control or the Phone control by either the chapter member or chapter manager (if he/she has the correct permissions).
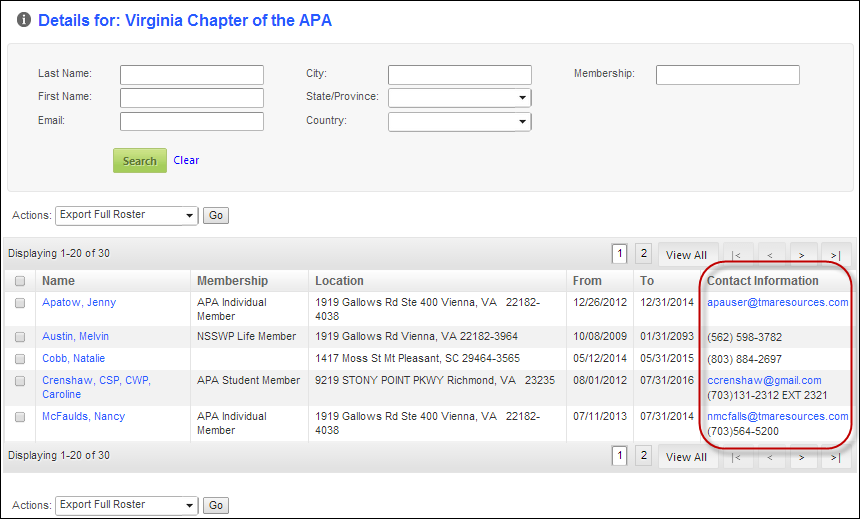
In addition, the email link is interactive. When the group manager selects the email address, a new window opens in the group manager's default email system, as shown below.
From the Actions drop-down, chapter managers can perform the following tasks:
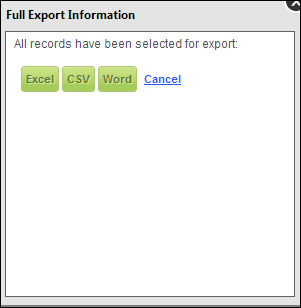
When the chapter managers selects Export Full Roster from the Actions drop-down, the following window displays. Here, the chapter manager can export his/her ENTIRE roster to an Excel, CSV, or Word file. Since the roster can span multiple pages, this option includes everyone on the full roster even if the group manager cannot view all the records on a page, because there are more than 250 records. Export Selected Records will only include selected records. With very larger rosters, group managers cannot select everyone on screen and if they . want to print their full roster, they should select the Export Full Roster option and NOT the Export Selected Records option.
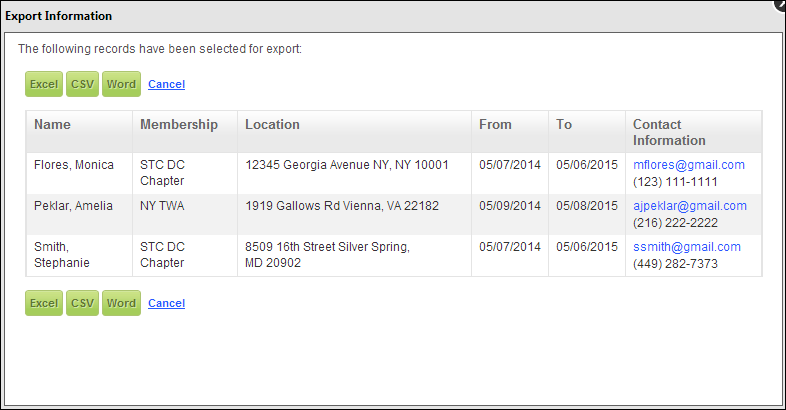
When the chapter managers selects Export to File from the Actions drop-down, the following window displays. Here, the chapter manager can export selected chapter members on his/her roster to an Excel, CSV, or Word file.
If you check the top checkbox, it only selects the chapter members for that page; select Export Full Roster to export the WHOLE roster.
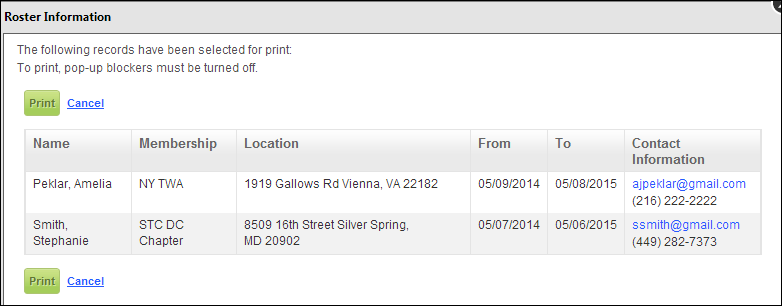
When the chapter managers selects Print Roster from the Actions drop-down, the following window displays. Please note that in order for chapter managers to be able to print a roster, their popup blockers MUST be turned off.
When the chapter managers selects Send Email from the Actions drop-down, a window in their default email application opens similar to what is show below. This email feature is provided so a group manager can easily reach out to a small subset of their group. It is not intended for large blast emails. Keep in mind that emails with large distribution lists can get caught in spam filters, or worse, put the sender’s address on a watch list. Make sure your group managers understand their options for mass communications (e.g., if they can provide someone at your organization with a list that they wish to mass-market to).

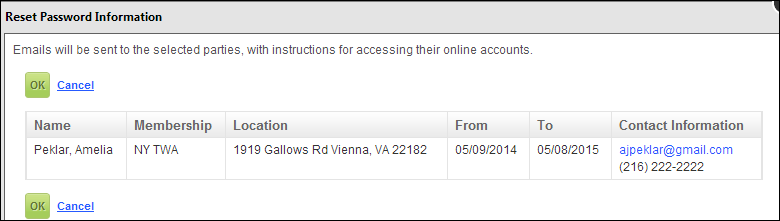
When the chapter managers selects Reset and Send Password from the Actions drop-down, the following window displays. When the chapter managers clicks OK, the chapter member will receive an email with a link to reset his/her password. This is the "forgot password" workflow and it is handled by Single Sign-on (SSO), which is independent of the notification system. This feature is useful if your group manager wants to encourage their group members to log into your website. Group managers can help by sending them a link that shows them how to log in and establish or reset a password. These emails are sent individually from the system with unique links for each recipient, which lead to the standard page for resetting a password. For more information, refer to Setting Up the SSO and IMS Admin Module.
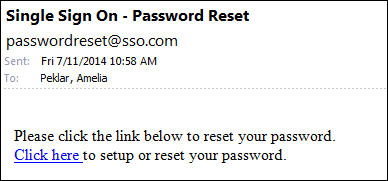
A user would receive an email similar to what is shown here.
See Also:
· Web Settings for the Roster Control