The
Order Summary control is also launched when a web user clicks an order
number from the Purchase
History control.
The
Order Summary control is also launched when a web user clicks an order
number from the Purchase
History control.The Order Summary control displays a summary of the product(s) a web user purchased, allows a web user to print his/her order summary for his/her records, share on a social media site a product he/she just purchased, email the URL of this product to a friend, and email this receipt to another email address. When web users complete the checkout process, the order summary "Thank You" page displays. The purpose of this page is to inform web users that they completed the checkout process and provide a receipt to your web users of their order. As a best practice, this page should not include any distractions such as advertisements or extraneous links. The purpose of this page is to let the web user know that he/she has completed the checkout process.
The
Order Summary control is also launched when a web user clicks an order
number from the Purchase
History control.
See Also:
· To see the back office set ups necessary for the Order Summary control, refer to Back Office Settings for the Order Summary Control.
· To add the Order Summary control to a page on the web, refer to Web Settings for the Order Summary Control.
After configuring the Order Summary control, a web user will see it display similar to what is shown below. Web users can click the product name or image to open the associated product detail page.
All
components of a package product will display in the order summary as individual
products (i.e., there is no distinction that they are part of a package).
If a package product is being sold on the web,
each package component must be web-enabled in order for the product name
and image to be displayed as a hyperlinked and open the product detail
page. If the package components are not web-enabled, there is no associated
product detail page; therefore, an error will display when the product
image or name is clicked.
Web users can perform the following from this control:
· Add a meeting to his/her calendar.
· Share a product on social media.
· Print a copy of the order for his/her records.
· Print a receipt with tax information.
· Email a copy of the order to another address.
· View membership/subscription valid thru dates.
· Create an account (for guest web users).

For membership products with a Product Class of “Online Access” (new as of 7.5.0), you can define an online access URL in the back office. A link to this URL will display on the Order Summary page, as highlighted below. See Defining a Membership Product to Display on the Web for more information.
If your web user purchased a DCD project, the link highlighted below
takes your web user to the Digital Content Access control. Here, he/she
can access his/her product. See Configuring
the Digital Content Access Control for more information.

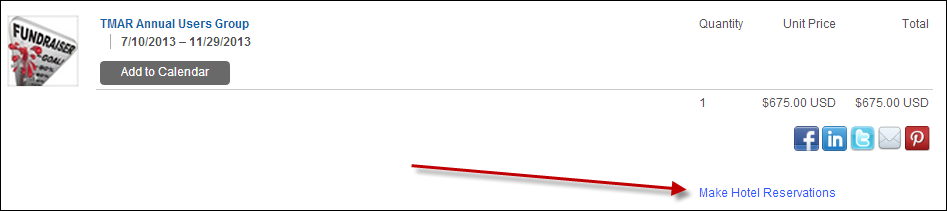
If your web user selects the Make Reservation
link, as highlighted below, he/she is redirected to the Passkey site. Please
note that this link is only visible if the web user purchased a meeting
product with Passkey enabled and the meeting does not already have a reservation
key. See Setting
up the Hotel Reservation Functionality for Meetings for more information.
The web user can select from the Add to Calendar
drop-down, which calendar he/she would like to add this meeting to, as
highlighted below.
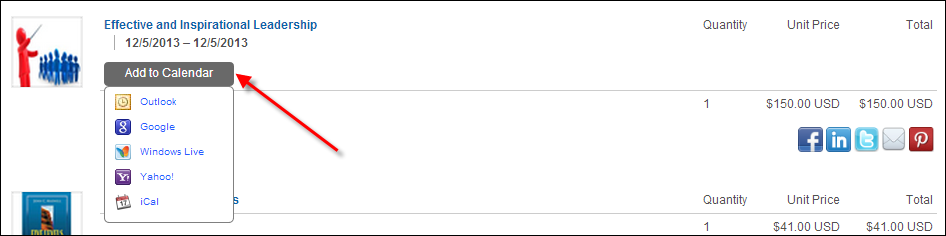
As
of 7.5.2, by default, when an event is added to a calendar, the system
will set a default reminder time. The following defaults will be set and
can be manually changed by the user: Outlook = 15 minutes, iCal = 15 minutes,
Google = 30 minutes, Windows Live = 15 minutes, Yahoo = none.
The web user can also share a product from his/her order on a social
media site (i.e., Twitter, LinkedIn, Pinterest, or Facebook) or email
the product's URL to friend, as highlighted below. The icons that display
are determined if you enable the field in the web settings of the Order
Summary control. See Configuring
the Web Settings for the Order Summary Control for more information.
In addition, you can run a report in the back office to see what products
you web users are sharing. For more information, see Creating
and Maintaining Marketing Activities for more information.

If your web user selects the Printable View
link, the page displays as shown below. Here a web users can print a copy
of his/her order for his/her records.
As of 7.6.0, for FND order lines in tribute dedication information was entered, the Send Card with Dedication button displays, as shown below. When the web user clicks this link, he/she will be taken to the Tribute Card Information control. Please note that the name of this button and the URL that opens when clicked is configured in the control settings.

Tribute
dedication information can only be entered on the donation
wizard via the "Dedicate to/for" field.
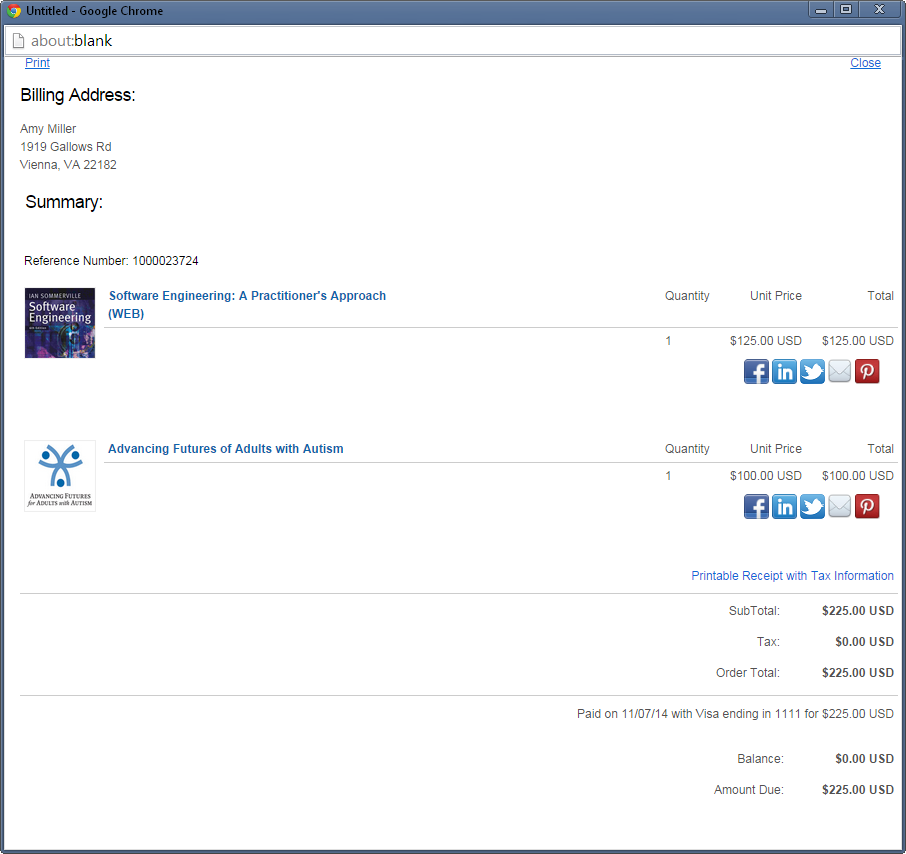
As of 7.6.0, for FND order line, the Printable Receipt with Tax Information link displays, as shown below. When the web user clicks this link, he/she will be taken to the Donation Thank You page. Please note that the URL that opens is configured in the control settings.

If your web user selects the Email to another Address
link, the page displays as shown below. Here a web users can email a copy
of his/her order to another email address.

A membership or subscription product will display the dates it is valid
thru, as highlighted below.

Web users who completed the checkout process as a guest will see the
page similar to what is displayed below. The "set a username and
password" link provides guest web users with the opportunity to create
a password for your site for future log ins. The page that opens is defined
via the Guest Account Reset URL
in the control
settings. Please note that the label, "Now that your order is
completed, would you like to set a username and password for your account?",
is hard coded as part of the Order Summary control. In order to change
the label's text, you must use Visual Studio.

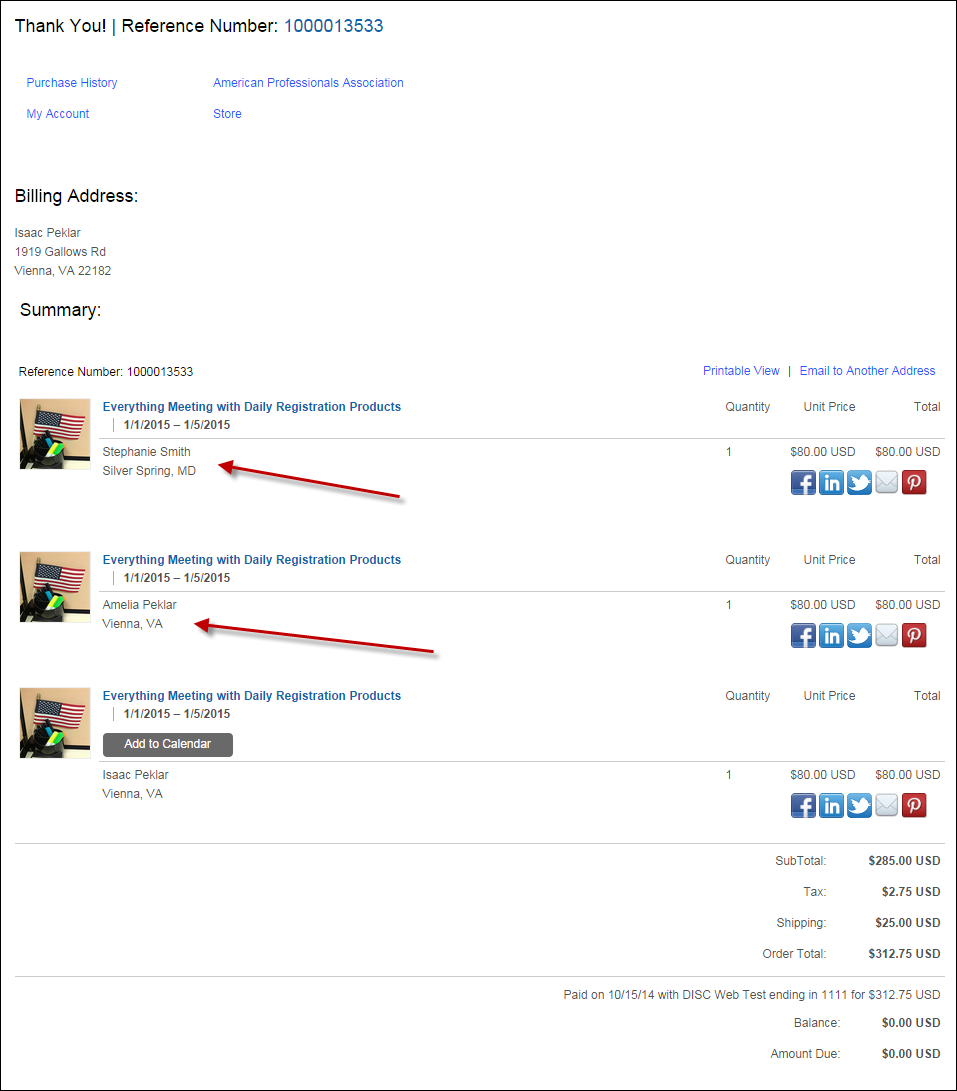
As of 7.6.0, web users have the ability to register other people, as
well as themselves, for a meeting; this functionality is referred to as
Register
Someone Else. After the order is completed, the Thank You page displays
similar to what is shown below. If the line item ship-to constituent is
not the same as the logged in web user, the name and the constituent's
primary city and state displays similar to what is highlighted below.
For privacy reasons, the full address does not display. The Add
to Calendar button only displays if the logged in web user purchased
the meeting product for himself/herself.
In addition, the Make
Reservation link will display if the
purchased meeting product has Passkey enabled and the meeting does not
already have a reservation key. If the web user selects the Make
Reservation link, he/she is redirected
to the Passkey site. It
is assumed that the person who was put in charge of registering someone
else for a meeting would also be in charge of reserving hotel rooms for
everyone. See Setting
up the Hotel Reservation Functionality for Meetings for more information.