See Configuring an IS Solution Instance in the Scribe Online Help for more information.
You can select a solution from the Solutions list on the main Scribe Online screen to create or edit the mapping information. This wizard allows you to define your data import workflows, maps, and schedules. The following procedure is an overview of the steps involved in creating a solution. Follow the links to find specific instructions on creating agents, connections, and maps.
To create a solution:
1. Click the Solutions menu option.
2. Select a solution from the list or click New to define a new solution.
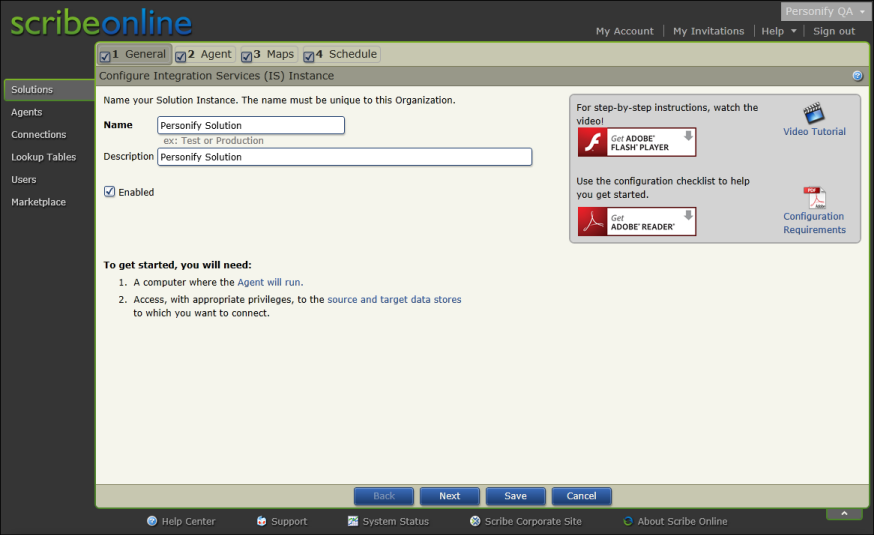
3. Enter a Name and Description of your solution, as displayed below.
See Configuring an IS Solution Instance in the Scribe Online Help for more information.
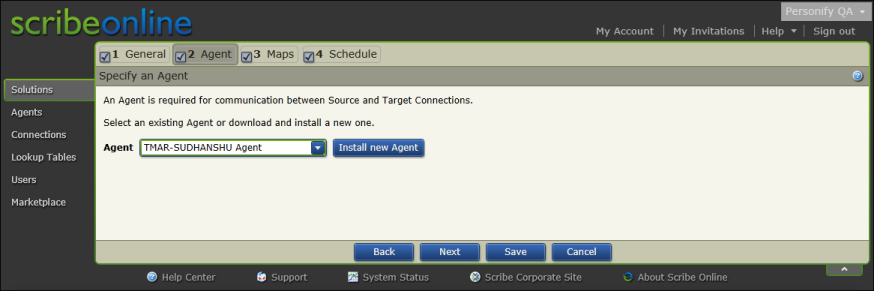
4. Select an Agent from the drop-down or install a new agent to run the solution, as displayed below.
See Managing Agents for more information.
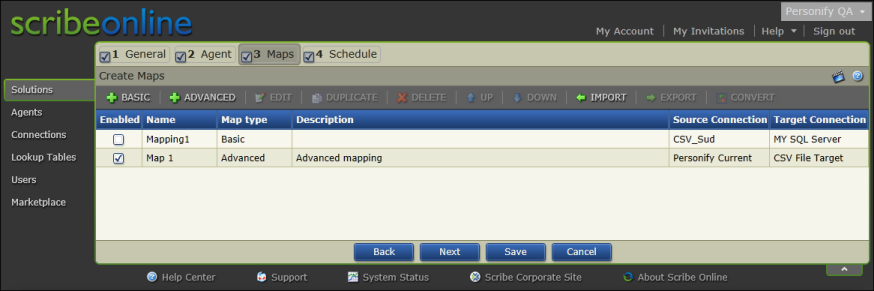
5. You can set up basic or advanced maps on the third step of the wizard. Define the map of source data to the target destination, as displayed below.
See Creating Solution Maps for more information.
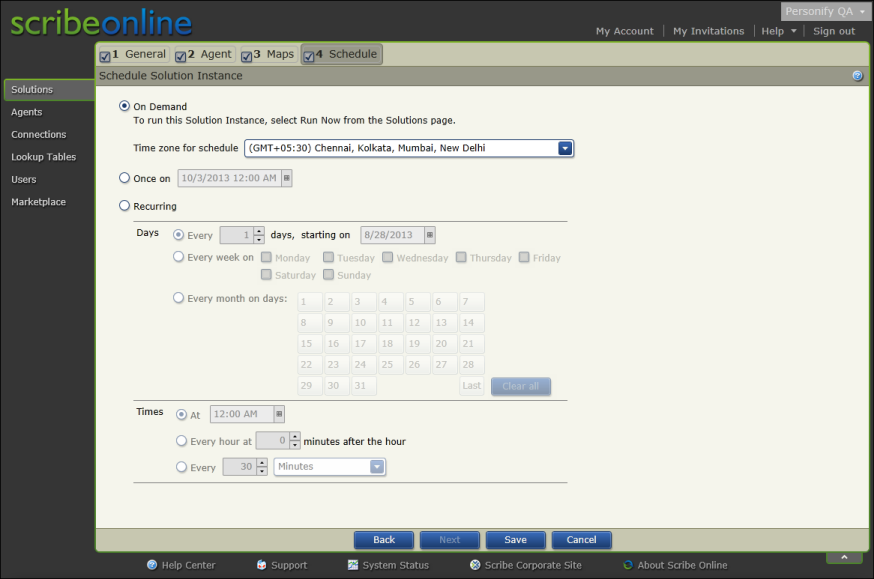
6. Schedule the job, as displayed below.
See Scheduling your Solution Instance in the Scribe Online Help for more information.
7. Click Save.