 For
a video demonstrating how to install the plug-in as an end user, refer
to Video
Demo: Installing the Plug-In.
For
a video demonstrating how to install the plug-in as an end user, refer
to Video
Demo: Installing the Plug-In.For
a video demonstrating how to install the plug-in as an end user, refer
to Video
Demo: Installing the Plug-In.
Before completing the steps below, you need to know the platform of Office you are running (32-bit or 64-bit). The following excerpt was taken directly from Microsoft's Online Help:
"32-bit (x86) and 64-bit (x64) refers to a computer's processor and the set of instructions that can be executed by the processor. This is a shorthand way to refer to the computer's components, also known as the "platform" or "architecture," that directly affects the computer's memory processing capability. For more information on x86 (32-bit) processors and a list of common consumer-targeted processors, see x86 processors. x64 (64-bit) processors have been used in workstations and servers since the early 1990s. In 2003, they began being used in personal computers. For more information on x64 processors, see x86-64 processors."
For more version information, please refer to the following topic in Microsoft's Online Help: What version of Office am I using?
To find out the platform of Office you are running:
 If
you have Outlook 2010 installed on your computer, you are running Office
2010; if you have Outlook 2013 installed on your computer, you are running
Office 2013. Please refer to Finding
out which Version of Outlook is Installed on Your Computer for additional
information.
If
you have Outlook 2010 installed on your computer, you are running Office
2010; if you have Outlook 2013 installed on your computer, you are running
Office 2013. Please refer to Finding
out which Version of Outlook is Installed on Your Computer for additional
information.
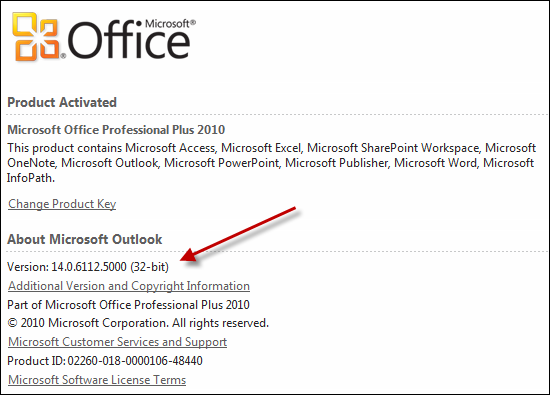
1. If you are running Office 2010, complete the following steps:
a. Open any Office 2010 program, such as Word or Outlook.
b. Select File > Help.
c. From the
About Microsoft [program name]
section (e.g., About Microsoft Outlook), the platform is listed with the
version, similar to what is shown below.
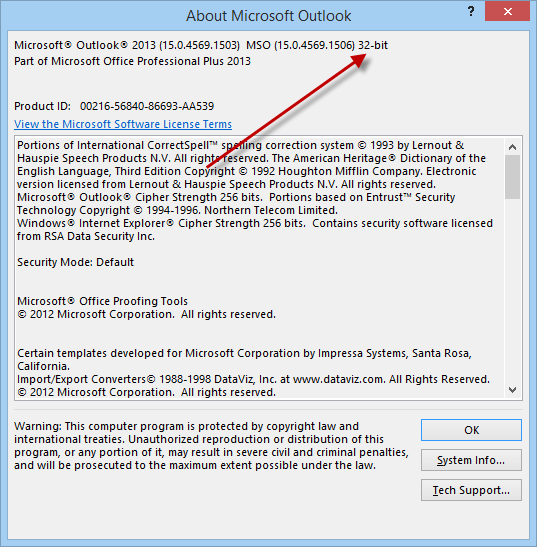
2. If you are running Office 2013, complete the following steps:
a. Open any Office 2013 program, such as Word or Outlook.
b. Select File > Office Account.
c. From the
Office Updates section, click About [program
name] (e.g., About Word).
The bit information displays, as shown below.
To install the Personify360 Outlook Plug-In:
1. Before installing the plug-in, verify that you extracted the appropriate files from the End Users folder. Refer to Step 2: Extracting the Files for additional information.
2. From the folder you
created on your local machine containing the installation files, depending
on the machine, open the appropriate folder: 32-bit
or 64-bit.
Please note that if you try to install a bit that is NOT compatible, an
error message will display letting you know that you are trying to install
the wrong bit.
3. Double-click the setup.exe file.
The Personify360 Add-In for Outlook screen displays similar to what is
shown below.
 If this is
the first time that you are installing the Outlook plug-in on your machine,
it is expected that your system administrator has installed the add-in
prerequisite steps before you installed the plug-in. While trying to install
the plug-in, if you are prompted for prerequisites, please contact your
system administrator.
If this is
the first time that you are installing the Outlook plug-in on your machine,
it is expected that your system administrator has installed the add-in
prerequisite steps before you installed the plug-in. While trying to install
the plug-in, if you are prompted for prerequisites, please contact your
system administrator.
For information on how to install the add-in prerequisites, refer to Install the Add-In Prerequisites.
Please note that the target audience of this section is someone who knows
how to uninstall a program on your machine, unzip a folder, etc.
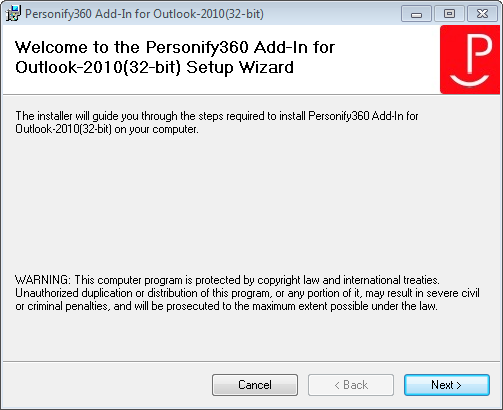
4. Click Next.
The Select Installation Folder screen displays similar to what is shown
below.
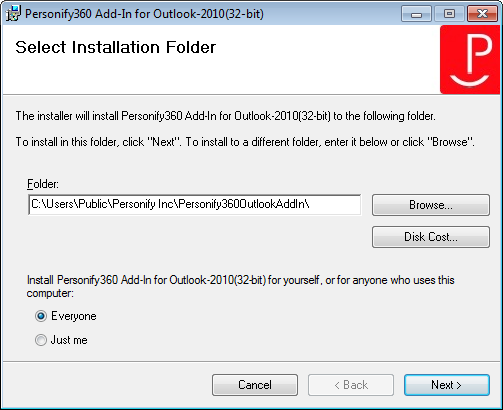
5. Enter the Folder path of where you would like to install the plug-in.
6. Select either the Everyone radio button if you would like to install the plug-in for anyone who uses this computer or the Just Me radio button if you would like to install the plug-in for yourself.
7. Click Next.
The Select Configuration File screen displays similar to what is shown
below.
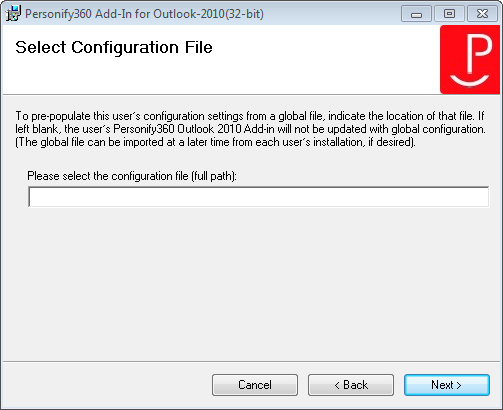
8. Optional:
to pre-populate the user’s configuration settings from a global file (e.g.,
PersonifyOutlookAddin1.xml), in the Please
select the configuration file (full path) field, enter the location
of that file. Please refer to the Installing
Global Group Policy Configurations section for additional information
on modifying this configuration file, which is done by the system administrator.
If left blank, the user’s Personify360 Outlook Plug-in will not be updated
with the global configurations. The global file can be imported at a later
time using "Import Settings" button on Personify Account Setting
screen. Please refer to the Import/Export
section for additional information.
 If
you leave the configuration file
field blank, the default files carry over the settings.
If
you leave the configuration file
field blank, the default files carry over the settings.
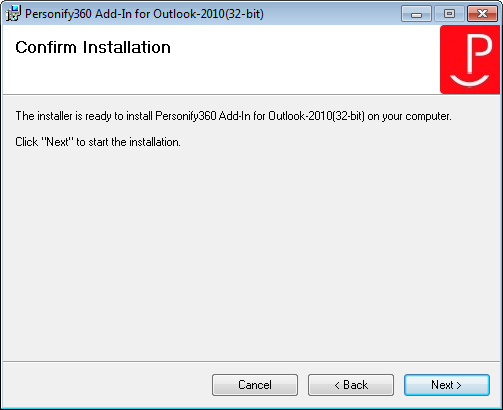
9. Click Next.
The Confirm Installation screen displays similar to what is shown below.
10. Click Next.
The Personify360 Outlook Plug-In will begin to install. If the plug-in
was installed successfully, the Installation Complete screen displays
similar to what is shown below.
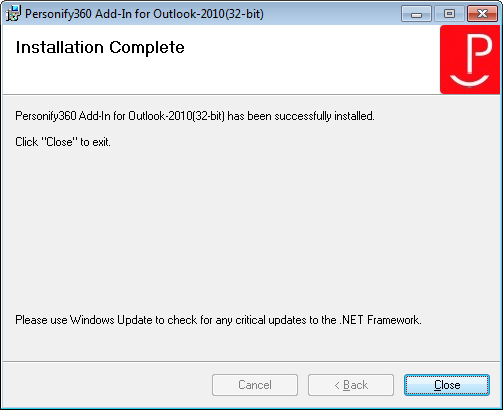
11. Click Close to exit the installation wizard.
12. Now you can proceed to restarting Outlook.