 For
a video demonstrating how to install the plug-in as an end user, refer
to Video
Demo: Installing the Plug-In.
For
a video demonstrating how to install the plug-in as an end user, refer
to Video
Demo: Installing the Plug-In.For
a video demonstrating how to install the plug-in as an end user, refer
to Video
Demo: Installing the Plug-In.
Before completing the steps below, find out what version of Outlook is installed on your computer.
To find out what version of Outlook is installed in your computer:
1. Open Outlook.
2. Select File.
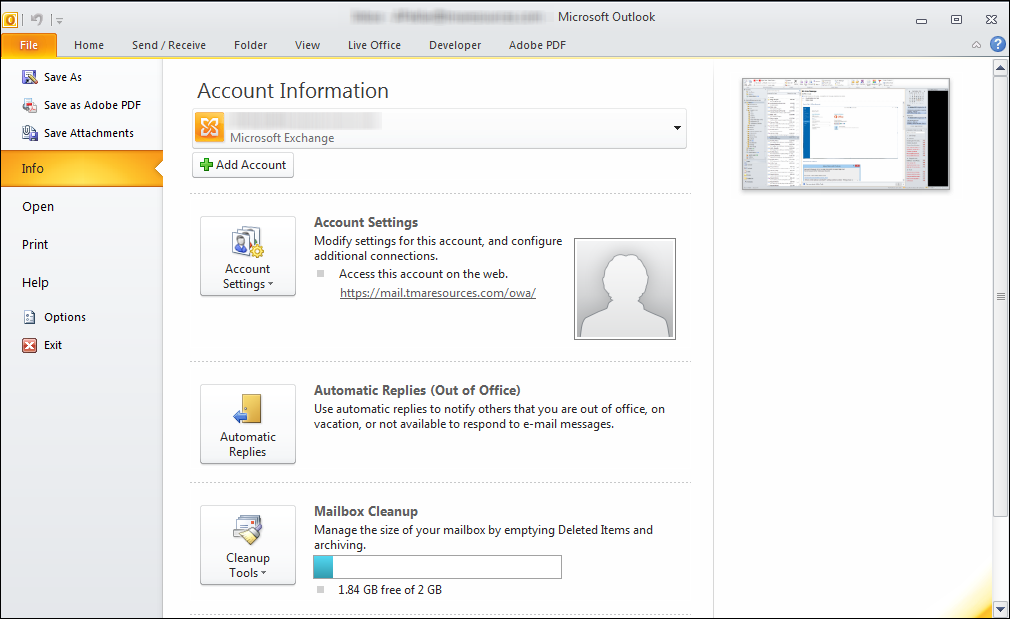
3. If you are on Outlook2010,
the screen will display similar to what is shown below. If you select
Help, in the Product
Activated section, Microsoft Office
Professional Plus 2010 will display.
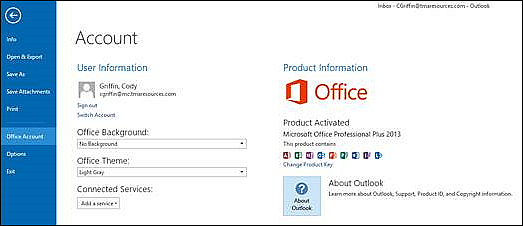
If you are on Outlook2013, the screen will display similar to what is shown
below, and in the Product Activated
section, Microsoft Office Professional
Plus 2013 will display.
To extract the installation files:
1. Before extracting the plug-in files, verify that if you had a previous version of the Personify360 Outlook Plug-In installed on your machine, you uninstalled it. Refer to Step 1: Uninstalling the Plug-in for more information.
2. Create a new folder, such as Outlook PlugIn Install, on your local machine where you will extract ALL the installation files.
3. Navigate
to the following path: ..\AddOn\Outlook\Outlook Plug-In 1.4.0\End Users.
The following two zip files display:
· Personify360Outlook2010AddIn_Installers
· Personify360Outlook2013AddIn_Installers
4. If Outlook2010 is installed on your computer, complete the following steps. Otherwise, proceed to step 5.
a. Double-click
on the Personify360Outlook2010AddIn_Installers.
A folder containing the installation files opens in your default file extraction
program, such as WinZip.
b. Open the new folder you created in step 2.
c. Select
all the files in the installation folder and drag them into the new folder
you created.
The files should be successfully extracted to your local machine.
5. If Outlook2013 is installed on your computer, complete the following steps:
a. Double-click
on the Personify360Outlook2013AddIn_Installers.
A folder containing the installation files opens in your default file extraction
program, such as WinZip.
b. Open the new folder you created in step 2.
c. Select
all the files in the installation folder and drag them into the new folder
you created.
The files should be successfully extracted to your local machine.
6. Now you can proceed to installing the plug-in.