The Personify360 Outlook Plug-In will begin to install. If the plug-in was installed successfully, the Installation Complete screen displays similar to what is shown below.
Before installing the plug-in file, you should have already prepared the configuration file. See Preparing the Configuration File for more information.
To install the group policy configurations for one machine:
1. Create a new folder, such Outlook PlugIn Install, on your local machine where you will extract ALL the installation files.
2. Navigate
to the following path: ..\AddOn\OutLook\1.3.0\End Users.
The following two zip files display:
· Personify360Outlook2010AddIn_Installers
· Personify360Outlook2013AddIn_Installers
3. Depending on the version of Microsoft Outlook installed on your computer, perform the following:
a. If 2010 is installed on your computer, extract the files from the Personify360Outlook2010AddIn_Installers to the new folder you created in step 2. Otherwise, proceed to step 4.
b. If 2013 is installed on your computer, extract the files from the Personify360Outlook2013AddIn_Installers to the new folder you created in step 2.
4. From the folder you
created on your local machine containing the installation files, depending
on the machine, open the appropriate folder: 32-bit
or 64-bit.
Please note that if you try to install a bit that is NOT compatible, an
error message will display letting you know that you are trying to install
the wrong bit. Refer to Prerequisites:
Platform of Office for more information on finding which version of
Office you are using.
5. Depending on your version of Microsoft Office, perform the following:
a. If you are running the 32-bit version of Office, double-click Personify360Outlook2010AddInSetupOffice32bit.msi file. Otherwise, proceed to step 5b.
b. If you are running the 64-bit version of Office, double-click the Personify360Outlook2010AddInSetupOffice64bit.msi file.
The Personify360 Add-In for Outlook screen displays.
6. Click Next.
7. Click Next.
The Select Installation Folder screen displays.
8. Enter the Folder path of where you would like to install the plug-in.
9. Select either the Everyone radio button if you would like to install the plug-in for anyone who uses this computer or the Just Me radio button if you would like to install the plug-in for yourself.
10. Click Next.
The Select Configuration File screen displays.
11. In the Please select the configuration file (full path) field, enter the path of the PersonifyOutlookAddin1.xml configuration file.
12. Click Next.
The Confirm Installation screen displays .
13. Click Next.
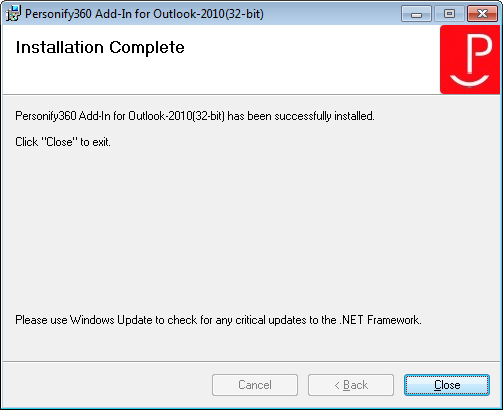
The Personify360 Outlook Plug-In will begin to install. If the plug-in
was installed successfully, the Installation Complete screen displays
similar to what is shown below.
14. Click Close
to exit the installation wizard.
Verify that it installed all the required files for the client's machine
including the PersonifyOutlookAddin1.xml
configuration file.
15. Now you can proceed to restarting Outlook.