 On cancellation, hard and soft credits linked to the cancelled donation order line are deleted AND if recognition was earned by the donor because of the cancelled donation, the recognition is deleted.
When a pledge is cancelled, the system cancels the whole donation and all money will be refunded to the donor. The only time you should cancel an active pledge (i.e., some payment was made) is if a mistake was made and the money was incorrectly applied to the donation. Otherwise, you should terminate the pledge and keep what has been paid.
On cancellation, hard and soft credits linked to the cancelled donation order line are deleted AND if recognition was earned by the donor because of the cancelled donation, the recognition is deleted.
 As of 7.6.1, if a recurring gift order is cancelled and if a payment related to that recurring gift order is pending in authorization recycling by Vantiv, a VOID-AUTH will be created to stop the authorization recycling.
To cancel a pledge:
1. From the Personify360 main toolbar, select Donate > Flexible Gift Entry.
2. Access the Search for Existing Donation tab.
3. Search for and select the appropriate donation.
4. On the Gift Info tab, select the appropriate active order line.
5. From the Donations task category, click Cancel the Pledge.
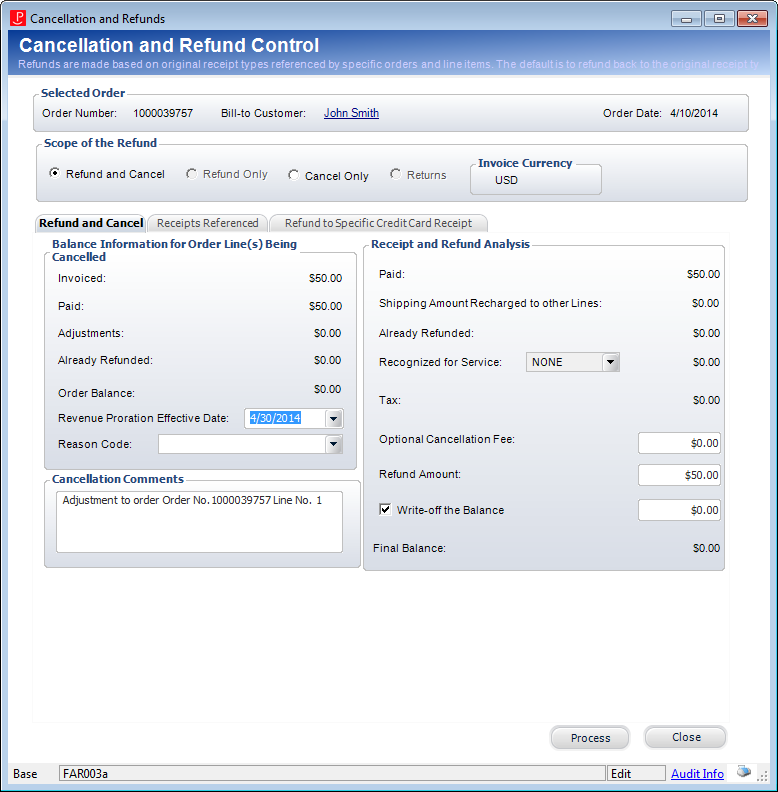
The Cancellation and Refunds window displays.
6. Select the Refund and Cancel radio button, as shown below.
7. If the order contains multiple line items, the Order Line(s) to Cancel or Refund tab displays. Select the appropriate line item to cancel and refund.
8. On the Refund and Cancel tab, select the Revenue Proration Effective Date.
9. If necessary, select the Reason Code from the drop-down.
Values in the drop-down are populated based on the non-fixed codes defined for the ORD "LINE_STATUS_REASON" system type. The option selected is stored in the LINE_STATUS_REASON_CODE column in the Order_Detail table.
10. Enter any Cancellation Comments.
11. Change the Refund Amount, if necessary.
12. If you check the Write-off the Balance checkbox, then enter the amount of the write-off in the text box.
13. On the Receipts Referenced tab, highlight the appropriate receipt.
14. If the receipt was originally created by credit card, access the Refund to Specific Credit Card Receipt tab, as shown below, and perform the following:
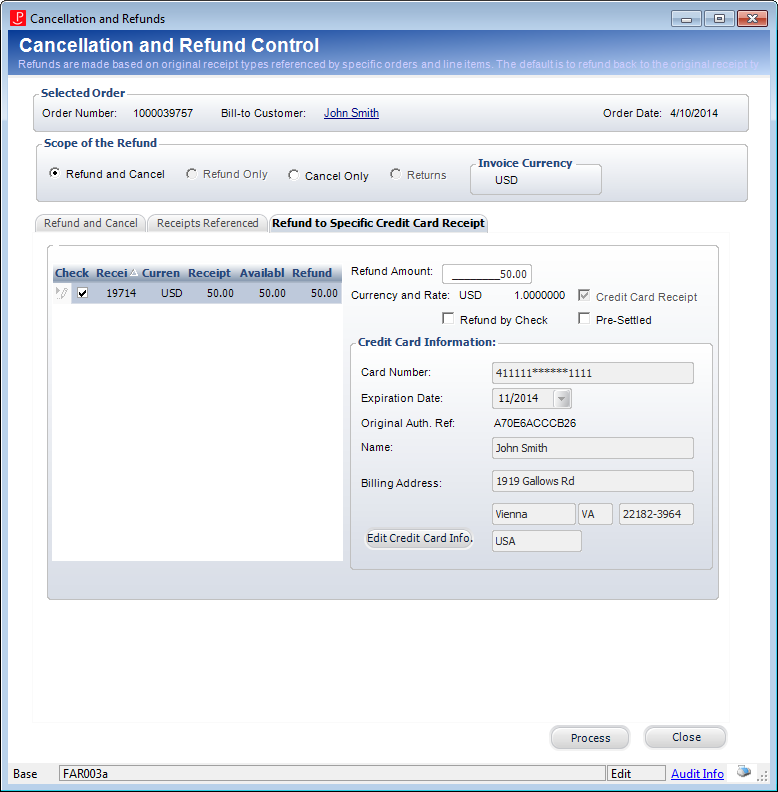
a. If multiple payments were made, check the Check checkbox next to the appropriate payment from the grid.
b. Enter the Refund Amount.
c. To refund the order by check, check Refund by Check.
Please note that refunding to a check is not available for unsettled receipts.
d. If your organization used a lockbox or outside service to process the credit card receipt, check the Pre-Settled checkbox.
e. If necessary, click Edit Credit Card Info.
f. Click Process.
The Cancellation and Refunds screen closes and the status of the donation changes to “Cancelled”.
15. If the receipt was originally credited by cash or check, access the Refund to Specific Check Receipt tab, as shown below, and perform the following:
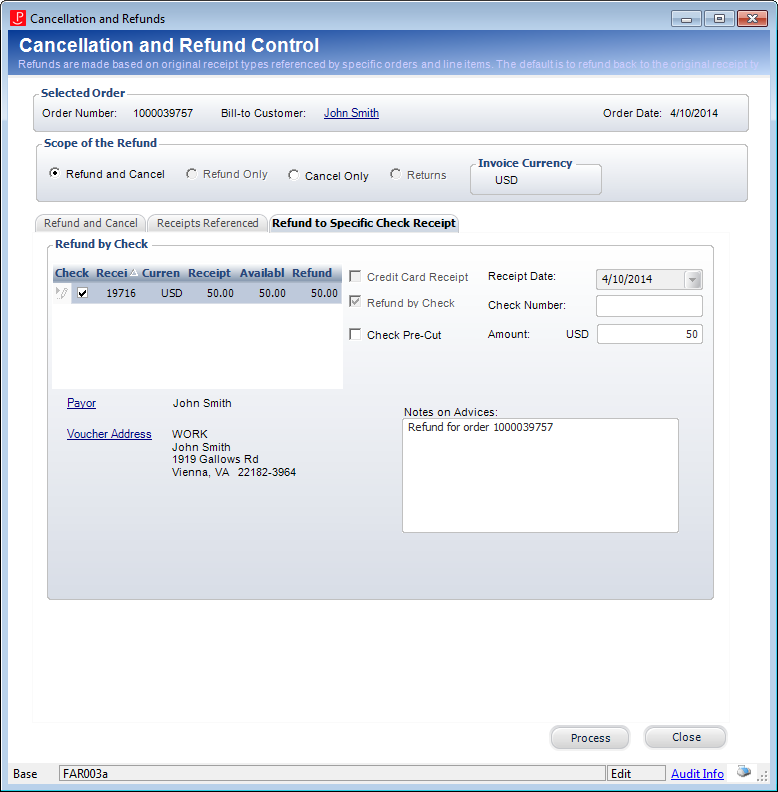
a. If multiple payments were made, check the Check checkbox next to the appropriate payment from the grid.
b. If the check has already been issued, check the Check Pre-Cut checkbox.
Checking this checkbox changes the status of the refund from "Active" to "Printed"; thus, it will not be processed by the Voucher Transfer Process (FAR800).
c. If you checked the Check Pre-Cut checkbox, enter the Check Number.
d. Enter the refund Amount.
e. If necessary, click the Payor link to view more details about the donor.
f. If necessary, click the Voucher Address link to select a different address.
g. Enter any Notes on Advices.
h. Click Process.
The refund will go to the payment processor and settle the next time the CCP610 settlement process is run.