 Personify's
.NET controls do NOT need any of the DNN system controls to work; this
control is specific to DNN. See Using
DNN as Your CMS Platform for more information.
Personify's
.NET controls do NOT need any of the DNN system controls to work; this
control is specific to DNN. See Using
DNN as Your CMS Platform for more information.The steps below only apply if you are using the CMS DNN.
Personify's
.NET controls do NOT need any of the DNN system controls to work; this
control is specific to DNN. See Using
DNN as Your CMS Platform for more information.
This
section should be performed by your website’s administrator.
To add a new page to your website:
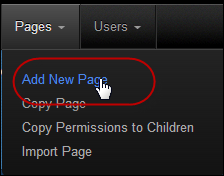
1. While
signed on to the site as “Host”, select Pages >
Add New Page, as highlighted below.
This adds a new page to your site that will be dedicated to ABS. The Page
Details screen displays, as shown below.
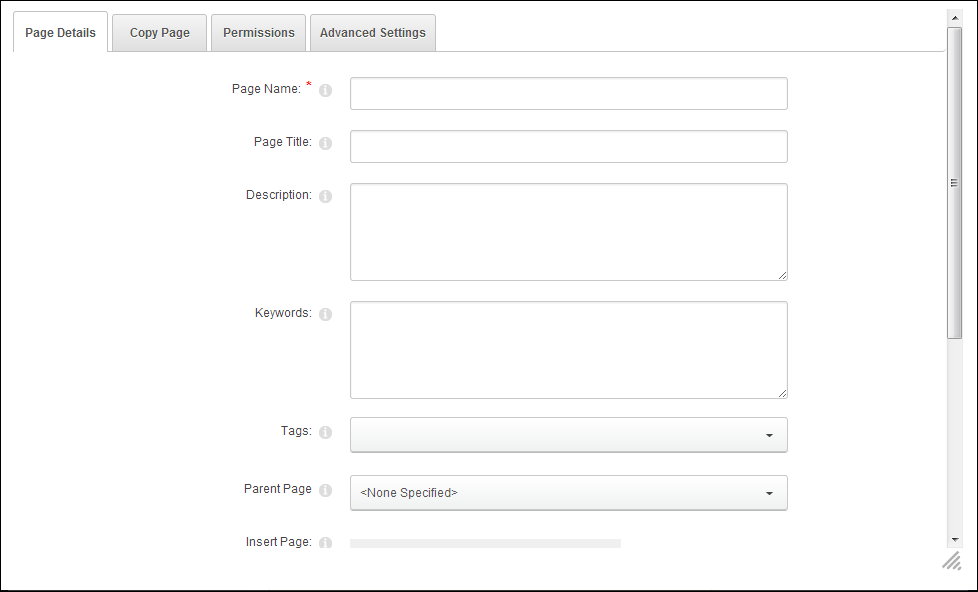
2. Enter
the Page Name for this page. This
will display in the menu.
For example, “Abstracts”.
3. Optional. In the Page Title text box, enter a title for your page. This will display in the browser window title.
4. Optional. In the Description text box, enter a description for your page.
5. Optional. In the Keywords text box, enter keywords for your page. Please note that if you enter multiple keywords, they MUST be separated by commas. This feature is used by some internet search engines (e.g., Google) to help index your site's pages.
6. Optional. From the Tags drop-down, select an item to tag to this page.
7. Optional. From the Parent Page drop-down, select the page that you would like this page to be a child of.
8. Optional. From the Insert Page section, select whether you want to insert the page Before, After, or Add to End from the page you selected from the drop-down.
9. Optional. From the Page Template drop-down, .select which template you would like to use.
10. Optional. Check the Include in Menu checkbox, if you want your page to be included in the main navigation menu. If the page is NOT included in the menu, you can still access it or link it based on the page's URL.
11. Select
the Copy tab.
The Copy Page window displays, as shown below.

12. Leave the “Copy From Page” drop-down as “<None Selected>”.
13. Select
the Permissions tab
The Permission window displays, as shown below.
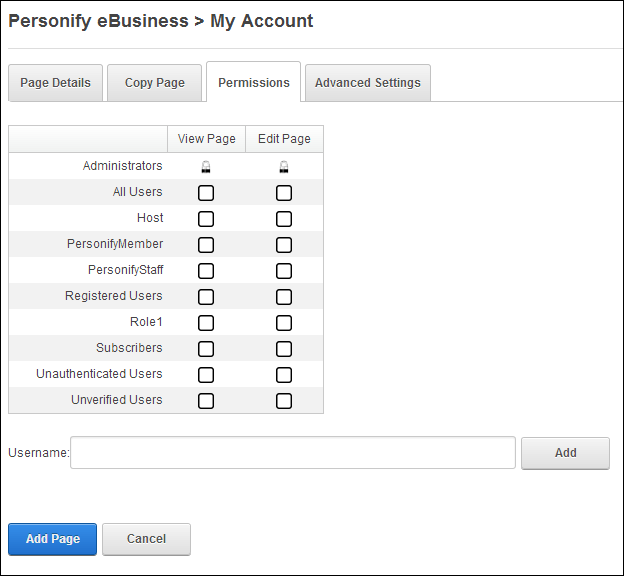
14. In the Permissions section, check the All users checkbox under the View Page column.
15. Select
the Advanced Settings tab, as shown below.

16. If you would like to associate an Icon with this page:
a. Select the Link Type:
i. File (A File on Your Site): select to choose any image.
ii. System Image: select to choose an icon which is part of your DNN application. This displays as a list of available images.
b. Select the File Location where the file is stored.
c. Select the File Name of the icon.
d. Click Upload New File.
17. If you would like to associate a Large Icon with this page:
a. Select the Link Type:
i. File (A File on Your Site): select to choose any image.
ii. System Image: select to choose an icon which is part of your DNN application. This displays as a list of available images.
b. Select the File Location where the file is stored.
c. Select the File Name of the icon.
d. Click Upload New File.
18. From the Page Skin drop-down, select “Host: Personify7x2ABS - Personify7x2ABS”.
19. From the Page Container drop-down, select “Host: Personify7x2ABS - blankContainer3alt” from the drop-down.
20. Do not perform any actions on the Page Stylesheet field.
21. If you do not want this page enabled at this time, check the Disabled checkbox.
22. If you want the page to refresh after a period of time, enter the Refresh Interval.
23. If necessary, enter any Page Header Tags.
24. The Cache Settings section can be left blank.
25. The Other Settings section can be left blank.
26. Click
the Add Page button.
The page has been added to your website. To see how to add the ABS module
to your page, refer to Adding
the ABS Module to Your Page.
See Also:
· Overview: Adding ABS to Your Website
· Modifying ABS Module Settings
· Providing Submitters Access to Your Call for Participation