The Product Options screen displays, as shown below.
Before assigning products to an umbrella product, ensure that the appropriate umbrella product and individual products have been defined. Additionally, ensure that you have defined the necessary product options and choices.
To assign product options to individual products of an umbrella product:
1. From the Personify main toolbar, select Products > Product Central.
The Product Maintenance search screen displays.
2. Enter "U" in the Product Type field and click Search to find an existing umbrella product or click Create New Product to create a new umbrella product.
3. From the Product Definition task category, click Maintain Product Options.
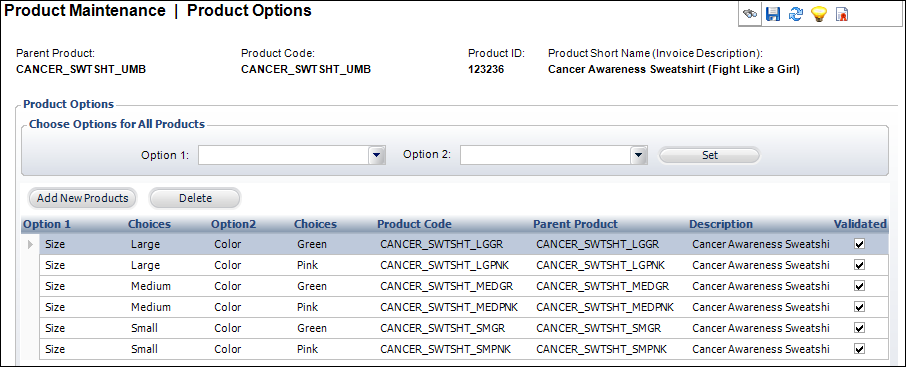
The Product Options screen displays, as shown below.
4. Click Add New Products to add a product or multiple products to the umbrella product.
The Product Option Chooser window displays.
5. Search for select the individual product(s) you would like to add under the umbrella product.
Umbrella products can only be associated with individual INV, DCD, or SUB products. For more information on setting up these individual products, please see the following sections:
Creating an Individual Inventoried Product for an Umbrella Product
Creating an Individual Subscription Product for an Product
Creating an Individual DCD Product for an Umbrella Product
6. Check the box to the left of the product and click Select.
The product(s) are added to the grid.
7. To select Option 1 and Option 2 for all products, perform the following:
a. From the Choose Options for All Products section, select the appropriate value from the Option 1 and Option 2 drop-downs.
b. Click Set.
The Option 1 and Option 2 columns are populated in the grid below with your selections.
c. Proceed to select the appropriate choices for each option in the appropriate column.
8. To select an option and choice for each individual product, perform the following:
a. From the Option 1 column, click in the row to display the drop-down of values, as shown below. Select the appropriate option.
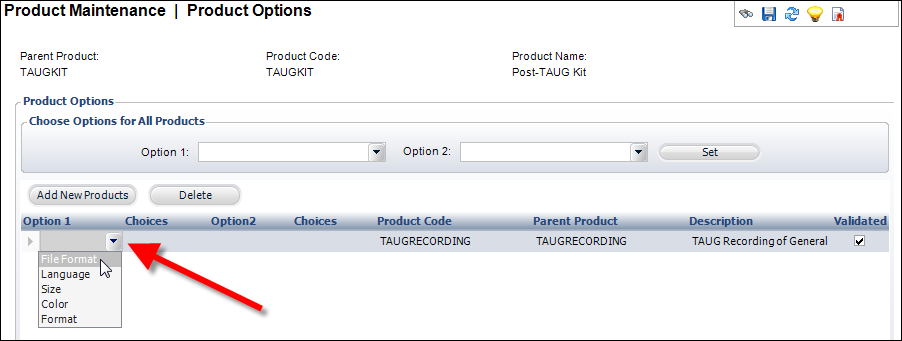
b. From the Choices column, click in the row to display the drop-down of values. Select the appropriate choice.
c. If necessary, from the Option 2 column, click in the row to display the drop-down of values. Select the appropriate option.
d. If necessary, from the second Choices column, click in the row to display the drop-down of values. Select the appropriate choice.
9. Click Save.
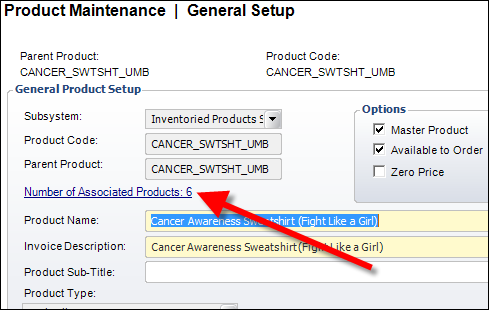
From the General Setup screen in Product Maintenance, the "Number of Associated Products" link updates accordingly, as shown below. Click this link to access the Product Options screen.
 Be cautious when setting up options and confirm that your product type and options match. Personify will not know if you select the incorrect match. For instance, if your product is a red bag and you choose green as the color choice, the color of the bag will not match the product. Personify cannot recognize these types of discrepancies and will instead proceed with the incorrect choice.
See Also:
· Overview: Creating an Umbrella Product
· Creating an Umbrella Product
· Umbrella Product Relationships
· Umbrella Products on the Web
· Validating an Umbrella Product Setup