A blank search screen appears in the main window as shown below.

In Personify360, most of the main screens (such as Customer Central, Product Central, etc.) start with a main query screen. This allows you to search your database for a specific record to modify, view, etc. When creating a new screen to be used in Personify360, using the Standard Form, it is then necessary to create a search screen.
To create the search controls for a new screen:
1. Follow the steps discussed in Creating New Forms, selecting Standard Form as the form type.
A blank search screen appears in the main window as shown below.
2. It is now necessary to choose the Target Collection that this screen will be querying. For this example, the query will be for Customers.
3. Ensure that the drop-down at the top of the properties window reads [Your Form Name] (Form).
 This drop-down at the top of the properties box is important in that it indicates which form or control you are working with at any given time. At this time you are working with the form itself rather than the search control or any of the other controls.
4. In the Data section of the Properties window, click TargetCollection.
The API Collection Chooser window displays, as shown below.
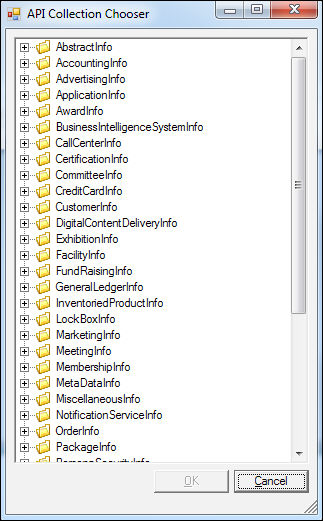
The API Collection Chooser is used to select the main collection to be used for a form. API Collections are collections of records returned by the API.
5. Select the collection that you want this screen to query.
For this example, the query will be for Customers. Double-click the CustomerInfo folder and double-click Customers. This screen will now use the Customers collection API when a query is performed.
6. Click on the main section of the search page.
You will notice in the Properties window that the drop-down now reads SearchControl1 (SearchControl) and the parameters have changed.
Personify recommends leaving the Parameter Rendering setting (in the Properties window when SearchControl1 is selected) to Auto. If you switch it to Manual and manually add parameters, then change it back to Auto, your changes will be lost.
7. From the Misc group, select SearchParameters.
The Search Parameters window appears as shown below.
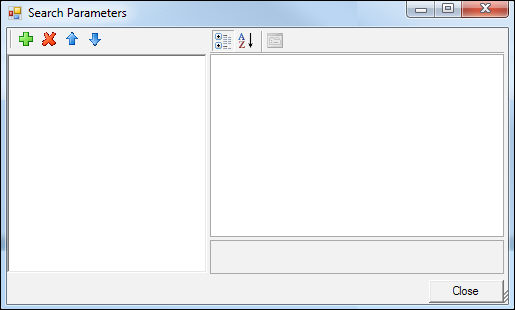
8. Click the plus sign  to create a new search parameter.
A list of parameters appear in the right hand window.
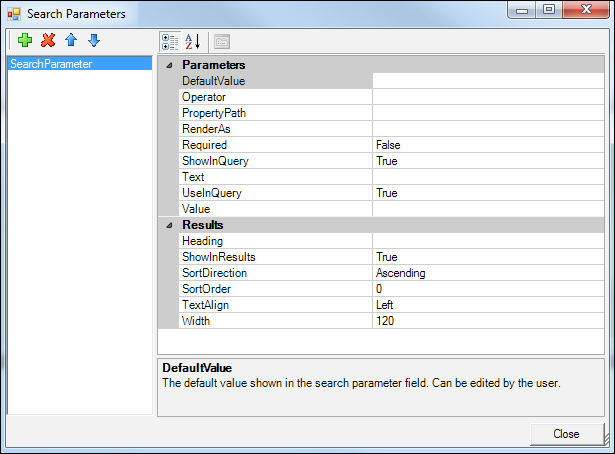
9. Select PropertyPath.
The API Property Chooser displays. These properties are elements of a collection and can be:
· Data Table columns – Values stored in the representative tables. For example, a customer’s Label Name.
· Record sets – Sub-tables linked to the selected collection. For example, customer addresses.
· Generated values – Calculated values not stored in the database. For example, a customer’s order balance.
10. Double-click the property that you want to use as a query filter.
For example, LastName. The PropertyPath text box now says “LastName” and other parameter values have defaulted.
Certain API properties will create default parameter values. These values can still be changed manually.
11. Repeat steps 6-9 to create as many search parameters as you want.
12. Click Close.
The search parameters you have created appear on the form. Your work with the Search Page is complete.