The Layout Details modal window opens.
To add a .NET control to your website:
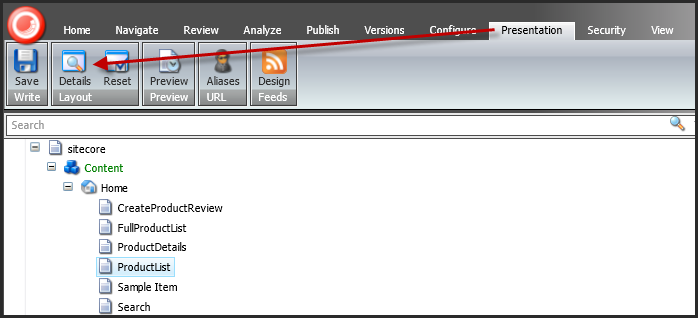
1. Select the Presentation
tab and click Details, as highlighted below.
The Layout Details modal window opens.
2. In the Controls section
of the Layout Details modal window, select Edit.
The Device Editor modal window opens.
3. Make sure the correct layout is selected.
4. In the left menu of
the Device Editor modal window, select Controls,
as shown below.
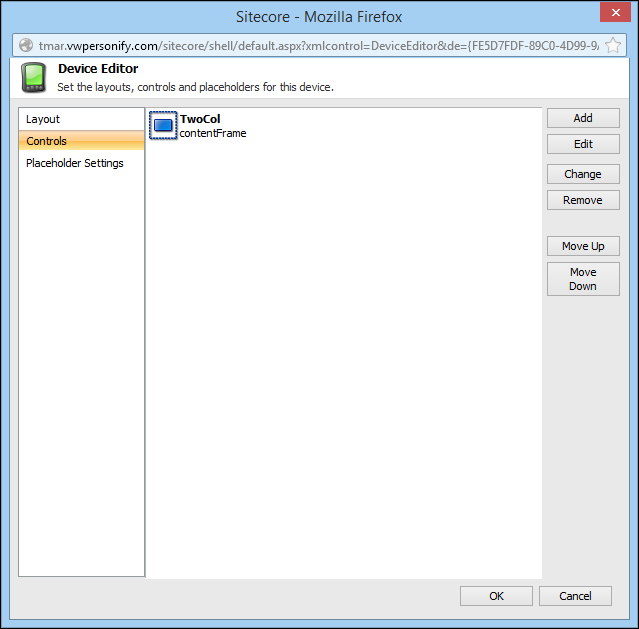
5. Make sure that a content area exists and if not, add it.
6. Click Add.
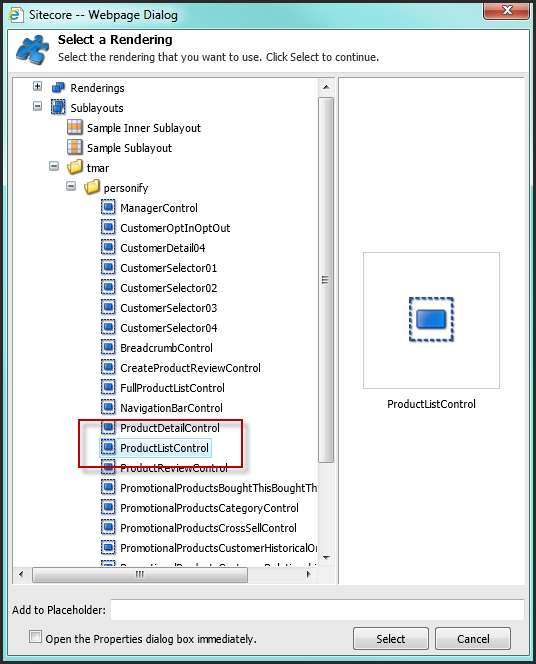
The Select a Rendering window displays.
7. From the \Layouts\Sublayouts\Personify\Personify360
directory, select the .NET web control that you want to render, as highlighted
below.
8. Set the Add
to Placeholder field to the area of the page in which the Personify
web control is to exist, as shown below.
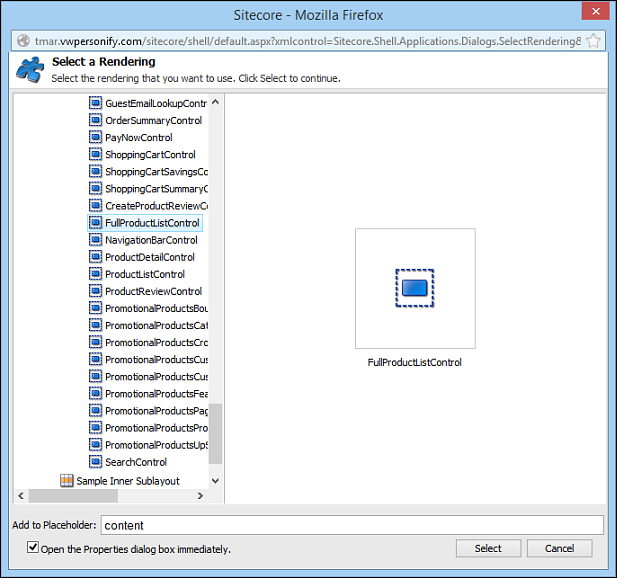
9. Check the Open the Properties dialog box immediately checkbox.
10. Click Select.
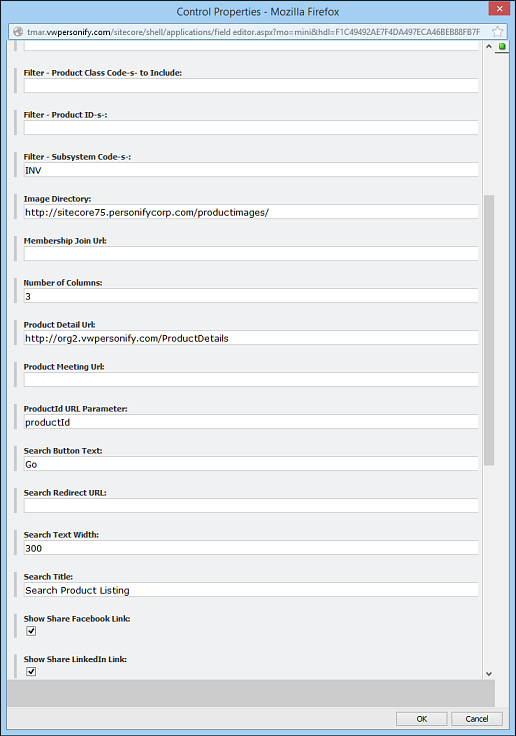
The Control Properties modal window opens. This will load all the available
settings for this web control.
11. Configure the settings
of your selected control, as shown below.
For example, for the ProductDetailURL field, you should set the PWF parameter
to a value (e.g., PRODUCTDETAILS) that will direct the user to the product
details page. For more information about each .NET web control and the
control's setting, see Using
Web Controls.
12. Select OK. This closes the Control Properties modal window.
13. Select OK. This closes the Device Editor modal window.
14. Select OK. This closes the Layout Details modal window.
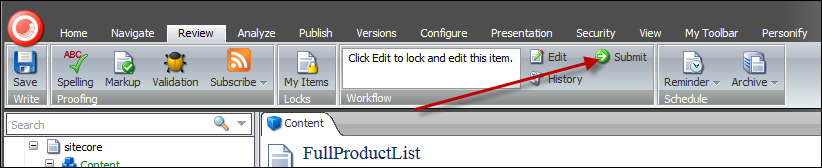
15. From the Review tab, click Submit, as highlighted below.
16. Enter the appropriate comments when prompted.
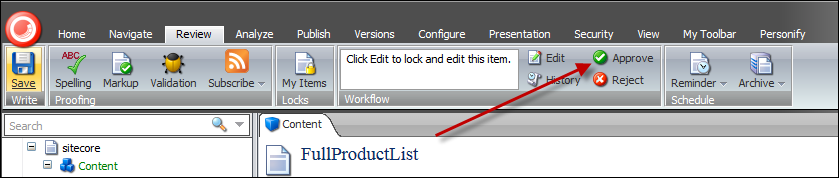
17. From the Review tab,
select Approve, as highlighted
below.
18. Enter the appropriate comments when prompted.
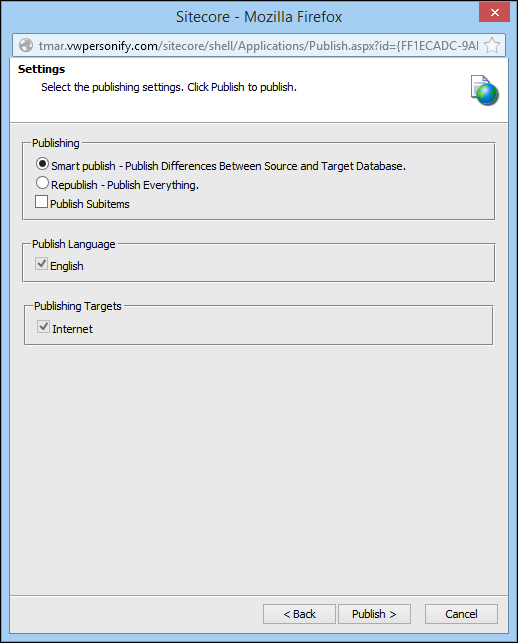
19. From the Publish tab, select Publish > Publish Item.
20. Select the Smart
publish- Publish Differences Between Source and Target Database
radio button and select Publish,
as shown below.
21. Once the wizard completes,
select Finish.
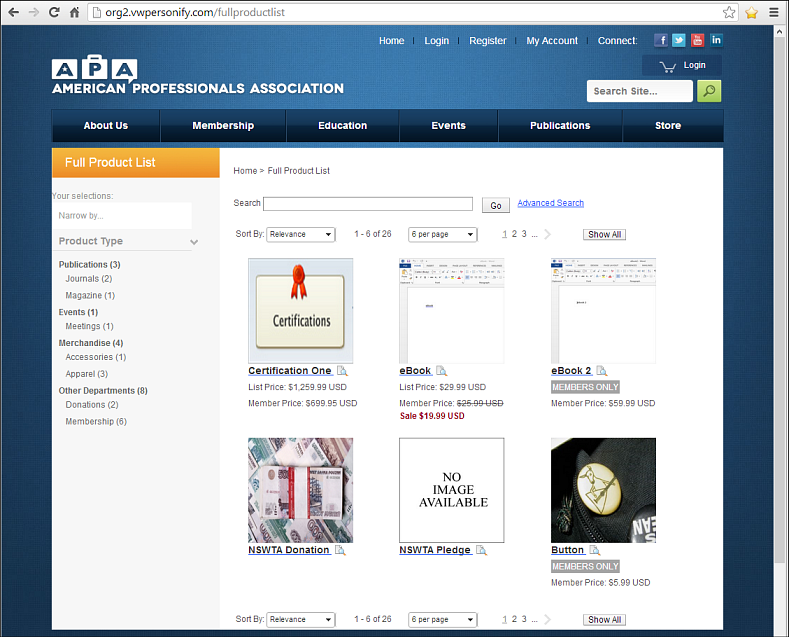
The page with the Personify web control is now published, as shown below.
See Also:
· Overview: Using .NET Web Controls