 This information also displays as part of the Registrant Selection step in the Register Someone Else.
This information also displays as part of the Registrant Selection step in the Register Someone Else.
After logging in, when the web user clicks the Register Now button from the Events Calendar or Meeting Details control, he/she will be directed to the Primary Contact Information step, as shown below. Please note that any changes made here will update the users' primary contact information on his/her account. If he/she has more than one address on account, he/she will be given an opportunity to select a different address at check-out.
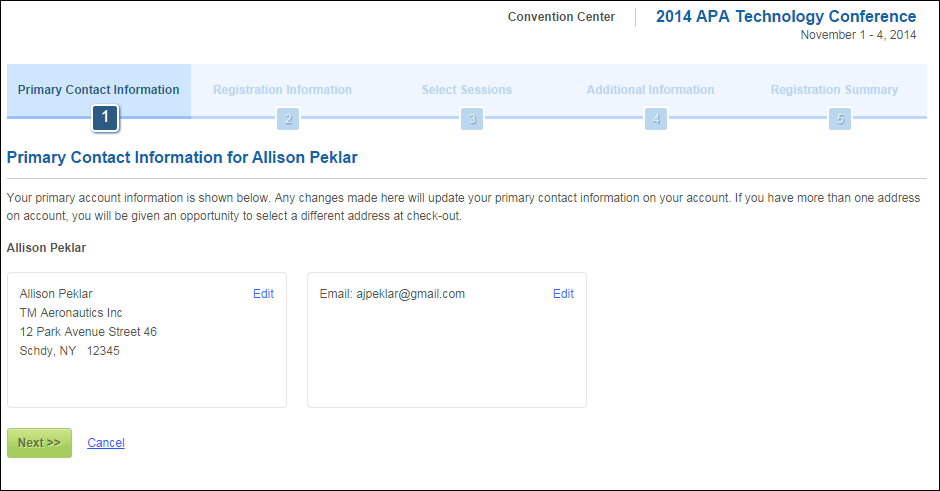
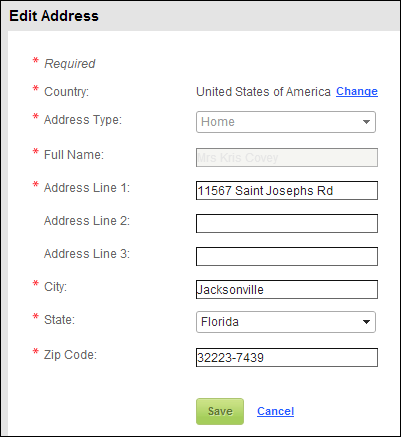
From this step, the web user can click Edit next to his/her address to access the Edit Address window, as shown below.
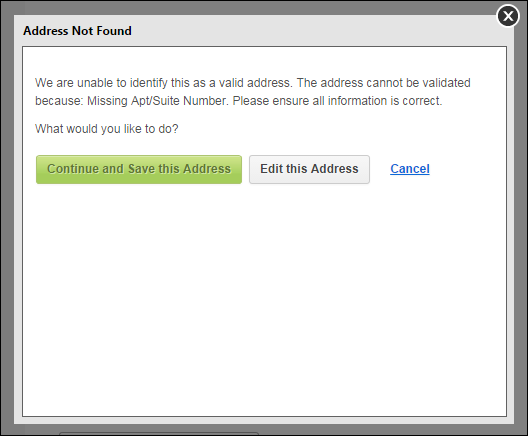
When the web user saves the address, the system will attempt to validate the address. If the system is unable to identify the address as a valid address, a message will display, similar to what is down below, with more information about the missing information.
If the web user has a linked address to a company, the following Edit Address window displays, as shown below.

The web user can also click Edit next to his/her communication records to access the Edit Contact Information window, as displayed below.
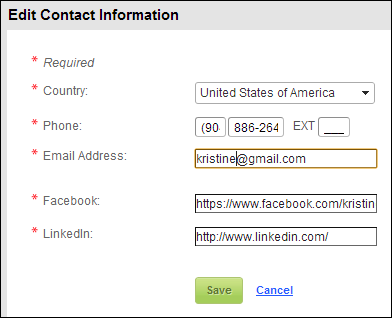
Once the information is verified, the web user can click Next to proceed to the next step in the Meeting Registration workflow.
 For more information on including the contact information step in the registration process see Configuring the Back Office Settings for the Primary Contact Information Step.