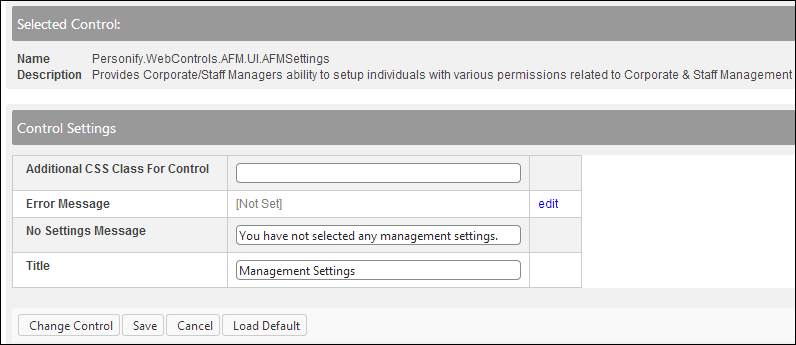
The control settings for this control display, as shown below.
The section below details how to set up the Settings control on your website and these instructions apply for all three workflows (i.e., Corporate and Staff Management, Committee Management, and Chapter Management). In addition, the instructions are intended for a user with web admin/host privileges. In addition, this is NOT a standalone control, which means that in order for it to function, it needs to be incorporated into the Group Management workflow on the web. For more information, refer to the Standalone .NET Web Controls section.
Before configuring this control, make sure that you set up segments for a company, committee, or chapter (subgroup), and then assign a user to be a manger of it in the back office. If the back office settings are NOT properly configured, a group manager will be unable to use the Group Management controls. In addition, in order for a group manager to assign management permissions to a member of his/her roster, the Identify Group Manager and Edit Individual Profile fields must be enabled. See Setting up a Group Manager Permissions for more information.
For the additional configurations necessary in order for the Group Manger to be able to use the Settings control on the web, refer to the following section for each workflow:
· Corporate and Staff Management
To configure the web settings for the Settings control:
1. Add the
"AFMSettings" to the desired page. For more information, please
see Adding a Page on Your
Site Using DNN.
The control settings for this control display, as shown below.
 Text fields
have a 250 character limit.
Text fields
have a 250 character limit.
2. Optional: in the Additional CSS Class for Control field, enter
the CSS class.
This option allows you to add additional layout to the skin by developing
a new DOTNETNUKE style, which requires an advanced understanding of HTML
and CSS. See Applying
a Default Site Container for information.
3. Optional:
select or create a new Error Message.
The error message will display on the control for the action that was being
performed at the time of the error.
a. If left blank, the default error message, "An error occurred while performing [Insert Action]. If the problem persists, please contact the site administrator", will display. [Insert Action] will be substituted with the action the control was performing at the time of the error.
b. If you wish to change the default error message, customize it with a PWF Parameter. See Setting Up your PWF Parameters to learn more about these parameters and why your website's redirect URLs are managed there.
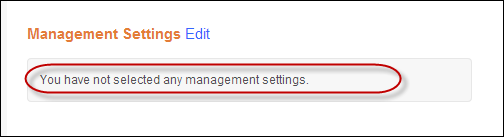
4. In the No Settings
Message field, enter a message.
This message should let the user know that he/she does not have any group
permissions, as highlighted below. For example, "You have not selected
any management settings."
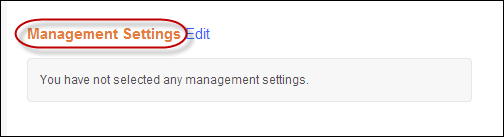
5. Enter a Title.
This is the title of the control and displays to your user, as highlighted
below. For example, "Management Settings".
6. Click Save.
See Also:
· For an overview on the Settings control, refer to Overview: Settings Control.
· If you want an overview of how a group manager can assign permissions to another individual on their roster, see Workflows for Group Management.