The Web Part section displays, as shown below.
To add a .NET Control to a page using SharePoint:
1. Navigate to an existing page or create a new page. See Creating a New Page Using SharePoint for more information.
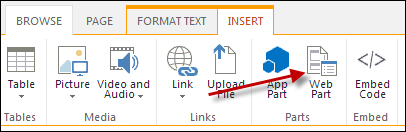
2. From the Insert
tab, select Web Part, as highlighted below.
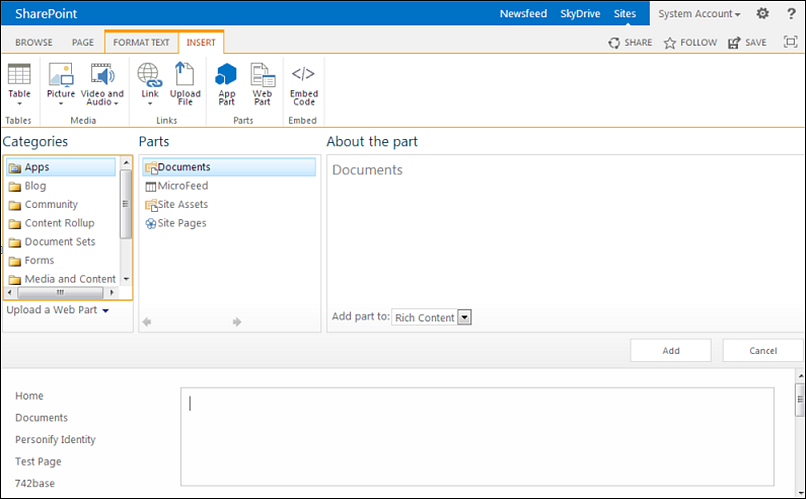
The Web Part section displays, as shown below.
3. From the "Categories" section, select the Personify folder.
4. From the "Parts" section, select Personify Web Container.
5. Click Add.
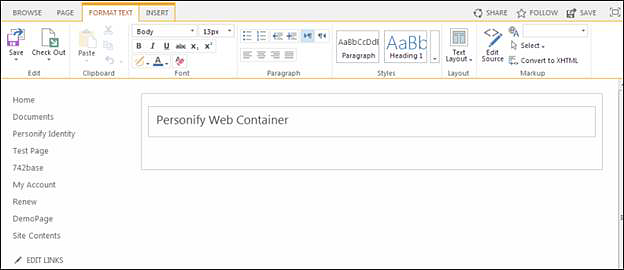
The Personify Web Container is added to the page, as shown below.
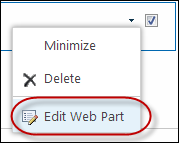
6. From the drop-down,
select Edit Web Part, as highlighted below.
The Personify Web Container pane displays, as shown below.
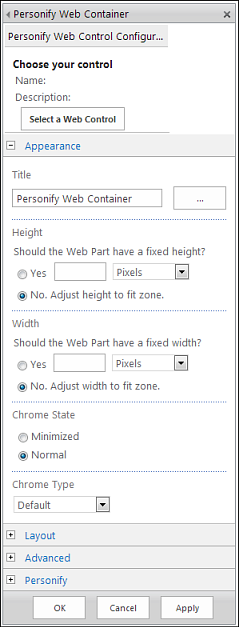
7. From "Choose your
Control", click Select a Web Control.
The Select A Web Control window displays, as shown below.
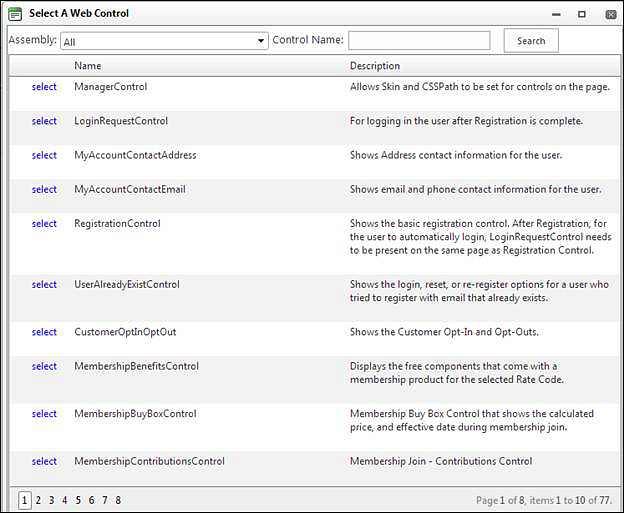
8. Search and select the .NET web control that you want to render for this module. This will load all the available settings for this web control. For more information about each .NET web control setting, see the Using Web Controls section in the online help.
9. Configure the settings of your selected web control.
10. Click Save.
You will be taken back to your current designing page. The web control
rendered will be with the control features that you just set up.
See Also:
· Creating a New Page Using SharePoint
· Creating a Link to Access an Existing Page