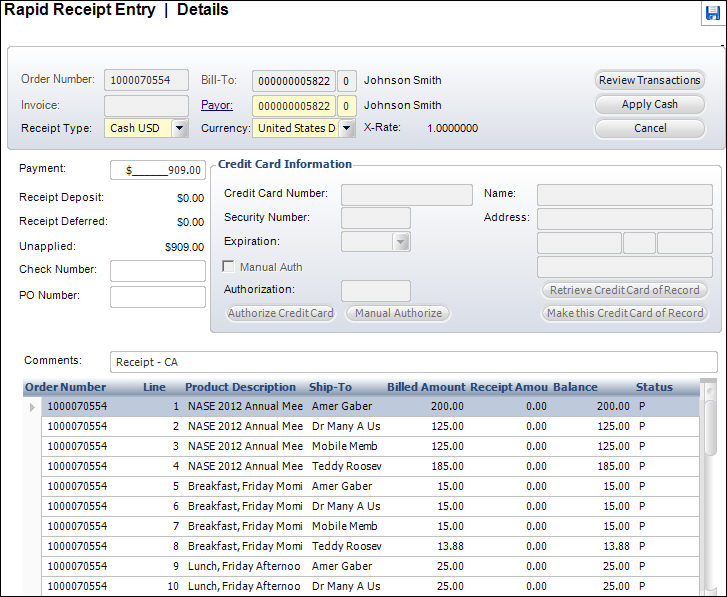
This screen provides another option for receipt entry, where staff has a stack of receipts with order numbers. Orders can span multiple customers. The Rapid Receipt Entry screen accommodates domestic and international currencies according to current exchange rates.
To comply with credit card compliance issues, the credit card number cannot be stored in Personify360 at all. Previously, this screen would store the credit card numbers and allow you to authorize the numbers on the Pending Credit Cards Processing screen. The Rapid Receipt Entry screen now authorizes all the credit card numbers automatically and the Pending Credit Cards Processing screen no longer exists.
You can access this screen by selecting Accounting > Receipts > Rapid Receipt Entry from the toolbar. Open a batch and click Start Creating Receipts.
To enter a receipt via the Rapid Receipt Entry screen:
1. If the
order exists, search for it by clicking the Order Number
link and double-clicking an order to select it.
2. If the invoice exists, search for it by clicking the Invoice link and double-clicking an order to select it.
3. If necessary, change the Bill-To or Payor customers.
4. Enter the Payment amount.
5. Select the Receipt Type from the drop-down.
· If Cash is selected, continue with step 6.
· If Check is selected and a check number is provided, enter it.
· If Credit Card is selected, the Credit Card Information fields are enabled. Enter the credit card information and click Authorize Credit Card.
 As of 7.6.2,
if a magnetic stripe reader device is hooked up, place your cursor in
the Credit Card Number field, swipe the credit card, and the system will
read and process the credit card number. This functionality is available
for all payment gateways. Additionally, a new Vantiv
merchant parameter has been added in 7.6.2. If this parameter is enabled,
the system will send the track data from the credit card to Vantiv, letting
them know that the credit card is physically present, which will qualify
the transaction for a better transaction rate.
As of 7.6.2,
if a magnetic stripe reader device is hooked up, place your cursor in
the Credit Card Number field, swipe the credit card, and the system will
read and process the credit card number. This functionality is available
for all payment gateways. Additionally, a new Vantiv
merchant parameter has been added in 7.6.2. If this parameter is enabled,
the system will send the track data from the credit card to Vantiv, letting
them know that the credit card is physically present, which will qualify
the transaction for a better transaction rate.
6. If necessary, enter the PO Number.
7. Enter any comments related to the receipt.
8. Click Save.
See Also:
· Overview: Working with Receipts
· Viewing Payor Change History
· Personify360 Payment Distribution