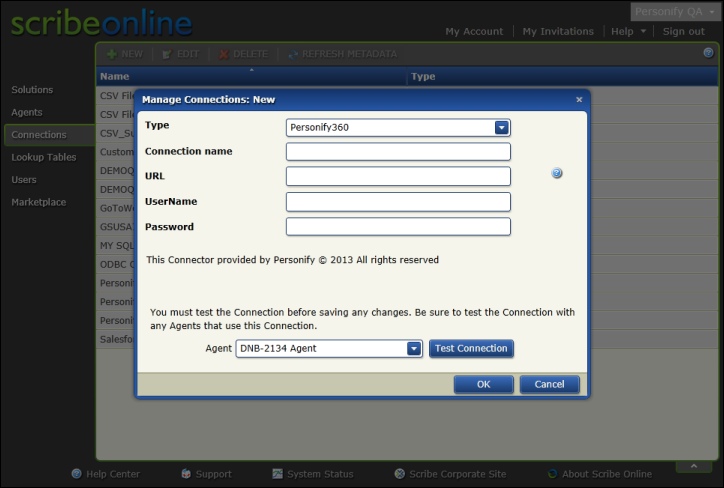
On the Connections screen, you can edit and add new connections. A connection contains the information needed to log into a specific application or database. Connections are used to define source or target data locations. Typically, you will define a connection that represents a source text file and a connection that represents a target Personify Data Services instance. Once you create a connection, you can use it in multiple solutions by simply picking it from the connection information list. If the connection ever changes, you can change the connection information on the Connections screen. The image below shows the Manage Connections screen after clicking New to set up a new Personify Data Services instance and designate it as a target connection.
To create a connection:
1. Open the Manage Connections dialog box by clicking New from the connections tab of the IS Instance Wizard Maps page.
2. Select the type of connection you want to create from the drop-down.
3. Enter a Connection Name.
4. Enter the URL for your instance of Personify Data Services.
5. Enter the Personify360 UserName.
6. Enter the Personify360 Password.
7. Select the agent you created and click Test Connection.
8. Click OK.
See Managing Connections in the Scribe Online Help for more information.