 Only
ONE test recipient can exist for one organization and organization unit.
Only
ONE test recipient can exist for one organization and organization unit.When setting up a mobile notification event you will want to view the output of the mobile message before delivering the message to your customers. For this reason Personify360 has the Notification Test Recipient screen.
Only
ONE test recipient can exist for one organization and organization unit.
To define notification test recipients:
1. From the
toolbar, select System Admin > Notification
Services > Test Recipient Maintenance.
The Notification Test Recipient search screen displays.
2. Click
Search.
Since only one test recipient can exist for your org/org unit, open the
one search result. If the test recipient has not been defined, please
see Defining
the Email Notification Test Recipients.
The Notification Test Recipient Details screen displays, as shown below.
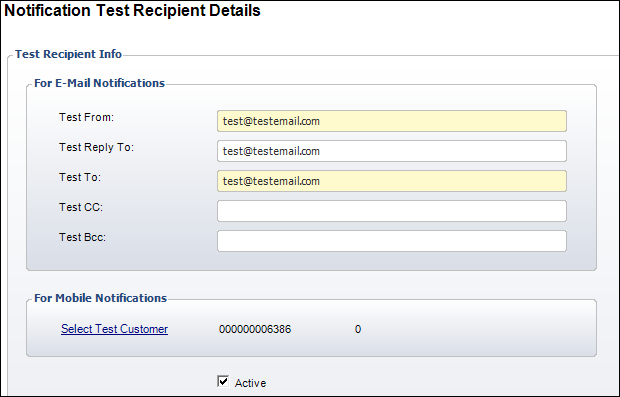
3. From the
Mobile Notification section, click the Select Test
Customer link.
The Customer Chooser displays.
4. Search for and select the appropriate customer to be the test recipient of ALL mobile notifications.
The customer
selected as the mobile test recipient must have an active e-Business login
and password and a working mobile device with the Personify Mobile application
installed.
5. Ensure that the Active checkbox is selected.
6. Click Save.
See Also:
· Configuring Mobile Notifications
· Create a mobile notification.