 Without
the e-Business control, users will only see the Buy
Now and Donate Now options, if they have
a credit card on record.
Without
the e-Business control, users will only see the Buy
Now and Donate Now options, if they have
a credit card on record.This process is similar to configuring a product to display on your e-Business site. For products on the mobile application, you need to create an e-Business control and a mobile control (similar to an e-Business control) via the Product Central screen.
Without
the e-Business control, users will only see the Buy
Now and Donate Now options, if they have
a credit card on record.
Once you create a mobile control for a product, your users can view the product and its details through the Store module. Products only display in the Store module if defined according to the instructions below.
To configure an inventoried product for purchase on Personify360 Mobile:
1. From the
Personify360 main toolbar, select Products > Product
Central.
The Product Maintenance search screen displays, as shown below.
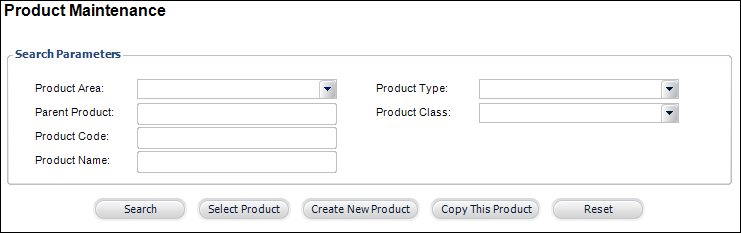
2. Click Create New Product or select "Inventoried Products Subsystem" from the Product Area drop-down and click Search.
3. Select
the product you want to display on the mobile application and click Select Product.
The product displays on the General Setup screen, as shown below.
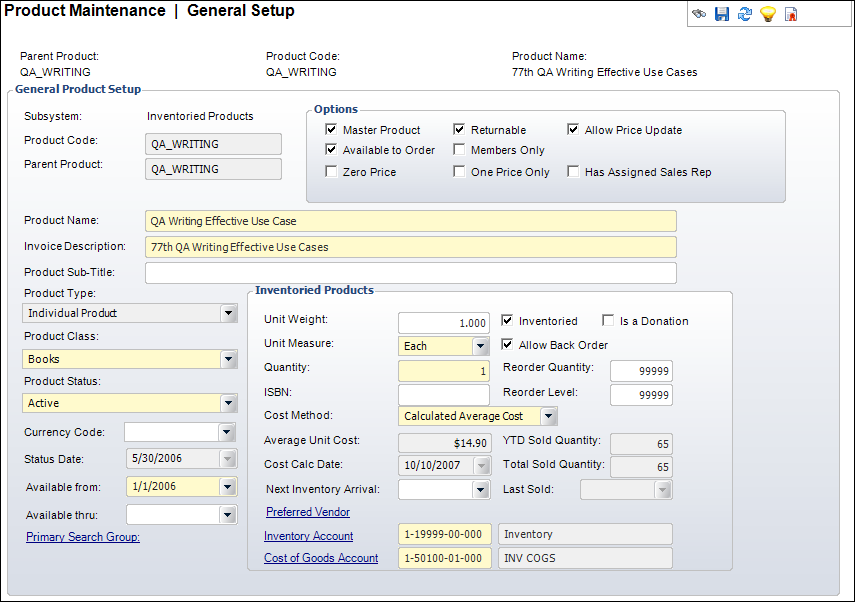
4. From the Options section, ensure that the Master Product and Available to Order checkboxes are selected.
5. Select
a Product
Class from the drop-down, if necessary.
The Product Category filter in the mobile store is populated by the defined
Product Classes for products that display in the store. Define a Product
Class for each product to allow mobile users to filter by Product Category
in the store.
6. Ensure the product has a Product Status of “Active”.
For a product
to be listed in the Mobile Store, it must meet the availability requirements
in the back office first. Any product with a “Cancelled,” “Discontinued,”
or “Inactive” status in the back office will not display in the Mobile
Store regardless of your mobile control settings.
7. Ensure that the Available from date is today or a day in the past.
8. Ensure that the Available thru date is null, today's date, or a future date.
9. From the Product Definition task category, ensure that a green checkmark displays next to the Validate Setup task. If not, please see Validating an Inventoried Product Setup for more information on validating the product setup.
10. From the
Product Definition task category, click Define Rates
and Pricing.
The Rates and Pricing screen displays, as shown below.
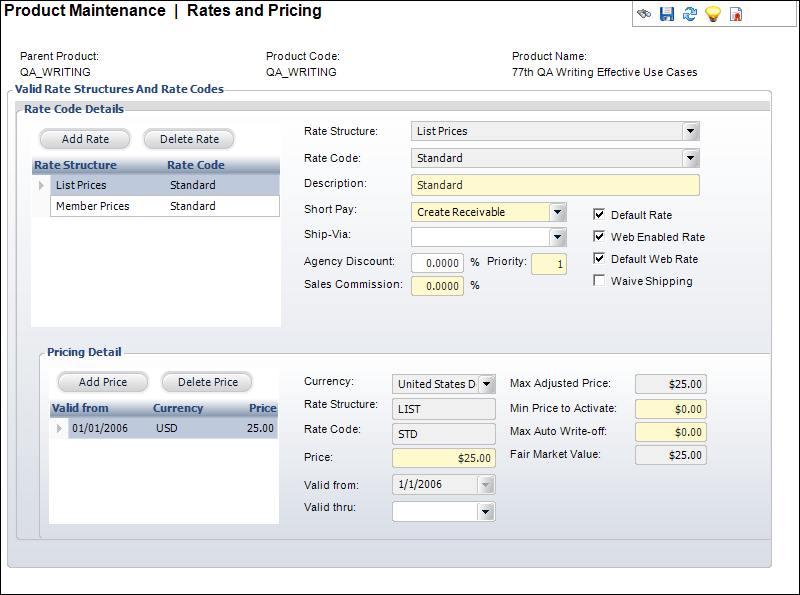
11. Ensure that at least one Rate Structure/Rate Code has the Web Enabled Rate checkbox selected.
Only List
and Member rates display in the Mobile Store. The must be defined and
web-enabled for a product to display.
12. From the
eBusiness Links task category, click eBusiness Control.
The eBusiness Control screen displays, as shown below.
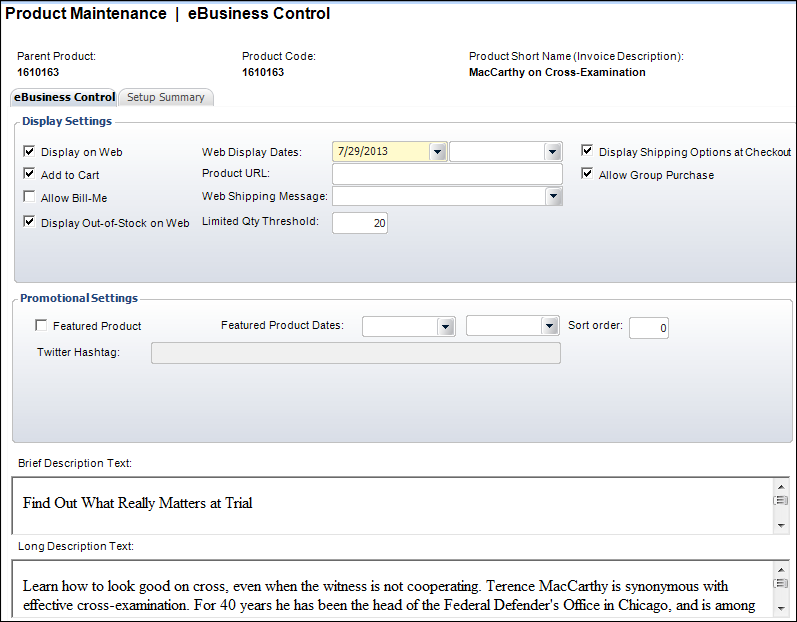
13. From the Display Settings section, define the following information:
a. By default, when you click "Add eBusiness Control", the Display on Web checkbox is checked. Ensure that this checkbox is checked.
b. Select the dates in which you want the product to display on the web from the Web Display Dates drop-down. From the first drop-down, specify the date on which you would like the product to begin displaying on the web. Optionally, from the second drop-down, specify the date on which you would like the product to stop displaying on the web. Ensure that the first date is today or a day in the past.
c. By default, when you click "Add eBusiness Control", the Add to Cart checkbox is checked. If you want to display the product on the web, but not allow customers to add the product to their shopping cart, uncheck this checkbox. Ensure that this checkbox is checked.
d. Enter the organization’s optional product-specific in the Product URL field.
e. Check the Allow Bill-Me checkbox if you would like to enable the “Bill-Me” feature, which allows web users to buy a product and not pay for it before logging out. If checked, the web user will receive an invoice for payment.
f. Select the Web Shipping Message that
will display to your customers to indicate the estimated shipping
time.
Values in the drop-down are populated based on the codes defined for the
non-fixed INV "WEB_SHIPPING_MESSAGE" system type.
g. As of
Personify 7.5.0, if the product has been defined to allow back orders
and if you want this product to display on the web even when the available
quantity reaches zero, check the Display
Out-of-Stock on Web checkbox.
If the "Default Display Out-of-Stock Items" checkbox was checked
on the Inventory Parameters screen in Organization Unit Maintenance, this
checkbox will be checked by default, but can be changed. For more information,
please see Defining
Organization Unit Inventory Parameters. If the "Allow Back Order"
checkbox is unchecked on the General Setup screen, this checkbox will
be disabled. For more information, please see Defining
an Individual Inventoried Product. If the product is out of stock
(Available quantity defined on
the Inventory
screen = 0), the Allow Back Order
checkbox on the General
Setup screen is NOT checked, and this checkbox is checked, the "OUT
OF STOCK" product alert will display on the Product
Listing and Product
Detail pages on the web for this product, as shown below.

h. As of
7.5.0, enter the available quantity inventory level at which web users
will see the “Limited Quantity Available” badge on the web in the Limited Qty Threshold field.
If an amount was defined in the "Default Limited Quantity Threshold"
field on the Inventory Parameters screen in Organization Unit Maintenance,
that amount will default into this field, but can be changed. For more
information, please see Defining
Organization Unit Inventory Parameters. If the Available
quantity defined on the Inventory
screen is less than or equal to the Limited
Quantity Threshold here, the "ONLY [n] AVAILABLE" product
alert will display on the Product
Listing and Product
Detail pages on the web for this product, as shown below.

i. Check the Display Shipping Options at Checkout checkbox if on the web you want your customers to be able to see their different shipping options. See the Shopping Cart and Checkout section for more information.
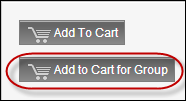
j. Check
the Allow Group Purchase checkbox if
you would like a group manager to be able to purchase this product for
a group on the web, as shown below.
See Creating
and Inventory Product for Group Purchase for more information.
 This flag
will default when creating any new product except for the following products:
membership, fundraising, and umbrella. If you have existing products and
decide to use corporate and staff management, you will need to enable
this flag for group purchases.
This flag
will default when creating any new product except for the following products:
membership, fundraising, and umbrella. If you have existing products and
decide to use corporate and staff management, you will need to enable
this flag for group purchases.
14. From the Promotional Settings section, define the following information:
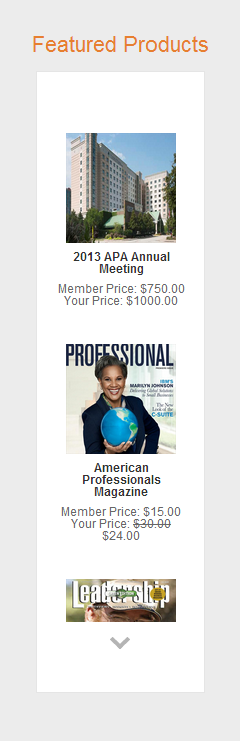
a. Check the Featured
Product checkbox if you want to feature this product on the web.
Featured products display in the Promotional Products Featured control,
as shown below. For more information, please see Configuring
the Promotional Products Featured Control.
b. Select the dates in which you want the product to display as a featured product on the web from the Featured Product Dates drop-down. From the first drop-down, specify the date on which you would like the product to begin displaying as a featured product on the web. Optionally, from the second drop-down, specify the date on which you would like the product to stop displaying as a featured product on the web.
c. If this product is part of an umbrella product, enter the Sort Order in which you want this product to display. Products with the lowest sort order will display first.
15. Enter
the Twitter
Hashtag you
want to display when a user shares their purchase using their mobile device.
The Twitter feed displayed for a particular event is based on the value
you enter in this field. The value can either be simple text (e.g., "Twitter"),
a hashtag (e.g., "#Twitter"), or a handle (e.g., "@Twitter").
This value is passed via the TwitterHashTag value of the MobileGetMeetingListing1
service. For simple text or the hashtag, the tweets returned are based
on a search of all tweets containing either the simple text or the hashtag.
For the handle, the tweets returned are based on the handle that the tweets
were sent.
16. The Brief Description Text field is read-only. For more information, please see Adding an Inventoried Product Brief Description.
17. The Long Description Text field is read-only. For more information, please see Adding an Inventoried Product Long Description.
18. From the
eBusiness Links task category, click Mobile Control.
The Mobile Control screen displays for you to enter the Mobile-specific
values.
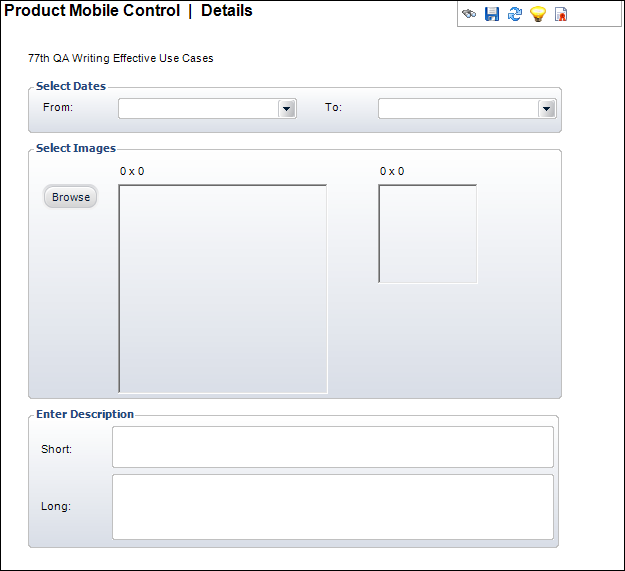
19. From the Select Dates section, select the From date as today or a date in the past.
20. If necessary,
select the To date as today or a future date.
The product only appears in the Mobile Store during these dates.
21. If you
would like to enter a product image to be displayed on the Event Details
screen in the Mobile Events module, from the Select Images section, click
Browse and select the image from your database.
The application automatically resizes the second image.
22. If desired, enter a short description to be displayed on the Product Details screen.
If you want
to include a date in the Short description field make sure to use the
following format: xx-xx-xxxx. The Personify Mobile application will NOT
render dates in the following format: xx/xx/xxxx.
23. If desired,
enter a long description.
This description is for recording purposes only – mobile users will not
see this anywhere.
24. Click
Save.
The product will now appear for purchase in the Mobile Store based on the
product’s availability and the dates you entered.