The New Form Wizard displays, as shown below.
The 7.1.2 release introduces the Application Designer’s New Form Wizard, which provides you with a simpler way to create new forms.
The New Form Wizard will guide you through all of the major steps of form creation. It will displays different steps depending on the type of form you want to create. It may include the following steps:
· Form template and name page
· Namespace page
· Target Collection page
· Search parameter selection pages
· Detail page properties
To create a new form using the New Form Wizard:
1. From the Personify360 main toolbar, select Tools > Studio Suite > Application Designer.
The Application Designer displays.
2. From the Application Designer’s toolbar, select File > New Form Wizard.
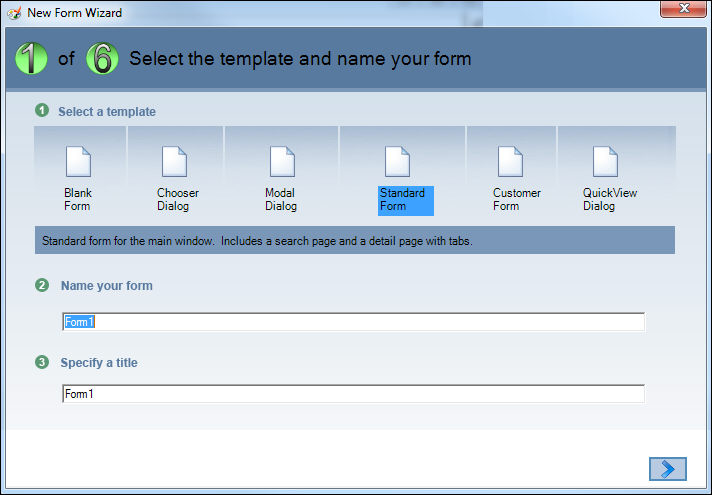
The New Form Wizard displays, as shown below.
3. Select the form type you want to create.
 These steps assume that you have selected “Standard Form” as your form template as this is the most common selection. There are only slight variations in these steps when other form templates are selected.
4. Enter your form’s name in the text box.
5. Enter a title for the form in the text box.
6. Click right-facing arrow button.
The Select the Business Domain window displays as shown below.
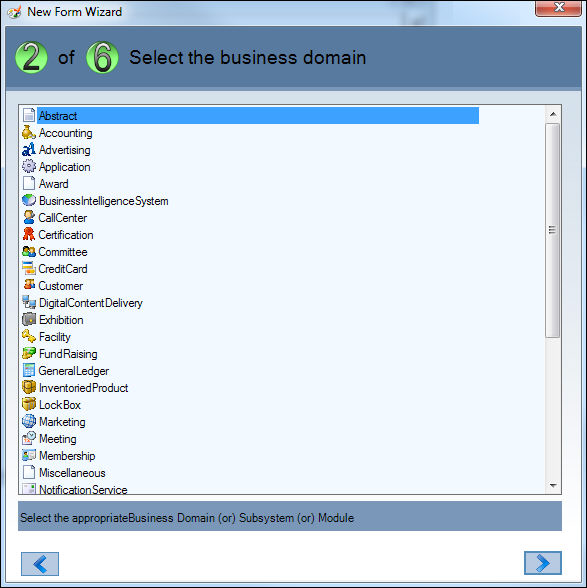
7. Select the target namespace in which this form will work.
For example, if the form is designed to work with customers, you may select the CustomerInfo namespace. If the form is designed to work with orders, you may select the OrderInfo namespace.
8. Click right-facing arrow button.
The Select API Object window displays with all of the API collections within the selected Namespace. The user can select a target API collection here and the form will be bound to the selected target collection.
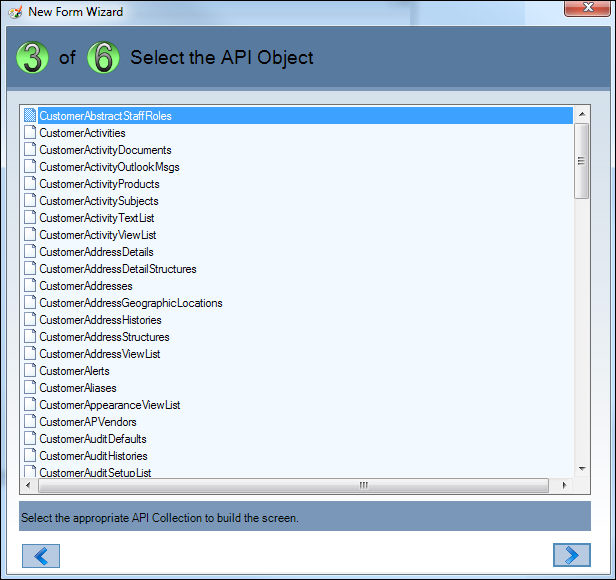
9. Select the target collection.
10. Click right-facing arrow button.
The Select the Fields that You Want to Query On window displays. This window displays all of the API properties for the selected API collection. You may select as many properties as you want to be added to the search page.
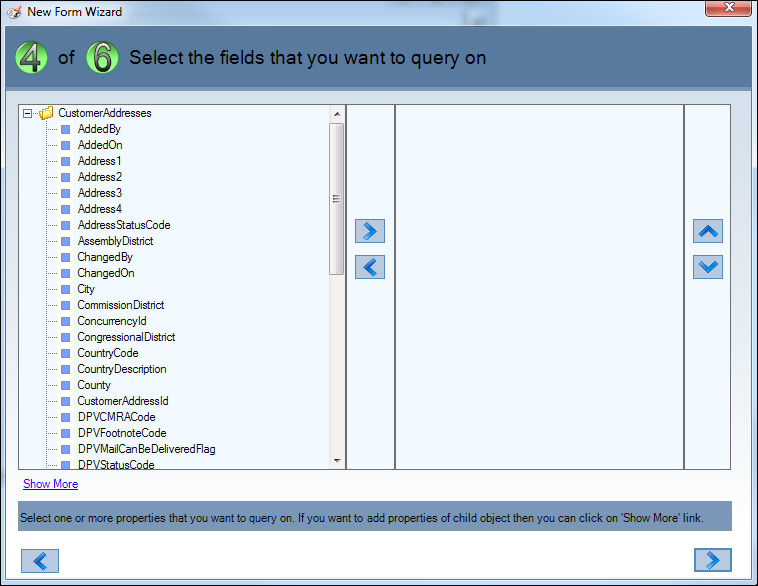
You can modify the order of your search controls using the up and down arrows on the right-hand side of the window.
By default, this window only displays Value properties and does not display any List properties. If you want to add properties of child collections to the search control, click the Show More link and all value and list properties will display.
11. Highlight the values by which you want to search and click the right-facing arrow in the center of the window.
12. After selecting your search parameters, click right-facing arrow button.
The Select the Fields that You Want to Display in the Search Results window displays as shown below.
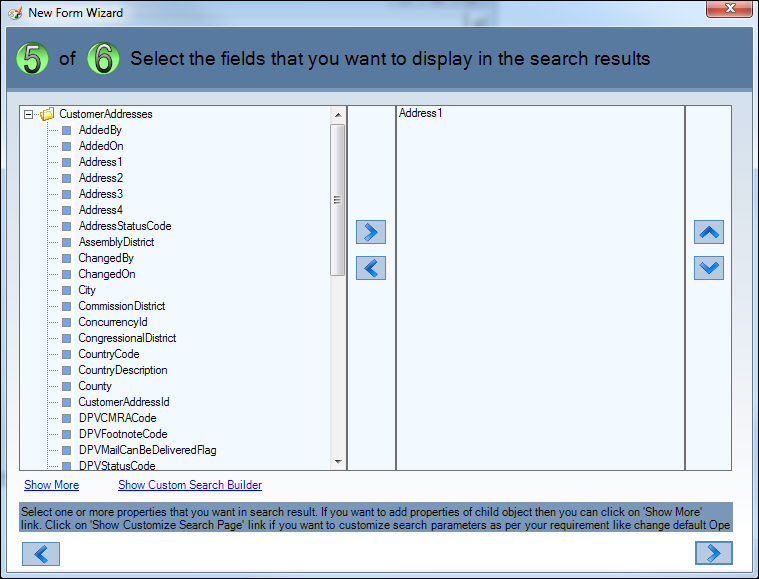
13. You can modify the order of your search results using the up and down arrows on the right-hand side of the window.
14. By default, the properties you chose to search by appear in the right-hand window. If you want any other properties to display in the search results, highlight them in the left-hand window and click the right-facing arrow.
If necessary, click the Show Custom Search Builder link.
The Advanced Search Builder displays as shown below.

15. If necessary, you can modify the system defaults to change the display order, visibility, etc. of your selected search parameters.
16. Once you are satisfied with your search parameters’ settings, Click right-facing arrow button.
The Select the Fields that You Want to Display in the Detail Page window displays as shown below.
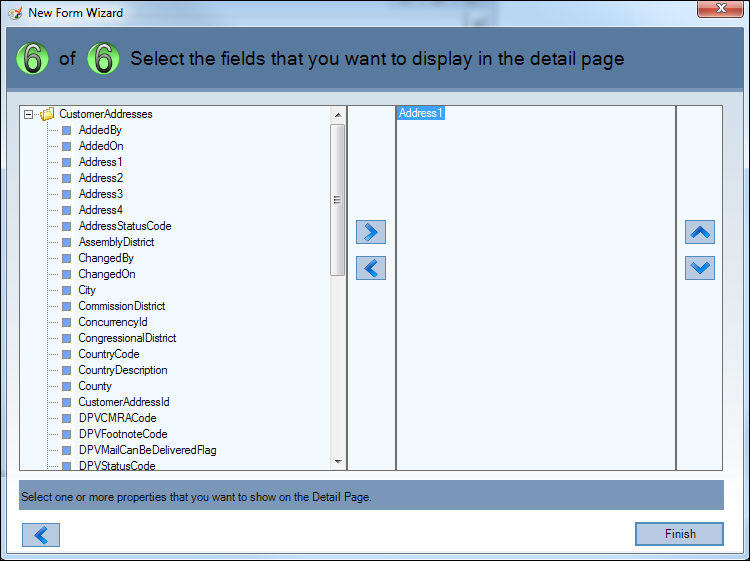
This page is similar to the search parameters page, in that it displays all API properties of the selected collection. The properties selected on this page will be added to the detail page of your new form with Caption Labels (where required) and proper default Data Controls.
By default, this page contains the search parameters you selected.
You can modify the order of the controls on the detail screen using the up and down arrows on the right-hand side of the window.
By default, this window only displays Value properties and does not display any List properties. If you want to add properties of child collections to the search control, you can add them with the toolbox after you have finished using the wizard.
17. When you have finished selecting the properties you want to display on your new form’s detail page, click Finish.
Your new form displays in the Application Designer. You can now modify your form as you would with any other form in Personify360.
When you click on the Detail Page, it is important to note that your selected detail page properties have been grouped within a GroupBox control.