 If you are configuring multiple workflows, you only need to create one My Account profile section since the functionality for Corporate and Staff Management, Committee Management, and Chapter Management has been bundled into the Header control.
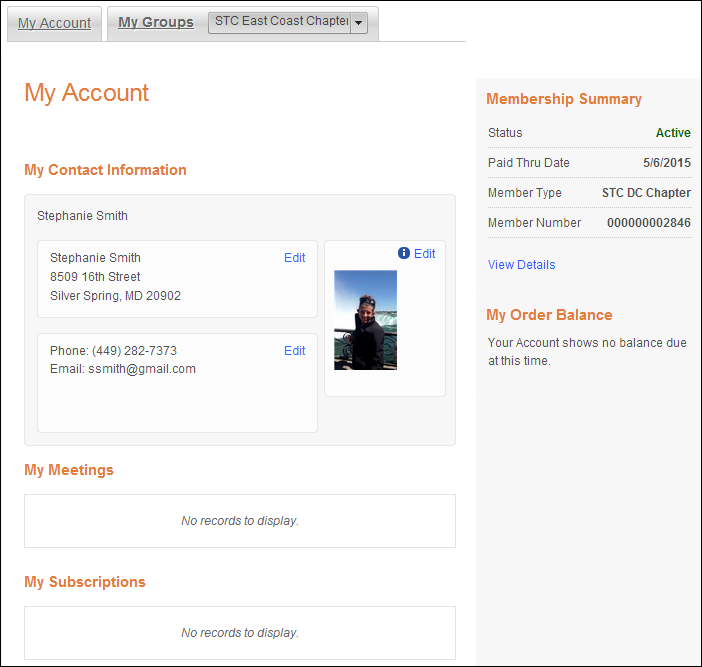
The chapter manager is redirected to his/her profile home page, when he/she clicks "My Account", as shown below. The information that the chapter manager can edit and view is based on the profile controls you drop onto the My Account profile section (e.g., contact information, addresses, pay open orders, etc.). The Header control MUST be dropped on every page that you want to use the functionality of group management.
If you are configuring multiple workflows, you only need to create one My Account profile section since the functionality for Corporate and Staff Management, Committee Management, and Chapter Management has been bundled into the Header control.
To create the My Account profile pages:
1. Create separate pages with the desired profile controls on them. For the list of controls that can be used with the Group Management controls, refer to the Controls that are Compatible with the Group Management section.
2. Drop the Header control on EVERY page that you created in order for the chapter manager to be able to use group management. As a best practice, this control should be dropped on the top of the page, as highlighted below.
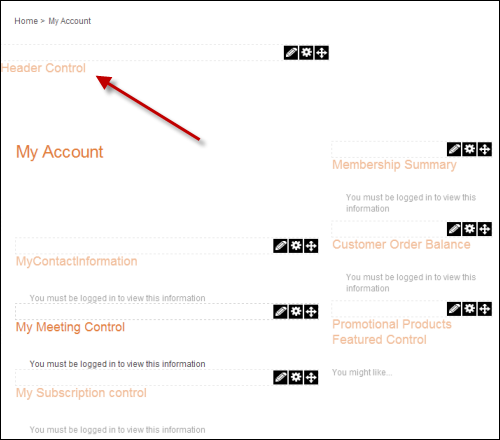
a. In the Control Settings for the Header control, configure the settings. See Configuring the Web Settings for the Header Control for more information.
 Make sure to check the Is Control on My Account Page checkbox if the Header control is dropped onto the My Account profile home page.
This only needs to be checked for this page so that the system knows which workflow the chapter manager will be completing.
b. Click Save.