As of 7.6.0, this control has been visually redesigned for optimal performance for mobile users.
As of 7.6.0, this control has been visually redesigned for optimal performance for mobile users.
The Attachments control allows your users to upload various types of files (e.g., resume, references, non-disclosure agreement, etc.) to the e-Business website. See Configuring the Web Settings for the Attachments Control for more information on how to drop this control onto a page on your e-Business website.
Before configuring the Attachments control, it is important that your back office configurations are accurate. If not, these configurations will not display properly on your e-Business website. See Configuring the Back Office Settings for the Attachments Control for more information on the system types and codes that need to be web enabled before setting up this control. The attachments are stored in the back office, and displayed on this control. See Attaching Files to a Constituent's Record in CRM360® for more information on how this information is configured in the back office.
There are no limitations on the number of files a web user can upload using the Attachments control. In addition, the default file size that can be uploaded is 8 mb.
In order to support file upload/download for the Attachments control, the following configuration changes need to be made:
1. Ensure that the value for the <FileUploadSharedPath> option in the config.xml file in the following location points to a valid writable directory server directory:
[Data Services directory]\Config\
<Section Name="DataServices">
<Item Name="FileUploadSharedPath" Value="C:\Upload"/>
2. Ensure that upload mappings from the back office configuration are pointing to the same directories as the mappings from the app server configuration. To do so, perform the following:
a. Open the config.xml file in the following location and locate the following element:
[Data Services directory]\Config\
<Item Name="SeatInformation">
b. Define the following query against the 'personify_installation' database:
select ServerConfig from T_##_AppInstance appInst
join T_##_Environment env
on env.EnvironmentID = appInst.EnvironmentID
join T_##_Association assoc
on assoc.AssociationID = appInst.AssociationID
join T_##_Version ver on ver.VersionID = appInst.VersionID
where env.EnvironmentName = [EnvironmentName] and
assoc.AssociationName = [AssociationName] and
ver.VersionName = [VersionName]
c. Set [EnvironmentName], [AsscociationName] and [VersionName] with the appropriate values from the "SeatInformation" configuration element.
d. Open installationinfo.xml file in the following location and locate the following element:
[Personify Enterprise directory]\Config\
<UploadRoots>
e. Ensure that values located inside <UploadRoots> element are the same for both configurations (the one in the installationinfo.xml file and the one in the configuration returned by query) and that <UploadRoots> element contains options for DCDFiles, CusDocs and CommitteeMinutes download types:
<UploadRoots>
<UploadRoot Name="CommitteeMinutes" Path="C:\Upload\cCommitteeMinutes"/>
<UploadRoot Name="CusDocs" Path="\\pdapp\Personify730QA\ServerFiles\CusDocs\"/>
<UploadRoot Name="DCDFiles" Path="C:\1"/>
</UploadRoots>
The File Download service operation can work over HTTPS protocol only if HTTPS is set up for both the .NET web controls and data services solutions. When only one side, either the .NET web controls or data services has HTTPS set up, file download will NOT work correctly.
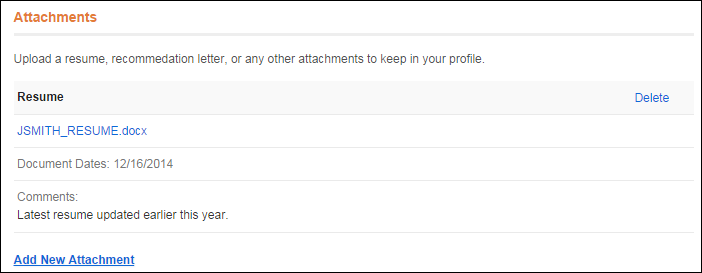
After setting up the Attachments control, your user will see the control similar to the one displayed below.
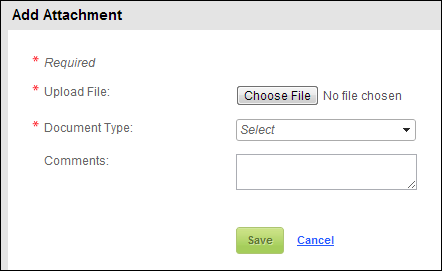
If the web user clicks the Add New Attachment link (please note that the name of this link can be changed in the control settings), the Add Attachments screen displays, as shown below. Here a user can upload an attachment, such as a resume, cover letter, letter of recommendation, etc., to include in his/her profile.
When a document is uploaded, the web user can click the hyperlinked name of the attachment to download a copy of the attachment to his/her computer.
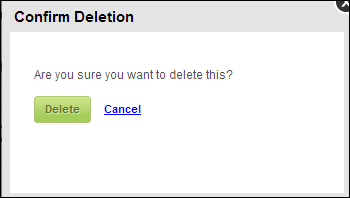
When the web user clicks Delete, the Confirm Delete screen displays, as shown below. Here your user can delete his/her attachment(s) that he/she no longer wants to display on the web.