If you want to set up multiple portals where each portal supports a separate currency, you must first create your original portal and then define a default currency for payment processing that e-Business website portal. This original portal should be the base currency your organization set in the back office.
After creating your first portal, you must create the additional portal(s) with a different currency than your original portal. For instructions on creating a new portal, follow the steps outlined for doing so in the Configuring Site Management. After doing so, you need to follow the same steps in this section, except instead select a different currency than the one configured for your original portal. For example, you can have two portals, one in Euros and one in US dollars.
By setting the default currency, you can ensure users only view product prices in a particular currency. This also restricts users from paying for online orders in that same currency.
To define the default currency for an e-Business portal:
1. Ensure you are logged into your e-Business site as a Host.
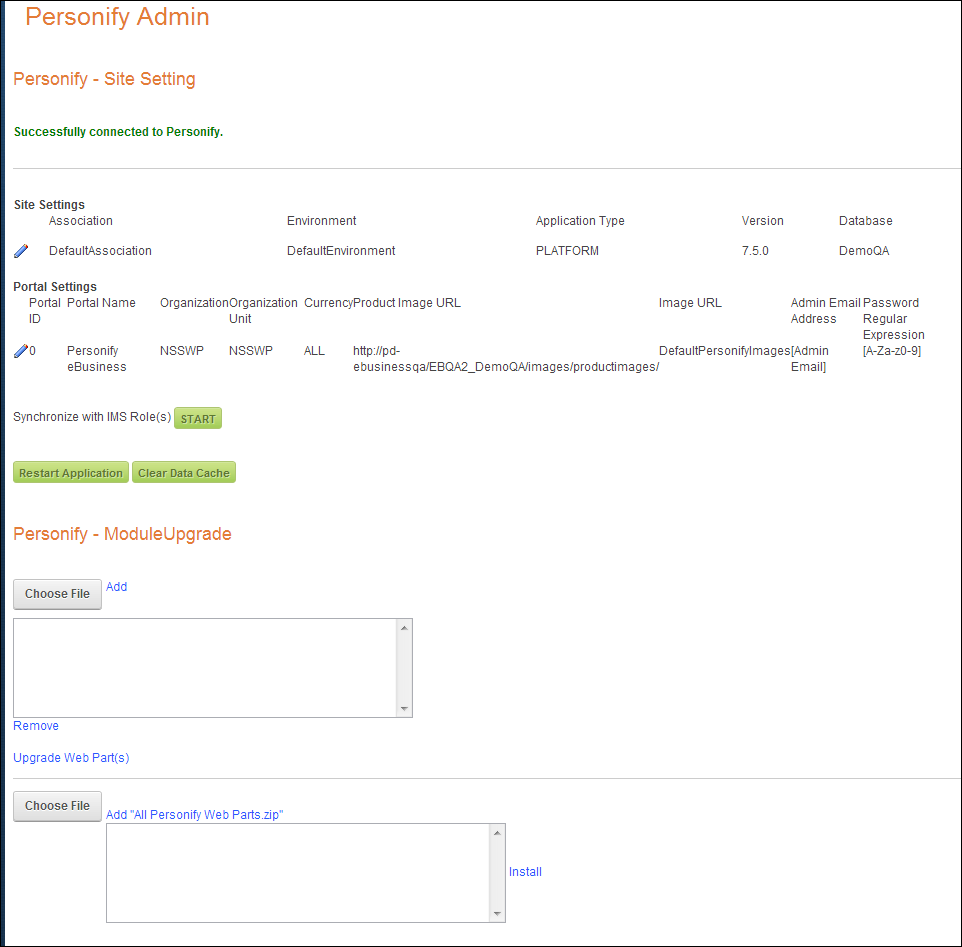
2. Open the
page your organization added the Personify - Site Settings module, as
shown below.
3. From the
Edit Page drop-down, select Edit this Page.
The page is now in edit mode.
4. Click
the pencil icon next to the Portal Settings section, as highlighted below.

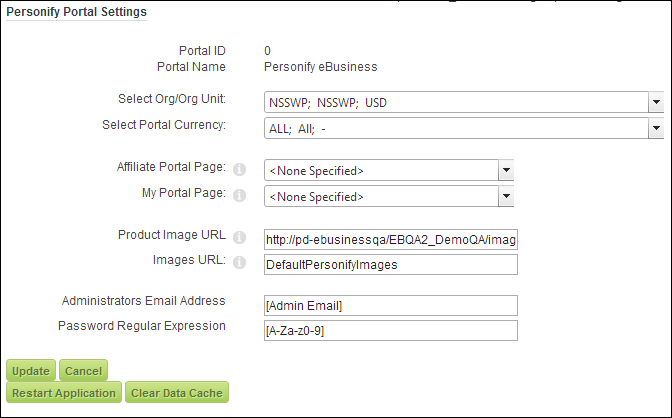
The Edit Portal Settings section displays below the portal list.
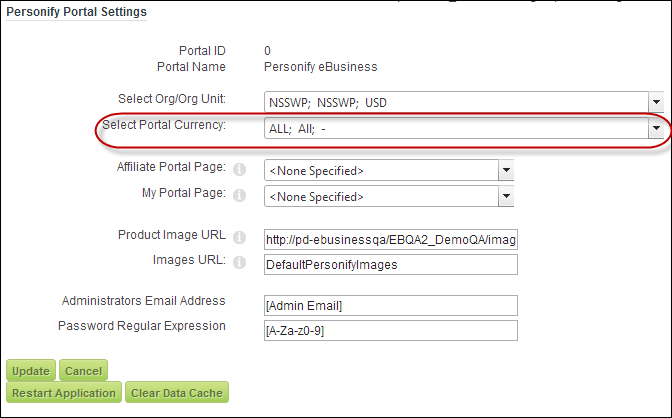
5. From the
Select Portal Currency drop-down,
select the desired currency for this portal, as highlighted below.
For example, Euros.
 Only currencies
added to the App_ExchangeRate table appear in the Portal Currency drop-down.
These currencies must also be added to the current e-Commerce batch.
Only currencies
added to the App_ExchangeRate table appear in the Portal Currency drop-down.
These currencies must also be added to the current e-Commerce batch.
6. Click Update.
7. Now, create a new portal to support a different currency and repeat steps 1-5 for the new portal except select a different currency for Portal Currency.