Configuring the DNN Schedule Web Module
The DNN Schedule module allows SuperUsers to schedule tasks to run against
the DNN database at scheduled intervals. The Scheduler module optimizes
the efficiency of a site by reducing the frequency of common tasks. The
Scheduler module cannot be deployed to other site pages.
 Personify
recommends configuring the time lapse schedule of the DNN Schedule Web
Module Event Log to one day. The proceeding steps detail how to do so.
While these instructions concentrate on the lapse schedule, you can also
find information on how to configure other DNN Schedule settings within
these steps.
Personify
recommends configuring the time lapse schedule of the DNN Schedule Web
Module Event Log to one day. The proceeding steps detail how to do so.
While these instructions concentrate on the lapse schedule, you can also
find information on how to configure other DNN Schedule settings within
these steps.
To configure the DNN Schedule web module:
1. Make sure
you are logged into the website as a Host.
2. From the
tool bar, select Host > Host Settings, as
shown below.
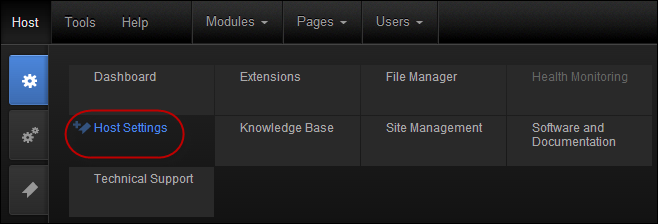
Or, from the tool bar, select Host.
The Basic Features page displays.
3. Select
the Host Settings Option, as shown below.

4. The Host
Settings page displays, as shown below.
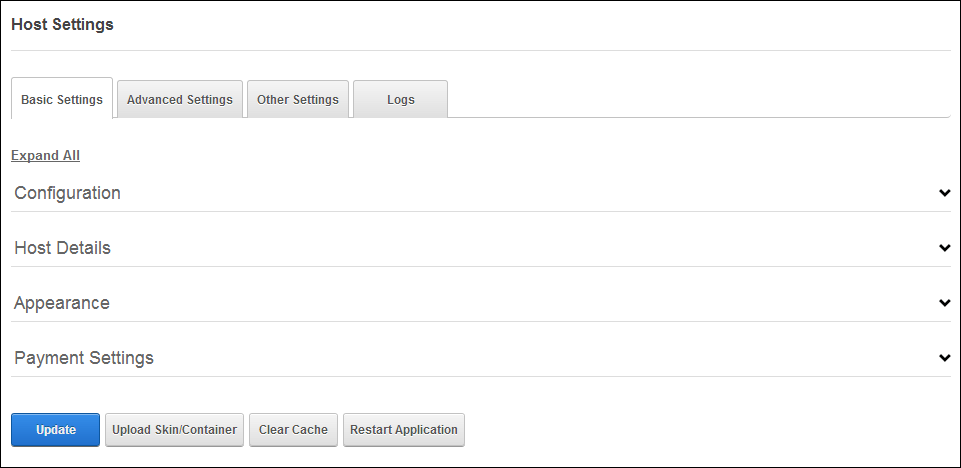
5. Select
the Other tab.
6. At Scheduler Mode, select from the following, as
shown below.
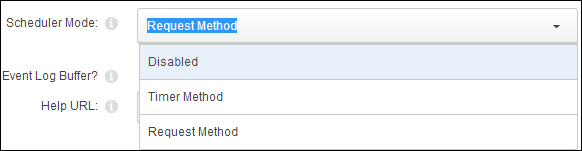
· Disabled: Select to disable the scheduler.
· Timer Method: Select to enable the scheduler and
maintain a separate thread to execute scheduled tasks while the worker
process is alive.
· Request Method: Select to enable the scheduler
and set scheduled tasks to run when page (HTTP) requests are made.
Setting the
Time Lapse to 1 Day is only a recommendation of Personify. You may configure
your settings in a way that best suits your association or discuss the
best settings with your Account Specialist.
7. Click
the Update.