 There
are no associated web settings to define for categorical icons to display
on your website. However, if your organization does NOT want to use iconography
on your website, simply do not define any images.
There
are no associated web settings to define for categorical icons to display
on your website. However, if your organization does NOT want to use iconography
on your website, simply do not define any images.Support for e-Business icons has been implemented at two levels: product class code and product category code. A product can only have one product class, defined on the General Setup screen in Product Maintenance. A product can have many product categories, defined on the Search Categories screen in Product Maintenance.
There
are no associated web settings to define for categorical icons to display
on your website. However, if your organization does NOT want to use iconography
on your website, simply do not define any images.
Product Class codes are stored in App_Code by subsystem. Product Category codes are stored in App_Code, but are not classified by subsystem; rather, all product category codes are assigned to the ORD subsystem. If an organization wants products of certain product class codes to have an icon displayed on the product listing page, they need to load the icon from the System Types and Codes (APP005) screen.
Once the appropriate categorical icon images have been defined in System Types and Codes, a product class can be selected and product categories can be defined for products.
Do
NOT define the same images for product classes and product categories.
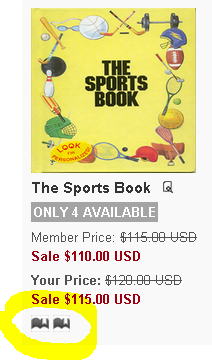
If the same image is defined for a product class and product category,
and both are assigned to a product, the image will display twice, as highlighted
below.
Configuring the back office settings for categorical iconography requires the following steps:
1. Define images for the codes defined for each subsystem's "PRODUCT_CLASS" system type.
2. Define images for the codes defined for the ORD "PRODUCT_CATEGORY" system type.
3. Assign a product class to a product.
4. Assign a product category to a product.
Please see below for more information on these required steps.
 Images
will be uploaded to application server into specific folder mentioned
in the PIDB database for UploadRoot "SystemFiles" (<UploadRoot
Name="SystemFiles" Path="…"/>). This folder
should be exposed as a virtual directory and a record with parameter name
as “SYSTEMFILES” and parameter value as URL to this virtual directory
should be there in the WEB_PWF_PARAMETER table (similar to PRODUCTFILES
and PRODUCTIMAGES parameters).
Images
will be uploaded to application server into specific folder mentioned
in the PIDB database for UploadRoot "SystemFiles" (<UploadRoot
Name="SystemFiles" Path="…"/>). This folder
should be exposed as a virtual directory and a record with parameter name
as “SYSTEMFILES” and parameter value as URL to this virtual directory
should be there in the WEB_PWF_PARAMETER table (similar to PRODUCTFILES
and PRODUCTIMAGES parameters).
To display a categorical icon for a product in the online store:
1. Define images for the codes defined for each subsystem's "PRODUCT_CLASS" system type by performing the following:
a. Using
the System Administrator persona, from the Personify main toolbar, select
System Admin > System Codes > System
Types and Codes.
The Types and Codes Maintenance search screen displays.
b. In the Type field, enter "PRODUCT_CLASS" and click Search.
c. From the
search results, select the record for the appropriate subsystem and click
Select this Type.
The Type Detail screen displays, as shown below.
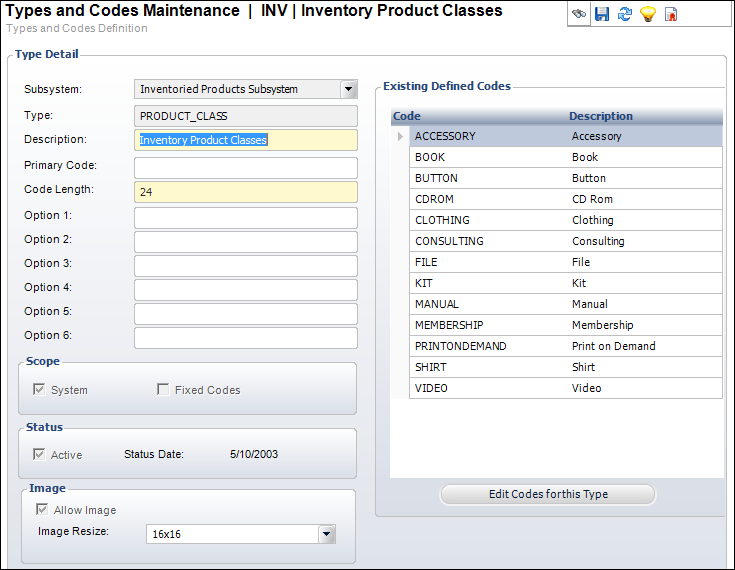
d. From the
Image section, please note that the Allow Image checkbox
is checked and read-only.
This checkbox is automatically checked for all PRODUCT_CLASS codes and
cannot be changed. When checked, the type code supports images at the
App_Code level.
e. From the
Image Resize drop-down, select the optimum image
size for the system to resize the image when uploaded to the application
server.
When you upload an image for a system code, the system will enforce the
image size identified here. For product class icons, the recommended size
is 16x16.
 Please note
that the system will NOT automatically resize the image on your website.
This would require a change to the CSS.
Please note
that the system will NOT automatically resize the image on your website.
This would require a change to the CSS.
f. Click
Edit Codes for this Type.
The Type Information screen displays, as shown below.
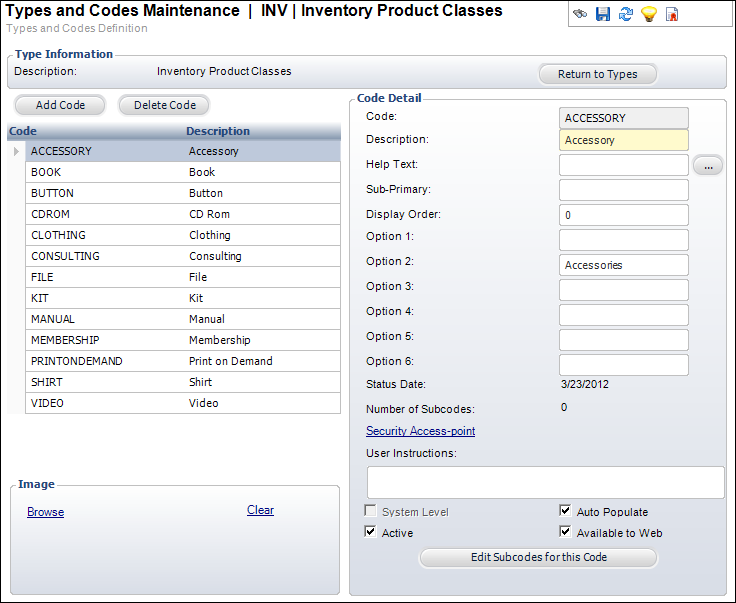
g. From the
Image section, click the Browse
link to search for and select the appropriate image to be used as the
categorical icon for the selected code.
If necessary, click the Clear link
to remove the image and choose another.
As of 7.5.2,
if an icon has NOT been defined for the Product Class assigned to a meeting
product, the system will check to see if a default image has been defined
at the org unit level to be displayed on the Events
Calendar. If not, a blank, transparent box will display. For more
information on defining the default image at the org unit level, please
see Defining
Organization Unit Meeting Parameters.
h. Click Save.
i. Repeat steps a – h for each subsystem of the PRODUCT_CLASS system type.
2. Define images for the codes defined for the ORD "PRODUCT_CATEGORY" system type by performing the following:
a. Using
the System Administrator persona, from the Personify main toolbar, select
System Admin > System Codes > System
Types and Codes.
The Types and Codes Maintenance search screen displays.
b. In the Type field, enter "PRODUCT_CATEGORY" and click Search.
c. From the
search results, select the PRODUCT_CATEGORY system type for the ORD subsystem
and click Select this Type.
The Type Detail screen displays, as shown below.
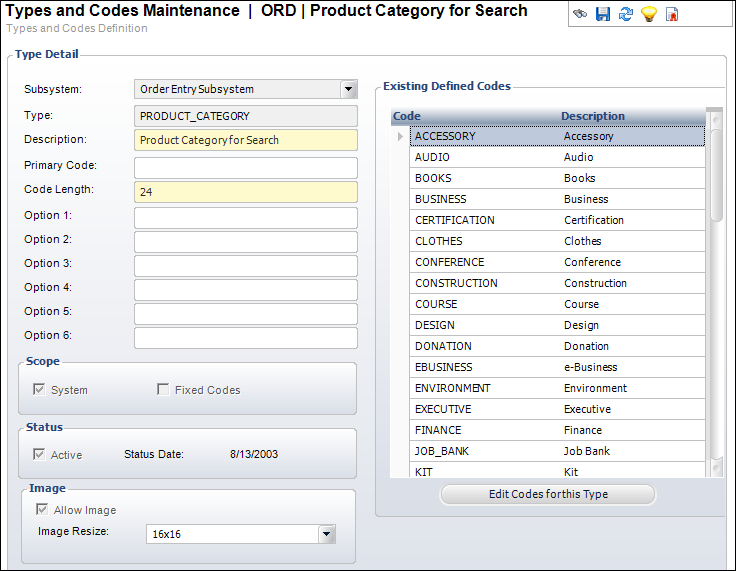
d. From the
Image section, please note that the Allow Image checkbox
is checked and read-only.
This checkbox is automatically checked for all PRODUCT_CATEGORY codes and
cannot be changed. When checked, the type code supports images at the
App_Code level.
e. From the
Image Resize drop-down, select the optimum image
size for the system to resize the image when uploaded to the application
server.
When you upload an image for a system code, the system will enforce the
image size identified here. For product category icons, the recommended
size is 16x16.
Please note
that the system will NOT automatically resize the image on your website.
This would require a change to the CSS.
f. Click
Edit Codes for this Type.
The Type Information screen displays, as shown below.

g. Select the appropriate code from the grid.
h. From the
Image section, click the Browse
link to search for and select the appropriate image to be used as the
categorical icon for the selected code.
If necessary, click the Clear link
to remove the image and choose another.
i. Click Save.
3. Assign a product class to a product by performing the following:
a. Using
the System Administrator persona, from the Personify main toolbar, select
Products > Product Central.
The Product Maintenance search screen displays.
b. Search
for and select the product to which you want to assign a product class.
The General Setup screen displays, as shown below.
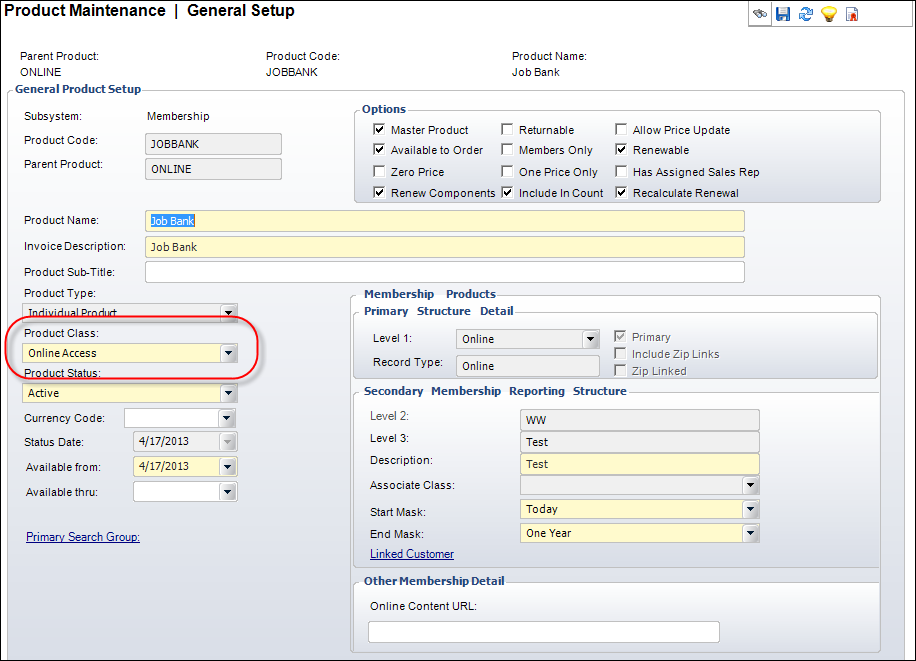
c. From the Product Class drop-down, select the appropriate class for which you have added a categorical icon, as highlighted above.
d. Click Save.
e. Repeat the steps above for any additional products.
4. Assign a product category to a product by performing the following:
a. Using
the System Administrator persona, from the Personify main toolbar, select
Products > Product Central.
The Product Maintenance search screen displays.
b. Search
for and select the product to which you want to assign a product category.
The General Setup screen displays.
c. From the
Relationships task category, click Categories
and Keywords.
The Search Categories screen displays, as shown below.
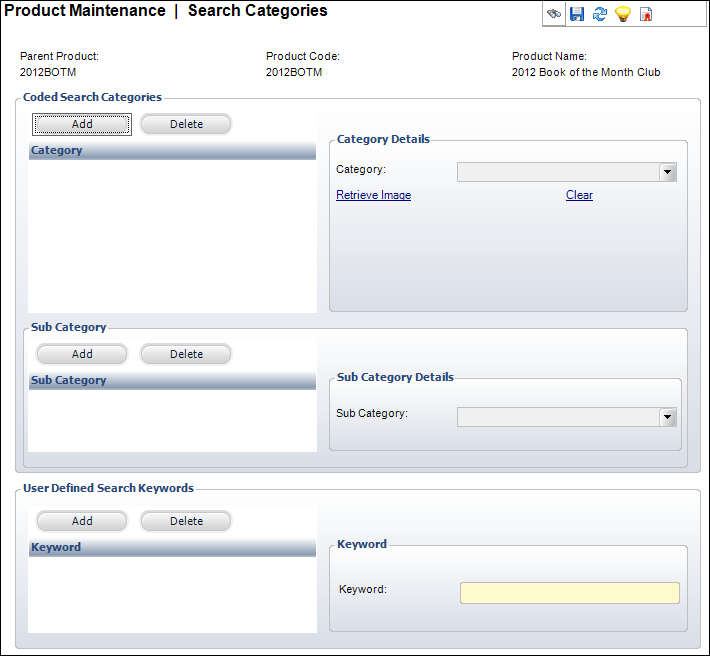
d. From the Coded Search Categories section, click Add.
e. Select
the appropriate Category from
the drop-down.
Please note that the values in the drop-down are populated based on the
codes defined for the ORD "PRODUCT_CATEGORY" system type.
f. If necessary,
click the Retrieve Image link
to copy the image defined for the selected category in step
2 above.
If necessary, click the Clear link
to remove the image.
g. Click Save.
 To
see a video demonstration on setting up categorical iconography to display
on the web, please see the Categorical
Iconography Demo.
To
see a video demonstration on setting up categorical iconography to display
on the web, please see the Categorical
Iconography Demo.