Adding a .NET Web Control to a New Page Using Ektron
 This section does not describe how to install Personify360 or Ektron.
It is assumed both of these are installed and that there is some familiarity
with Ektron, such as the page builder. See Configuring
the Ektron Connector Setup for more information.
To add a .NET web control to a page using Ektron:
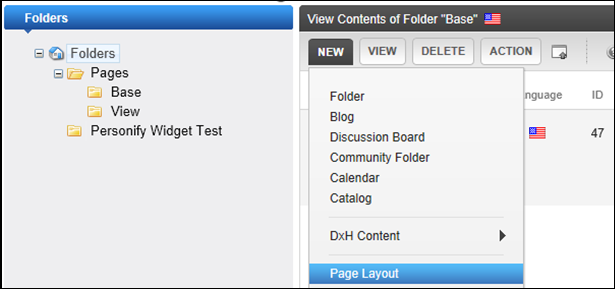
1. From the Folders menu,
select the “Base” folder and select New > Page Layout,
as shown below.
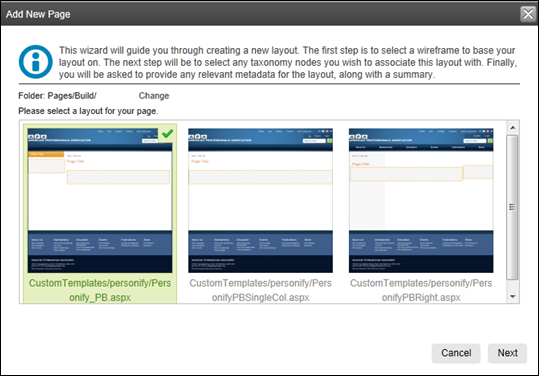
2. Select “Template” and
click Next.
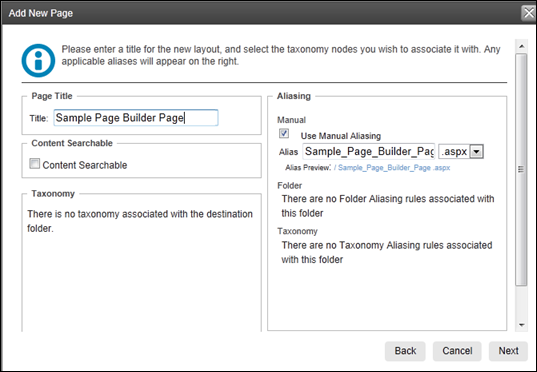
3. Enter a Title and click
Next.
4. Metadata does not need
to be added. Click Finish.
The Add New Page window displays, as shown below.

5. Click OK.
You are redirected to the page you just created.
6. Enter the name of the
.NET web control that you want to render for this page in the Filter
Widget List field, as shown below.

7. Drag the widget from
the top widget bar to where you want it to display on your page, as shown
below

8. Select the Pencil
Icon to configure the web settings for this control, as shown below.

This will load all the available settings for this web control. For
more information about each .NET web control and the control's setting,
see Using Web Controls.
9. Click Save.
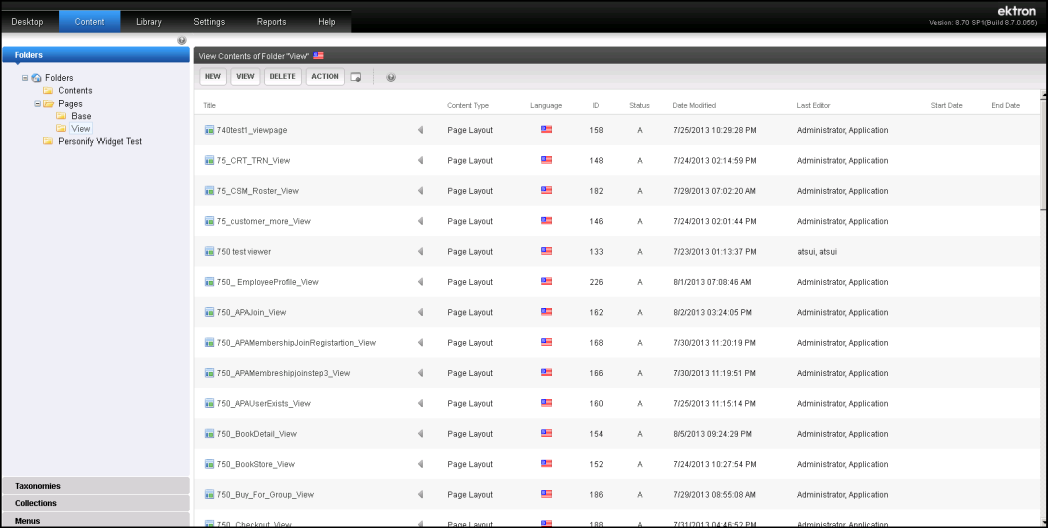
10. Navigate back to the
Admin page, as shown below.
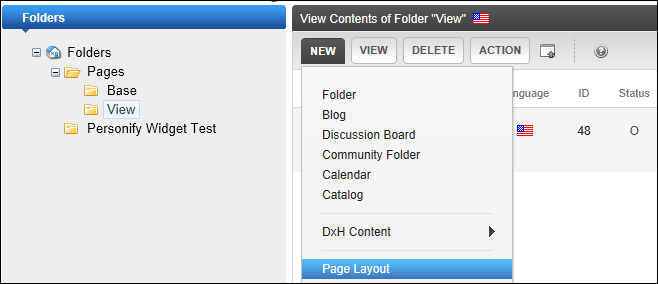
11. From the Folders menu,
select the "View" folder and select New>
Page Layout, as shown below.
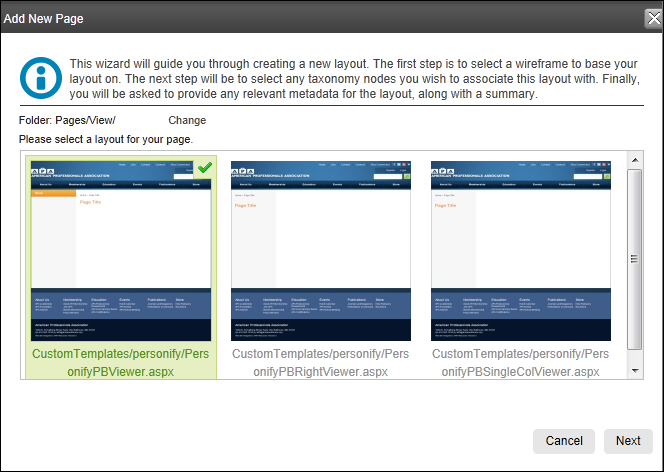
12. Select the viewer version
of the template from the build page and click Next,
as shown below.
Please note if the template selected in the previous step was Personify_PB.aspx,
the viewer version is PersonifyPBViewer.aspx.
13. Enter a Title
and click Next.
Please note that the page title does NOT have to be the same as the base
title page.

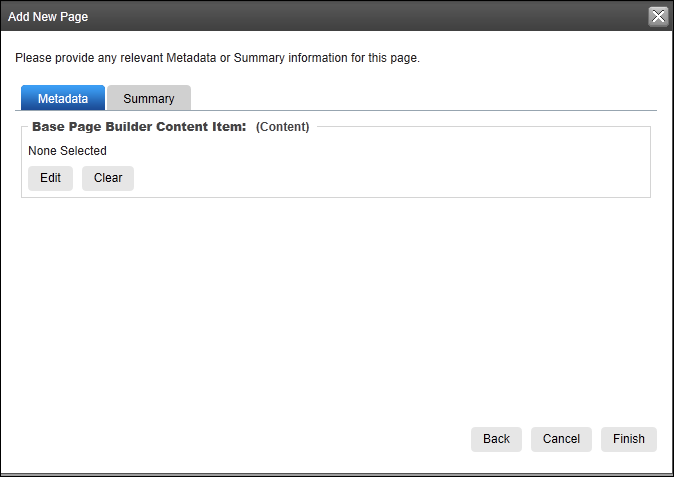
14. From the Base Page
Builder Content Item section, click Edit, as
shown below.
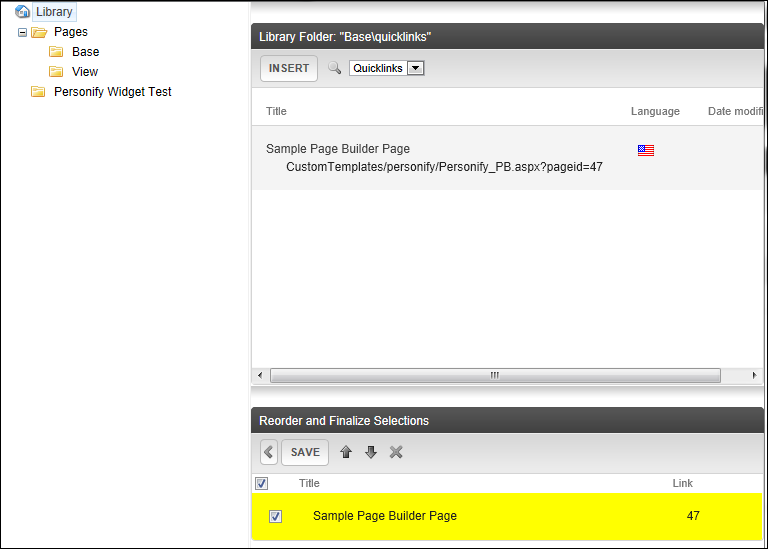
15. Select the “Base” page,
that you just created.
16. Click
Insert and
Save,
as shown below.
17. To complete “View”
page, click Finish, as shown below.
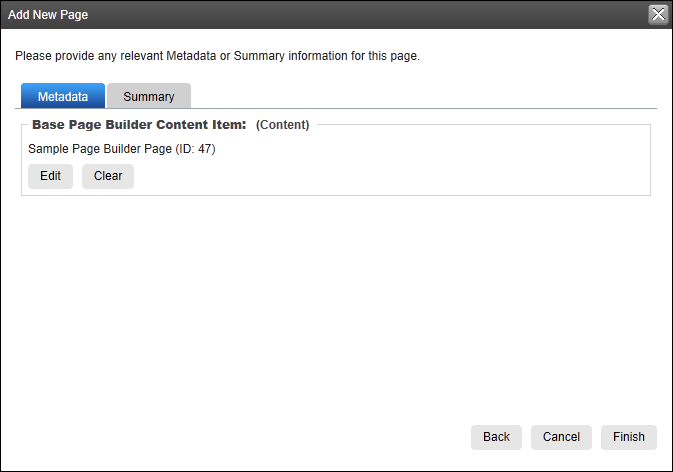
The Add New Page window displays, as shown below.

18. Click Cancel.
See Also:
· Adding
a .NET Web Control to an Existing Page
 This section does not describe how to install Personify360 or Ektron.
It is assumed both of these are installed and that there is some familiarity
with Ektron, such as the page builder. See Configuring
the Ektron Connector Setup for more information.


