
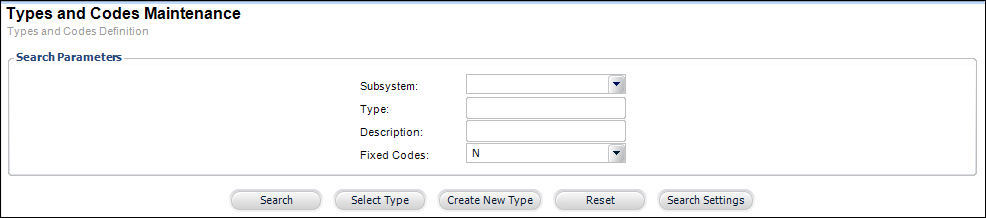
The Types and Codes Maintenance search screen displays, as shown below.
COMM_LOCATION is the system type that describes where the contact information is located (e.g., home or work). This is not a fixed code and you can change the code names or add new ones. The section below describes how to edit the existing options in COMM_LOCATION.
To change the options in COMM_LOCATION:
1. From the Personify
main toolbar, select System Admin > System Codes
> System Types and Codes, as shown below.
The Types and Codes Maintenance search screen displays, as shown below.
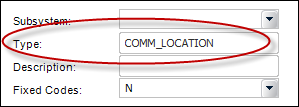
2. In the Type
field, enter "COMM_LOCATION", as shown below.
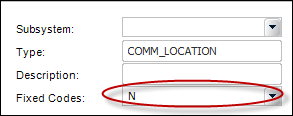
3. From the Fixed
Codes drop-down, select "N", as shown below.
4. Click Search.
The Type Detail screen displays, as shown below.
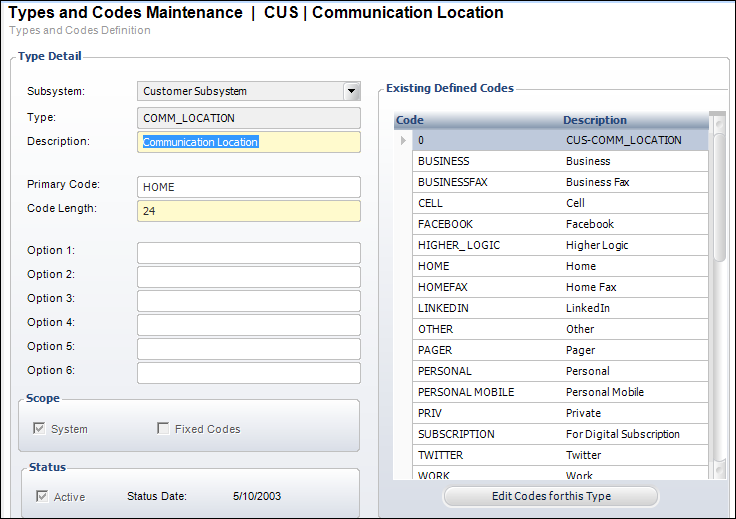
5. In the Existing Code
Definition section, click Edit Codes for this Type,
as shown below.
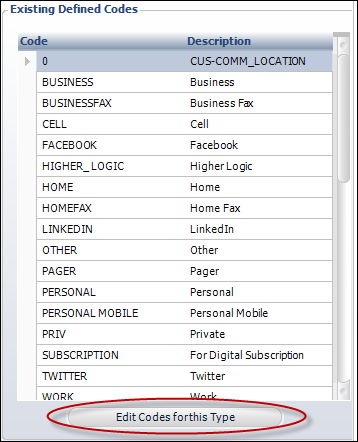
The Communication Location Information screen displays, as shown below.
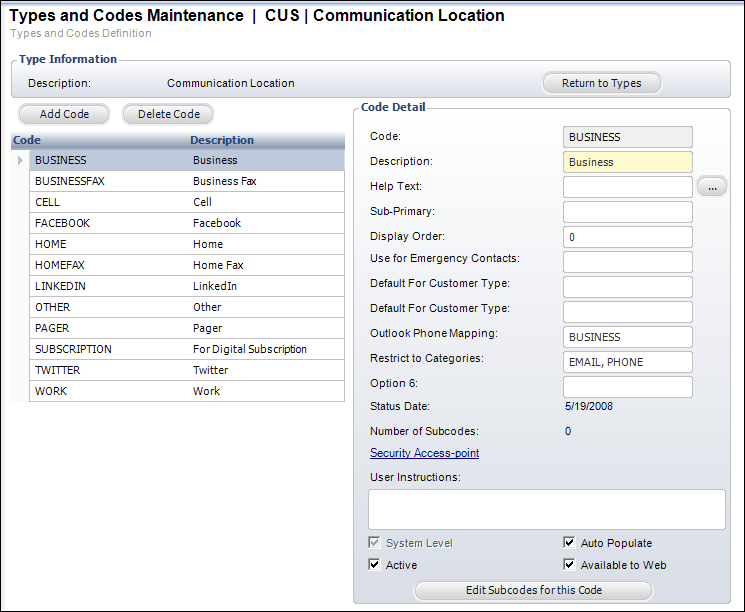
6. In the Code Detail section, check the Available to Web checkbox.
 If the Available
to Web checkbox is not checked, the code will not display on the web.
If the Available
to Web checkbox is not checked, the code will not display on the web.
7. In the Restrict
to Categories field, enter any combination of the following: WEB,
PHONE, EMAIL, or FAX.
These are fixed values, which mean they cannot be changed.
a. If you want to list multiple locations (i.e., WEB, PHONE, EMAIL), each word needs to be separated by a comma.
If the Restrict
to Category field is left empty, by default the location will display
in all categories (i.e., WEB, PHONE, EMAIL, and FAX).
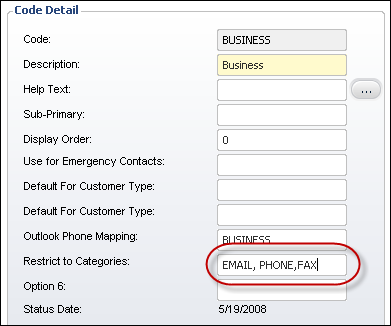
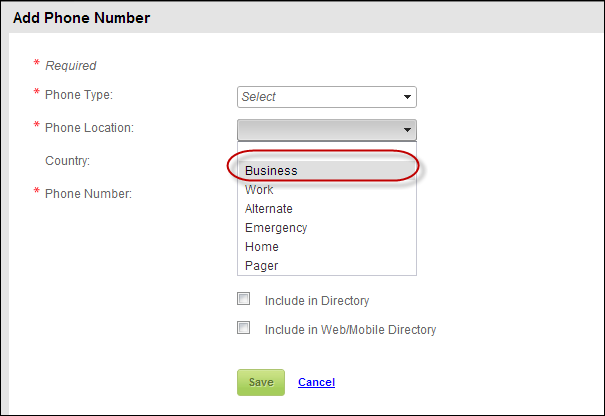
b. For example,
in the back office, you can enter "EMAIL, PHONE, FAX" in
the Restrict to Categories textbox, as highlighted below for the Business
code.
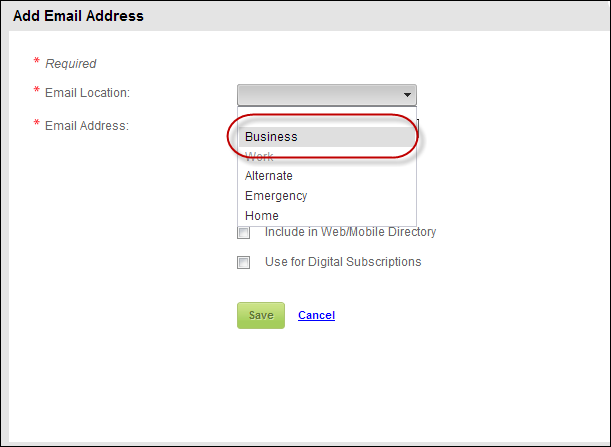
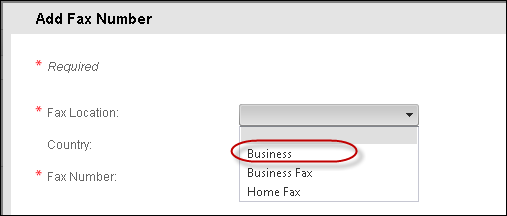
On your e-Business website, the option "Business" will display
in the Email, Phone, and Fax drop-downs for location, as highlighted below.
The Restrict
to Categories option is currently being used only for .NET Controls and
Mobile implementations.
8. Repeat the steps listed above for all the locations that you want to display the different options (e.g., business, home, work, etc.).
9. Click Save.