 One DNN Web Control Container must be added per .NET web control. If you
want multiple controls on a page, you will have to drop a DNN container
for each control. For more information, please see Adding
a .NET Web Control to a Page.
One DNN Web Control Container must be added per .NET web control. If you
want multiple controls on a page, you will have to drop a DNN container
for each control. For more information, please see Adding
a .NET Web Control to a Page.DNN sites are created by first adding a page to your website, next, dropping the DNN container, and finally, dropping the .NET Web control on to that page. Web controls are the individual pieces that are rendered by the DNN Web Control Container.
One DNN Web Control Container must be added per .NET web control. If you
want multiple controls on a page, you will have to drop a DNN container
for each control. For more information, please see Adding
a .NET Web Control to a Page.
To configure the DNN Web Control container module settings:
1. Log into your site as host.
You must
have the correct page editing permissions in order to add a module to
a page.
2. Create a new page or navigate to an existing page on your site to add the control. Please refer to Adding a Page on Your Site Using DNN for more information.
 You have
to set the right page permissions in order for your web users to be able
to view a page in your e-Business site. For example, if you want all users
(registered and non-registered) to be able to view a page, such as online
store, you check the All Users checkbox. If
you just want registered users to be able to view a page, check the Registered Users checkbox. In addition, all IMS
roles are also displayed in the Page Permissions tab and that is why you
see Personify Staff, Personify Member, etc. Please refer to Adding
a Page on Your Site Using DNN for more information.
You have
to set the right page permissions in order for your web users to be able
to view a page in your e-Business site. For example, if you want all users
(registered and non-registered) to be able to view a page, such as online
store, you check the All Users checkbox. If
you just want registered users to be able to view a page, check the Registered Users checkbox. In addition, all IMS
roles are also displayed in the Page Permissions tab and that is why you
see Personify Staff, Personify Member, etc. Please refer to Adding
a Page on Your Site Using DNN for more information.
3. On the control bar,
from the Modules drop-down, select "Add New Module",
as highlighted below.

A list of all the modules displays, as shown below.

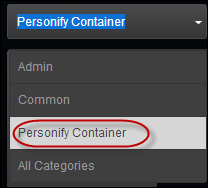
4. From the All
Categories drop-down, select "Personify
Container", as highlighted below.
5. Select
the Personify-DNN
Web Control Container module
and drag it to where you want it to be located on your page, as shown
below.

The DNN Web Control Container module displays on the page, as shown below.

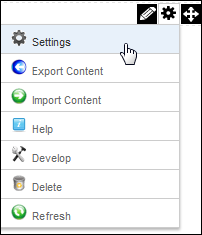
6. Select the Settings
option from the gear icon, as highlighted below.
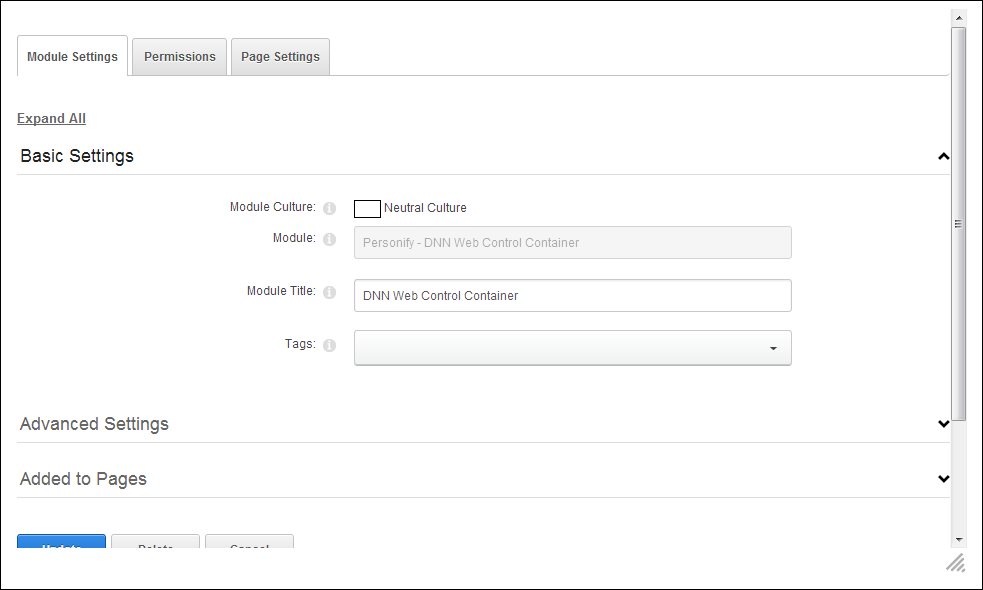
The Basic Settings screen displays, as shown below.
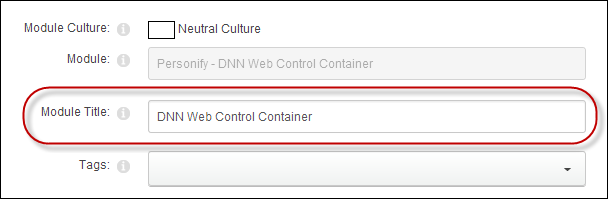
7. From the Module Settings
tab, rename the DNN Web Control Container title in the Module Title field, as highlighted below.
To hide the module container in order to remove unwanted space on your page:
1. Select
the Settings option from the gear icon, as highlighted
below.
The Basic Settings screen displays.
2. From the
Page Settings tab, and uncheck the Display Container?
checkbox, as highlighted below.
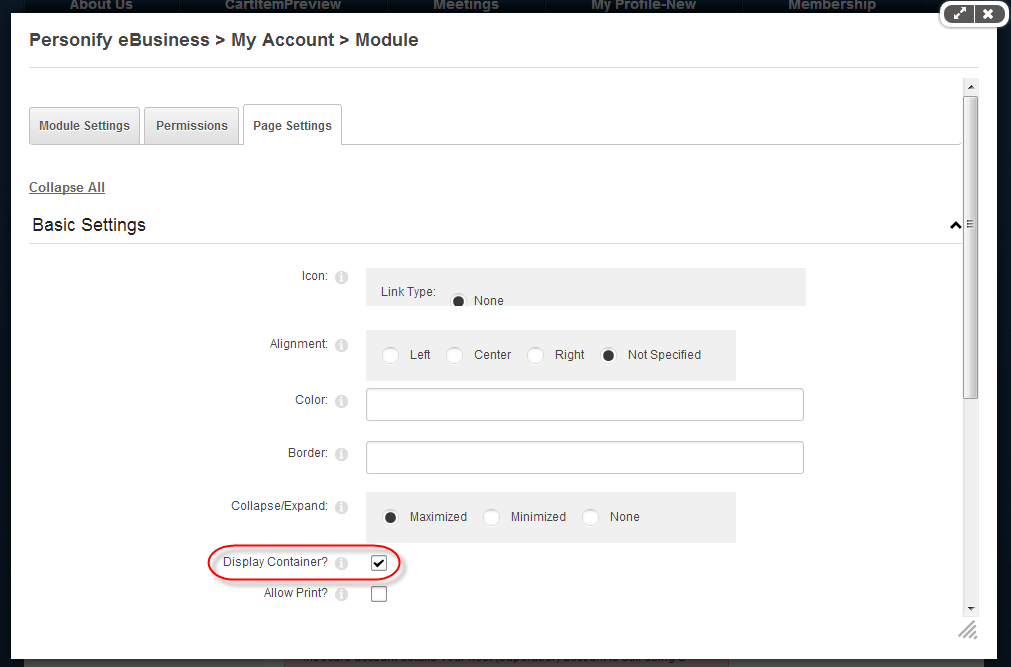
3. Click Update.
See Also:
· Adding a Page to Your Site Using DNN
· Adding a .NET Web Control to a Page Using DNN
· Using DNN as Your CMS Platform