 Make sure you do not set it as the Default printer for your BO server.
The DYMO is a specific printer that allows you to print labels, more specifically for these purposes, labels with customer names and addresses. You can set your DYMO printer to print entries from the CUS500 report and have one customer appear on each label.
To configure your DYMO printer:
1. Install your DYMO printer on the BO server using the Installation disk that came with the printer.
Make sure you do not set it as the Default printer for your BO server.
2. Log into the Central Management Control (CMC).
3. Click Folders.
4. Click on your environment’s report folder.
5. Open the CUS500 report.
You may need to open more folders before reaching the CUS500 report.
6. Click Default Settings.
7. Click Print Settings.
You should see a screen similar to the one below.
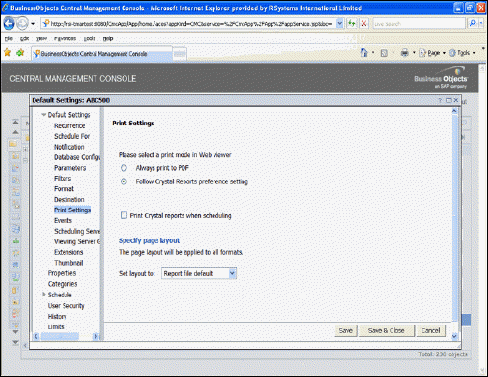
8. Check the Print Crystal Reports when Scheduling checkbox.
The printer options enable.
9. From the “Set Layout to” drop-down, select Custom Settings.
The Custom Settings options display on the screen as shown below.
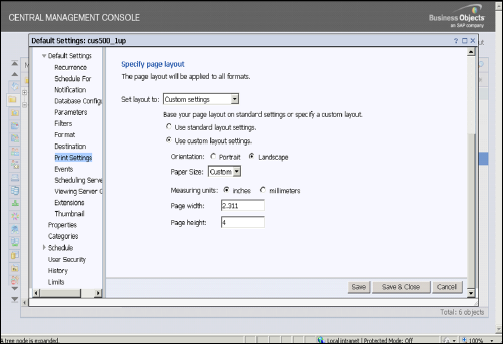
10. Select the Use custom layout settings radio button.
11. Select “Custom” from the Paper Size drop-down.
12. Enter the Page Width and Page Height in the text boxes.
The Page Width and Page Height added in the graphic above are for shipping labels (SKU 30256).
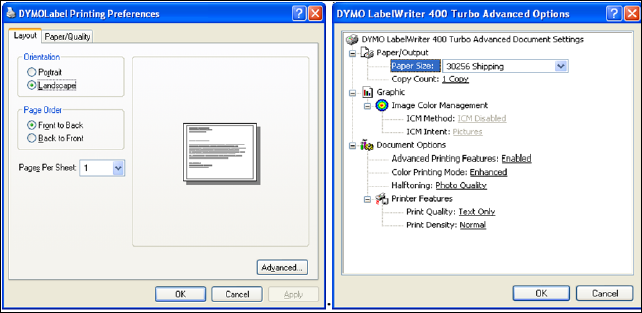
13. Verify the printer properties are set with the same settings as the Page Width and Page Height.
14. From the “Set collate option to” drop-down, select Do not collate.
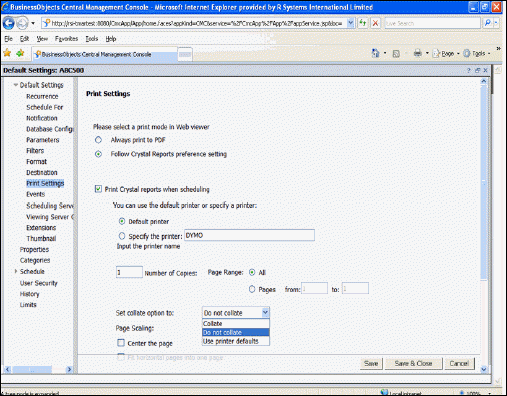
15. If desired, enter a specific page range.
16. Click Save and Close.