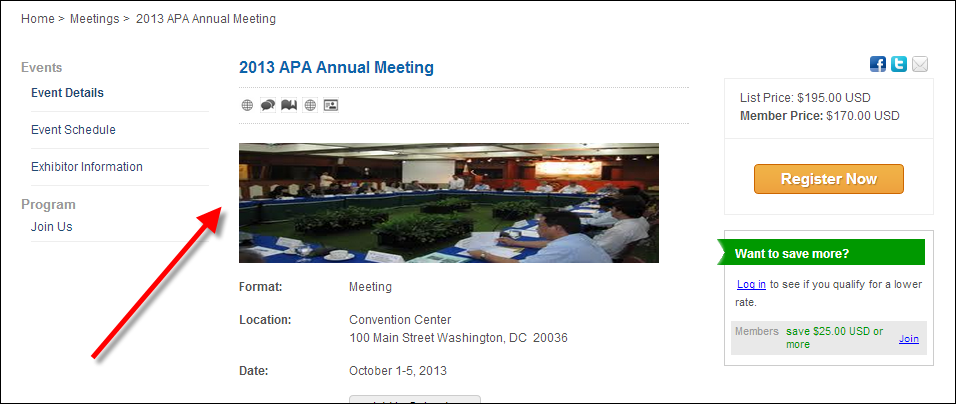
You can define images that will rotate and display via the meetings detail control on your e-Business site, as shown below. Although the system will not restrict the number of images you can add to the product, it is recommended that you add up to three images.
To define meeting product rotating images:
1. From the
Personify360 main toolbar, select Products > Product
Central.
The Product Maintenance search screen displays.
2. Click Search to find a product or click Create New Product.
3. From the eBusiness
Links task category, click Meeting Rotating Images.
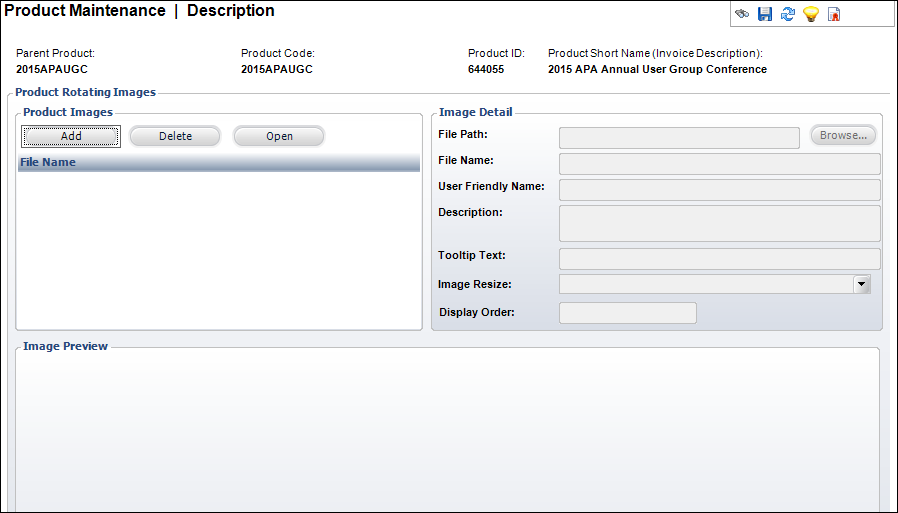
The Meeting Rotating Images screen displays, as shown below.
4. Click Add.
A new row appears in the Product Images grid and the Open window displays.
5. Search for an image for your meeting product.
6. Select the image and
click Open.
The Image Detail screen enables and the image appears in the Image Preview
window.
7. The File Page field automatically populates with the location of the image. If necessary, click Browse to select a different image.
8. The File Name field automatically populates with the name of the image. It is not recommended that you change this.
9. The User Friendly Name field automatically populated with the name of the image. Change this, if necessary.
10. Enter a Description of the image, if necessary.
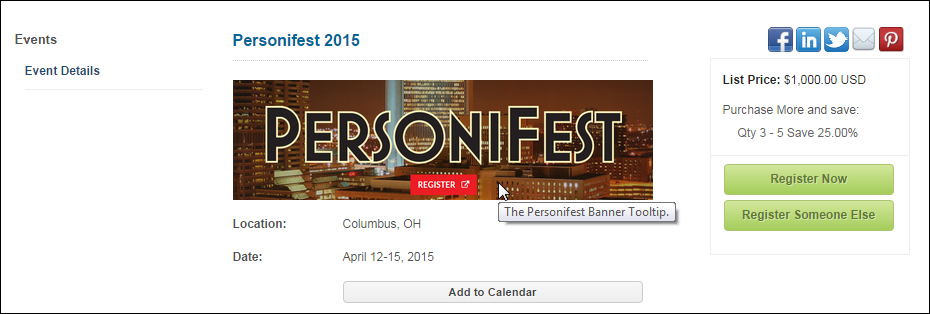
11. Enter the Tool
Tip Text you want to display on the web, if necessary.
The text defined here displays when the user hovers over the image, as
shown below.
12. Select the dimensions
to which you want the image resized from the Image
Resize drop-down, if necessary. Tab out of the field to display
the changes in the Image Preview window.
Values in the drop-down are populated based on the codes defined for the
non-fixed APP "IMAGE_RESIZE"
system type.
 As a best
practice, add images that are 420 x 120, so they do not appear distorted
when displaying on the Meeting Details page. Do not use the Image Resize
option.
As a best
practice, add images that are 420 x 120, so they do not appear distorted
when displaying on the Meeting Details page. Do not use the Image Resize
option.
13. Enter the order you want the image to display in the Display Order field.
14. Repeat the steps above to add additional images.
15. Click Save.
16. Click Close.