 One
coupon can be associated with multiple products. One product can have
multiple customer-specific coupons linked to it.
One
coupon can be associated with multiple products. One product can have
multiple customer-specific coupons linked to it.The Product Coupon Link screen is used to link a coupon to a product or package. It controls what coupons are printed and sent to the customer with the purchase of a product. If the coupon is customer-specific, then when the product is ordered, that coupon will be stored with the customer in the CUS_Coupon table for specific use later. The link is recorded in the Product_Coupon table.
 One
coupon can be associated with multiple products. One product can have
multiple customer-specific coupons linked to it.
A customer-specific coupon must be given to a customer prior to that customer using it. You can link that customer-specific coupon to a specific product that must be purchased (free or not) by the customer. For instance, if you purchase this membership, you can get a 20% coupon for your next meeting. To do this, link the coupon with the membership through the Product Coupon Link screen.
A customer-specific coupon life-cycle follows the following steps:
1. Created on the Coupon Maintenance screen.
2. Linked to a product on the Product Coupon Link screen.
 This is not
the product the customer can use the coupon for. It is the vehicle used
to get the coupon to the customer.
3. Customer purchases the product that gives him/her the coupon. A record is created in the CUS_Coupon table showing that he/she (order line ship-to customer) now has the coupon and can use it.
4. Customer purchases a product for which he/she can use the coupon. The CUS_Coupon table is updated to show he/she used the coupon.
 A coupon
is only granted on invoice.
To link coupons to products:
1. From the
toolbar, select Products > Rates, Discounts, Coupons
> Product Coupon Link.
The Product Coupon Link search screen displays.
2. Search
for the appropriate product and double-click it to select it.
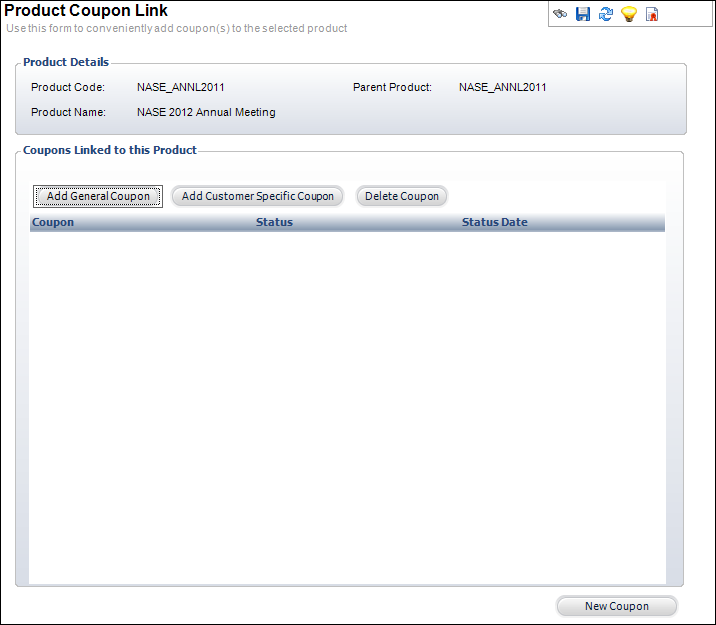
The Product Coupon Link detail screen displays, as shown below.

3. To link a general coupon to the product, click Add General Coupon and search for the appropriate coupon.
4. To link a customer-specific coupon to the product, click Add Customer Specific Coupon and search for the appropriate coupon.
5. If necessary, you can change the status of the coupon by clicking in the Status cell and selecting the value from the cell drop-down.
6. Click Save.
Screen Element |
Description |
|---|---|
Add General Coupon |
Button. Click to add a general coupon
to link to the product. The coupons listed in the chooser were
defined with a Coupon Type of “General” on the Coupon Maintenance
screen and are not expired. |
Add Customer Specific Coupon |
Button. Click to add a customer-specific coupon to link to the product. The coupons listed in the chooser were defined with a Coupon Type of “Customer Specific” on the Coupon Maintenance screen and are not expired. Once added, you can double-click the line to open the coupon in the Coupon Maintenance screen. |
Delete Coupon |
Button. When clicked, the highlighted coupon is deleted from the table and the coupon link is deleted from the product. |
New Coupon |
Button. When clicked, the Coupon Maintenance screen displays where you can add a new coupon to link to a product. |
Status |
Cell drop-down. The status of the product coupon link. This does not apply to the status of the actual coupon. Valid values include “Active” and “Inactive.” Values in the drop-down are populated based on the fixed codes defined for the CPN "LINK_STATUS" system type. |