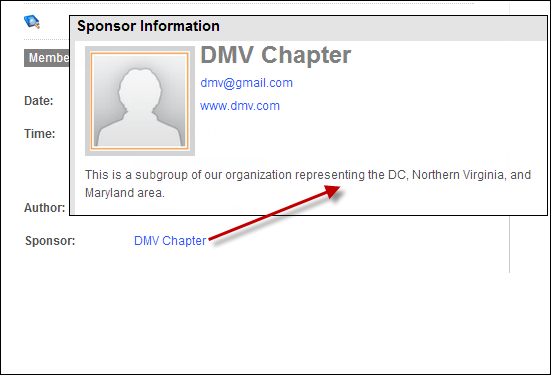
As of 7.5.0, subgroup profile information displays on the Meeting's Product Detail Page on the Sponsor Information window, as shown below,or the Author Information window. Where the subgroup displays on the web is determined by your configuration settings. See Configuring the Back Office Settings for the Meeting Detail Control for more information.
In the back office it displays as shown below.
 In order for text to display on the Meeting Detail Control on the web, the "Include Sub-Group Profile in Web/Mobile Directory" checkbox must be checked, as highlighted below. See Changing a Subgroup Name for more information.

In addition, the subgroup information that you enter on the Subgroup Information tab also displays on the Biography control and Biography Summary control, as shown below.

To add a subgroup profile:
1. From the Personify360 main toolbar, select Customers and Committees > Subgroup Central.
The Subgroup Central search screen displays.
2. Create a new subgroup or search for and select a subgroup.
Subgroup Central displays.
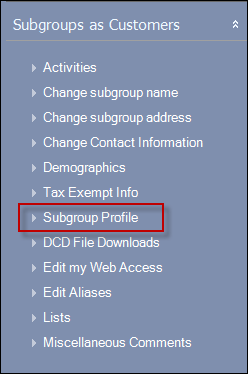
3. From the Subgroups as Customers task category, click Subgroup Profile, as highlighted below.
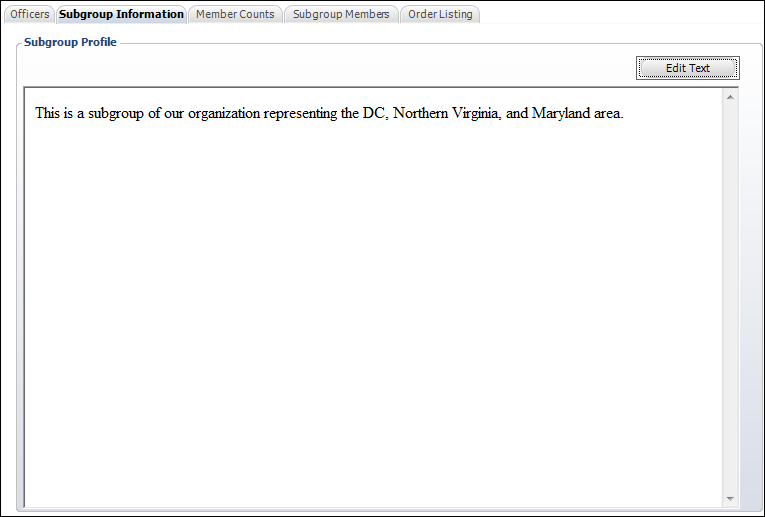
The Subgroup Profile screen displays on the Subgroup Information tab, as shown below.

4. Select Edit Text.
The HTML Editor Dialog window displays.
5. Enter text in this window.
6. Click Save.